Thursday, January 30, 2020

Love / Shimmerz Paints

Happy Thursday, friends!  Today I'm here with a new layout for the Shimmerz Paints Education Team featuring lots of beautiful Shimmerz.  I wanted to use lots of pink and red shades for Valentine's Day, and as I went I wound up adding in some orange and blue shades.  I began this layout with the Heart Swirls cut file by Paige Evans.  I welded three hearts together on white cardstock and did all my Shimmerz work behind it.

The colors I used on this page are:
I used smooth white cardstock as my base, and I coated most of it with clear gesso first.  I began with the Gosh Garnet.  It sounds red, but it's actually a very deep reddish pink with a gorgeous gold shimmer.  I added some paint to the background, spritzed it with water and used a brush to help spread the paint around.  I mixed in some Lover's Lips, Gold & Roses and Hot Stuff to get lots of red & pink shades.  I wanted to leaf the cut file white so it would show against the colors.


I sorted through some patterned papers from my stash and found two floral sheets.  I cut the big flowers from a Kaiser Craft sheet and the smaller pink ones from a Vicki Boutin paper.  The larger flowers had orange in them so that inspired me to add some orange to my background.  I layered some of these flowers on top of my photo as well as under it.  I felt I need to add a pop of a contrasting color, so that's where the blue came in.


I used Peachy Keen and Pumpkin with a hint of Wed Wagon to create some orange areas.  I felt like the bigger flowers looked more at home with these few colors on the background.  Once I decided to add in the blue, I splattered a bit of Jeni B Bleu, which was the perfect matching shade.


Here you can see the amazing gold shimmer from the Gosh Garnet.  You can see it even better up close in the process video!  I added some more blue pops with some thread here.  I went very simple with the title and used a Me & My Big Ideas sticker, which I stuck to some white cardstock and then cut out.


Oranges & pinks together...yesssss!  I love it.  I also used a few Shimmerz Dotz.  There are a ton of Dotz available in the store.


Sometimes I love backing a cut file with papers and sometimes I like to just leave it as is and let the background show through it.  Shimmerz are perfect for creating that background :)


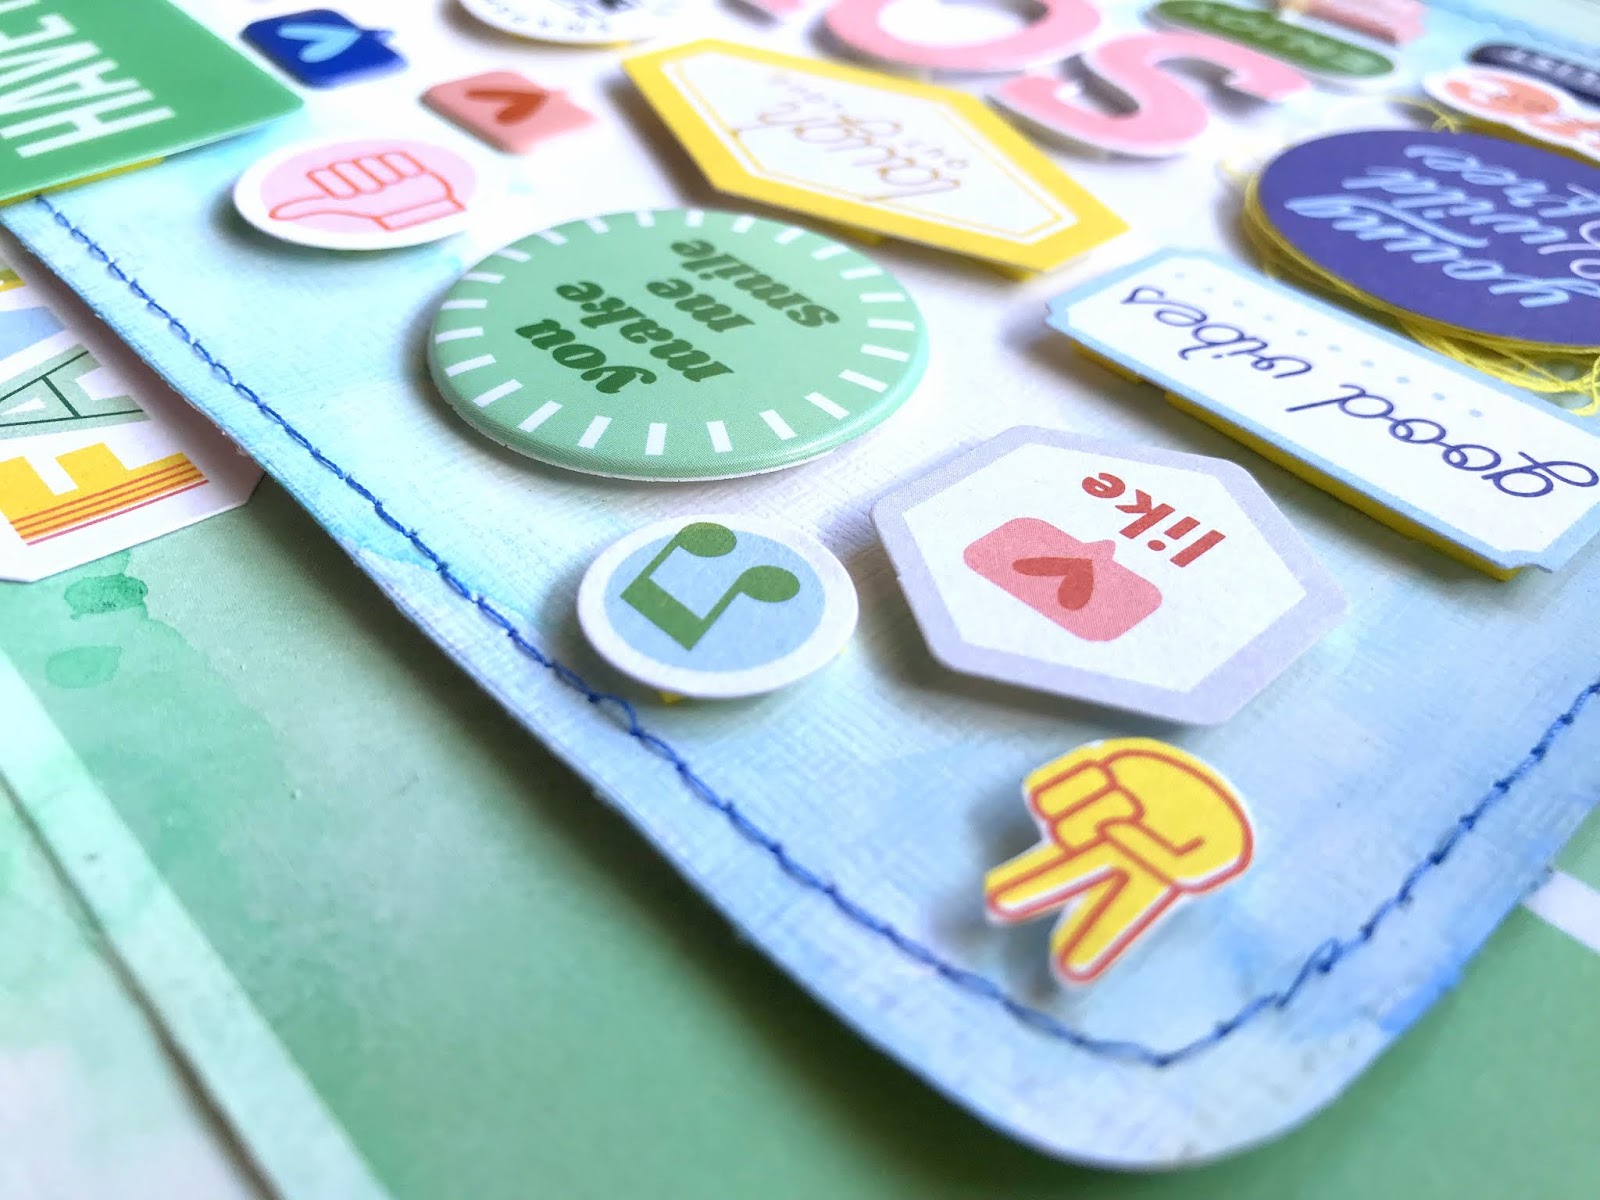
Here are a few more close-ups of all the gorgeous colors & details.


I hope this inspires you to create a fun layout for February.  I love using hearts and flowers, and I definitely love pinks!  If you don't have any of these colors, I highly recommend them!  Be sure to check out my process video to see these colors in action.  Go HERE to see it :)

Thanks for stopping by, and have a great day!


Sunday, January 26, 2020

Happy New Year 2020 / Hip Kit Club

Hello again, friends!  I'm back today to share my newest layout for Hip Kit Club.  This is my first layout using the 2020 January Hip Kits...woo hoo!  They are full of beautiful Pinkfresh Studio goodies, and the colors are my favorites!

My theme for last week was to use a Hip Kit cut file & circles.  I modified one of the cut files and only used the 2020 part of it.  These are some fun photos of me and my sister on January 1st.  We worked out together, so I wanted to document this first fun thing in 2020.  I used my own different sized circle punches to create the circles.  I used several patterned papers as well as some of the Pocket Life cards. 

Did you get the Cardstock Kit this month?  The colors are just stunning, so I pulled this gorgeous shimmery grey sheet to use as my background.  I felt it was  neutral enough to make all the other colors pop and still pull the greys from the photos out.


The lighting is kind of tricky on my close-ups.  I think the grey background plus the outside lighting on this day made it difficult to get good shots.  Hopefully you can still see the true colors.  On the background, I smudged a lot of white gesso behind where all the circles are.  I used all three Lindy's Gang Magical Powders from the Color Kit.  I added some darker shades of grey, some pinks and also some green splatters.  It's very soft and subtle.  I roughed up the edges of all the circles and added adhesive foam behind them to create some dimension.


I fussy cut "happy new year" from a Pocket Life card and layered it over some yellow thread and the 2020 cut file.  I used a few Pinkfresh Studio die cuts and stickers here, which I also popped up using adhesive foam.  I decided to do a little machine stitching as well with black thread.


There are also a lot of circle elements in the Pinkfresh Studio My Favorite Story collection.  I used a few of those amongst the circles also.


I tore this Hello 2020 from another Pocket Life card.  I really love the pops of black and white with all these pretty colors.  I did machine stitch around the edges of some of the circles for extra texture and pops of black.


I wanted to add something to this circle, so I added Let's Do This using the small white puffy alphas from Pinkfresh Studio.


I added a few hearts on top of the photos.  Side note:  optical illusion...my legs are nowhere near this long...haha!  I'm only 5'2"... :D


A few more close-ups :)  I added some black splatters using some Shimmerz from my stash.


I hope this inspires you in some way.  The 2020 January Kits are sooooo good.  I am excited to dig back in my for my next page!

I do have a process video for this over on the Hip Kit Channel HERE.  My channel is still lost...somewhere out there in hacker land.  (((((Sigh))))))

Have a great day!

Friday, January 24, 2020

Sunshine / Paige Evans DT

Happy Friday, lovely friends :)  I have a new layout to share for the Paige Evans Design Team today.  I used the NEW Bloom Street collection, and it's soooooo pretty!  Just when you think you have a favorite Paige collection, BOOM she comes out with yet another one that tops the rest.  AHHHH!

I made this page using only patterned papers, a few stickers and a roll of washi tape...all from Bloom Street.  Paige sent me a few pieces of the line early to make some layouts to display at Creativation last week.  So I got busy on this one :)  I used her Butterfly Background cut file and lots of the papers.  I wanted to use lots of patterns and colors, so this was a great (and easy) way to do that.  I also used an old Martha Stewart butterfly punch from my stash to make a few more butterflies.

The background is thick white cardstock, and I coated a lot of it with clear gesso first.  I used some matching colors of Shimmerz sprays to add some color behind the butterflies. 


To add the background color, I simply sprayed the colors down and spritzed it with more water.  I let the colors spread and blend.  I also splattered the same colors using the nozzles.  I used Vibez Rip Van Periwinkle, Vibez Cotton Candy, Vibez Plum Pudding, Coloringz Well Blue Me Down & Spritz You're the Zest.  I arranged all the butterflies and glued them down.  I machine stitched through some of them using white thread.  My machine started jamming, so some of them got a little messy.


Butterflies are great to use if you like dimension...the wings just naturally want to curl up.  I just adore all of these bright spring colors!  Well done, Paige!


Bloom Street has a pack of Washi Tape, and one of them has butterflies. I rolled some of that tape onto some white cardstock and then cut the little butterflies out and used them as die cuts.  I stuck a few on top of the photos here.  My title came from the Puffy Word Stickers Sheet, and I fussy cut this flower & leaves from Paper 02.


This really is a simple design...once you have the butterflies cut, it's just a matter of scattering them around and placing your photo.


More close-ups of all the fun texture and color!


I also used a few stickers from the Butterfly Embellishment Stickers.  The more butterflies, the better, right?!


I am in love with this collection...seriously!  It's beautiful in every way.  It should be available in stores soon, and you can pre-order it now HERE!


Thanks for stopping by, and I'll see you again soon!


Monday, January 20, 2020

Song / Pinkfresh Studio NEW Release!

Happy Monday, everyone!  I have a new layout to share for Pinkfresh Studio featuring one of the NEW collections.  I used the Super Cool collection to document these sweet photos of my girls in the car.  I used lots of the embellishments in this collection to enhance the the theme of speech bubbles.  This layout is very special because it documents my oldest daughter finally saying something.  Both my girls are autistic & nonverbal, so language is a huge obstacle in our house.  She now will say "song" every time we're in the car, so I gladly play her favorite songs.  And I will continue to do it as long as she tells me to :)

I wanted to focus on those cute speech bubbles, so I decided to create a big one to hold all the stickers & die cuts.  I cut a big one from white cardstock and covered it with clear gesso.  I used the Liquid Watercolors to color the edges of the speech bubble.  I used a few blues & greens to do that.  I wanted to leave the middle white so all of the bits & pieces would pop.  I used a big chunk of the green ombre striped paper and adhered that to some white cardstock.  I used white gesso on the top and bottom areas and then used the Liquid Watercolors again to add some green and blue. 


I knew that SONG must be my title, and I used the Adore Alpha Stamps & Dies to create it.  I used the Coral Reef Mini Ink Cube, which was the perfect color to match this collection.  I went through all the embellishments...stickers, puffy stickers, die cuts and acetate speech bubbles and arranged them all over the speech bubble.  I added adhesive foam behind most of them to create shadowing & dimension.


I machine stitched around the edge of the speech bubble using a dark blue thread for an extra pop of color & texture.  I also popped the whole thing up with more adhesive foam and tucked some thread under the edge here.


I used a black Sharpie to write my journaling, which explains how amazing it was to hear Reese finally give a command.  We listen to the same songs every day...on the way to school and on the way home.  They drive me nuts, but I don't care.  As long as she talks to me, I will do what she wants :)


It was fun to mix and match all these bits & pieces and work them together like a puzzle.  Shout out to Jen Schow, who is the queen of nestling embellishments like this.  She inspires me to do more of this!


Aren't these images the cutest?  I love this collection because it's very versatile.  There are so many cute sayings and trendy images, like thumbs up and text messages.  Lots of fun things for any theme!


Here are a few more close-ups of all the details :)


I truly love how this turned out.  Sometimes layouts mean more to me than others, and this one is very special.  This collection completely inspired me to scrap this event, and I had lots of fun putting it together.  I hope this gives you some ideas to try for your next page.

Be sure to keep an eye on the Pinkfresh Studio Store for the new collections!

I have a process video for this layout HERE, so go check it out!

Thanks, and have a wonderful week :)

Thursday, January 16, 2020

Fun Date / Hip Kit Club

Hello again, friends!  I have yet another new layout to share for Hip Kit Club today :)  I used the 2019 December Hip Kits, and I decided to go with stars again.  I know I just created a starry page, but I couldn't resist making another one.

I used one of the cut files for this month to cut some of the larger stars from a Heidi Swapp paper. Then I used some of my star punches to create some smaller ones from a Prettly Little Studio paper.  I was thinking of a light blue, soft orange and soft pink color scheme.  Once I arranged them together, I decided to add some brighter pink.  I did that by painting some scrap white cardstock with the Andrea's Azalea Lindy's Powder from the Color Kit.  I punched more stars from that.  To add even more stars, I used the star stencil with some modeling paste.


I went with this cute photo of me and my husband from a few years ago. I liked the colors and they matched all the stars.


I chose some of the dark teal cardstock from the Cardstock Kit as my background.  I smudged a lot of white gesso down using a palette knife and my fingers.  I created sort of a wave design.  I added the stars using the stencil and then just left it all to dry.  I didn't add anything extra to the background.  I loved how the white looked behind all the stars.  I popped some of the up using some adhesive foam to create some dimension.


I love how this turned out!  I think these colors look so pretty against the darker background.


To add a bit of gold sparkle, I splattered some of the Lindy's Martina's Marigold Powder.  It's a very shimmery yellow golden color.


I tucked in some pink tangled thread around the photo for some more texture and color.


I didn't add to many more embellishments.  A little die cut above the photo, a floral die cut at the bottom of the photo, and a cute camera die cut.


I went simple with the title and mixed and matched.  I used one of the matte gold Thickers with some of the larger pink Thickers.  Fun Date seemed appropriate :)


I hope this inspires you in some way today.  Although most of the December Kits are full of winter related products, here is an example of how to create a non-winter page.  It's fun to challenge yourself to get creative and use the products in a different way :)

The process video for this is up on the Hip Kit YouTube Channel.  My channel is still down...ugh.

Thanks for stopping by, and have a great day!


Saturday, January 11, 2020

Winter in Vegas / Hip Kit Club

Happy Saturday, friends!  I'm back today to share a new layout for Hip Kit Club.  I made this using the 2019 December Hip Kits.  Using winter themed products has never been easy for me considering I live in Florida...haha.  We took a recent trip last month to Las Vegas, and I was able to get lots of fun wintry photos!  I was excited to scrap this picture of me and a giant snowman because the kits have a ton of snowmen in them.  I decided to create a little winter scene using them and some trees.

I decided to make this page extra "snowy" and use white cardstock as my base.  I wanted to add some mixed media but keep most of it white.  I also wanted to pull in some pinkish tones...I'm not a huge fan of the classic red and green.  So I made it work :)


I coated the background with clear gesso first and then used a mix of Lindy's Magical Powders.  I used the Andrea's Azalea from the Color Kit as well as a few other colors from past kits.  I created some "snow" by splattering some watered down white acrylic paint.  I also splattered some of the Gold Glitter Spray from the December Documented Kit we got last month.  To create this fun scene, I layered some chipboard snowmen and trees with some fussy cut snowmen and die cuts.


I wanted the pink background to show above and below the scene.  I mixed and matched the title, combining a metallic gold Thicker with some of the Pretty Little Studio black alphas.  I used a black Sharpie to write my journaling and added another fussy cut snowman beside it.  I popped him up using some adhesive foam.


I also added in some of those blingy enamel gems...they're so shimmery and pretty!


To give my scene some grounding, I tore a few strips of this dark green Crate Paper sheet.  I lightened it up a bit and made it look a little more snowy by smudging some white gesso over it in a few places.  I also splattered the white paint on it.  It gave my snowmen & trees a place to sit.


I did want pops of red on the layout, so I added in a few die cut flowers.  I also tangled up some pink and red thread together and tucked it in a few places.


This cute tree is actually one of the paper clips, but I took it apart and just used the tree.  I love all the dimension these layers create.  Chipboard is awesome for layering like this...it gives some great depth.


Here are a few more close-ups of all the details :)


I hope this inspires you to create a cute little scene on a layout.  Trees and animals (or snowmen...haha) make it pretty easy.  It's just a matter of layering.

I do have a process video for this HERE on the Hip Kit YouTube Channel.  My channel is STILL being worked on....ugh.  Google now says they're in the process of transferring my content into a new channel.  I have no idea how long this will take...they told me this three weeks ago.  I'm not losing hope!  I'm two months into this debacle, and I'm anxious to get it resolved.

I hope you guys have a great weekend, and thanks for stopping by!