
Hey, friends! I'm here today with a new Splendid layout for the Paige Evans Design Team. I was inspired by all of the beautiful butterflies in this collection, so I began by fussy cutting several of them from patterned papers in the 12x12 Paper Pad and the 6x8 Paper Pad. My photos are perfect for them because it appears that she’s looking up at them flying around. I used textured white cardstock for the background, which I coated with clear gesso first. I wanted to add a few colors to the background, so I went with lots of blue up top and pink on the bottom. I used a few Shimmerz sprays to create that watercolor effect and then splattered white acrylic paint and Gold Glitter Spray. I tore a few strips of a few patterned papers from the 12x12 Paper Pad to give my photos a place to sit, and I machine stitched through them. I placed all the butterflies in random areas to make it look like they flew right onto the page.

I love the torn edges on the paper strips. To create even more texture I ran the edges through my distresser. I tucked in a fun metallic banner from the Cardstock Stickers under the photos. I also tucked in some dark pink thread here to create texture. Finally, I added an Epoxy Sticker under the title. I’ve been on a glitter kick lately, so I smudged gold Nuvo Glimmer Paste in a few areas using my fingers.
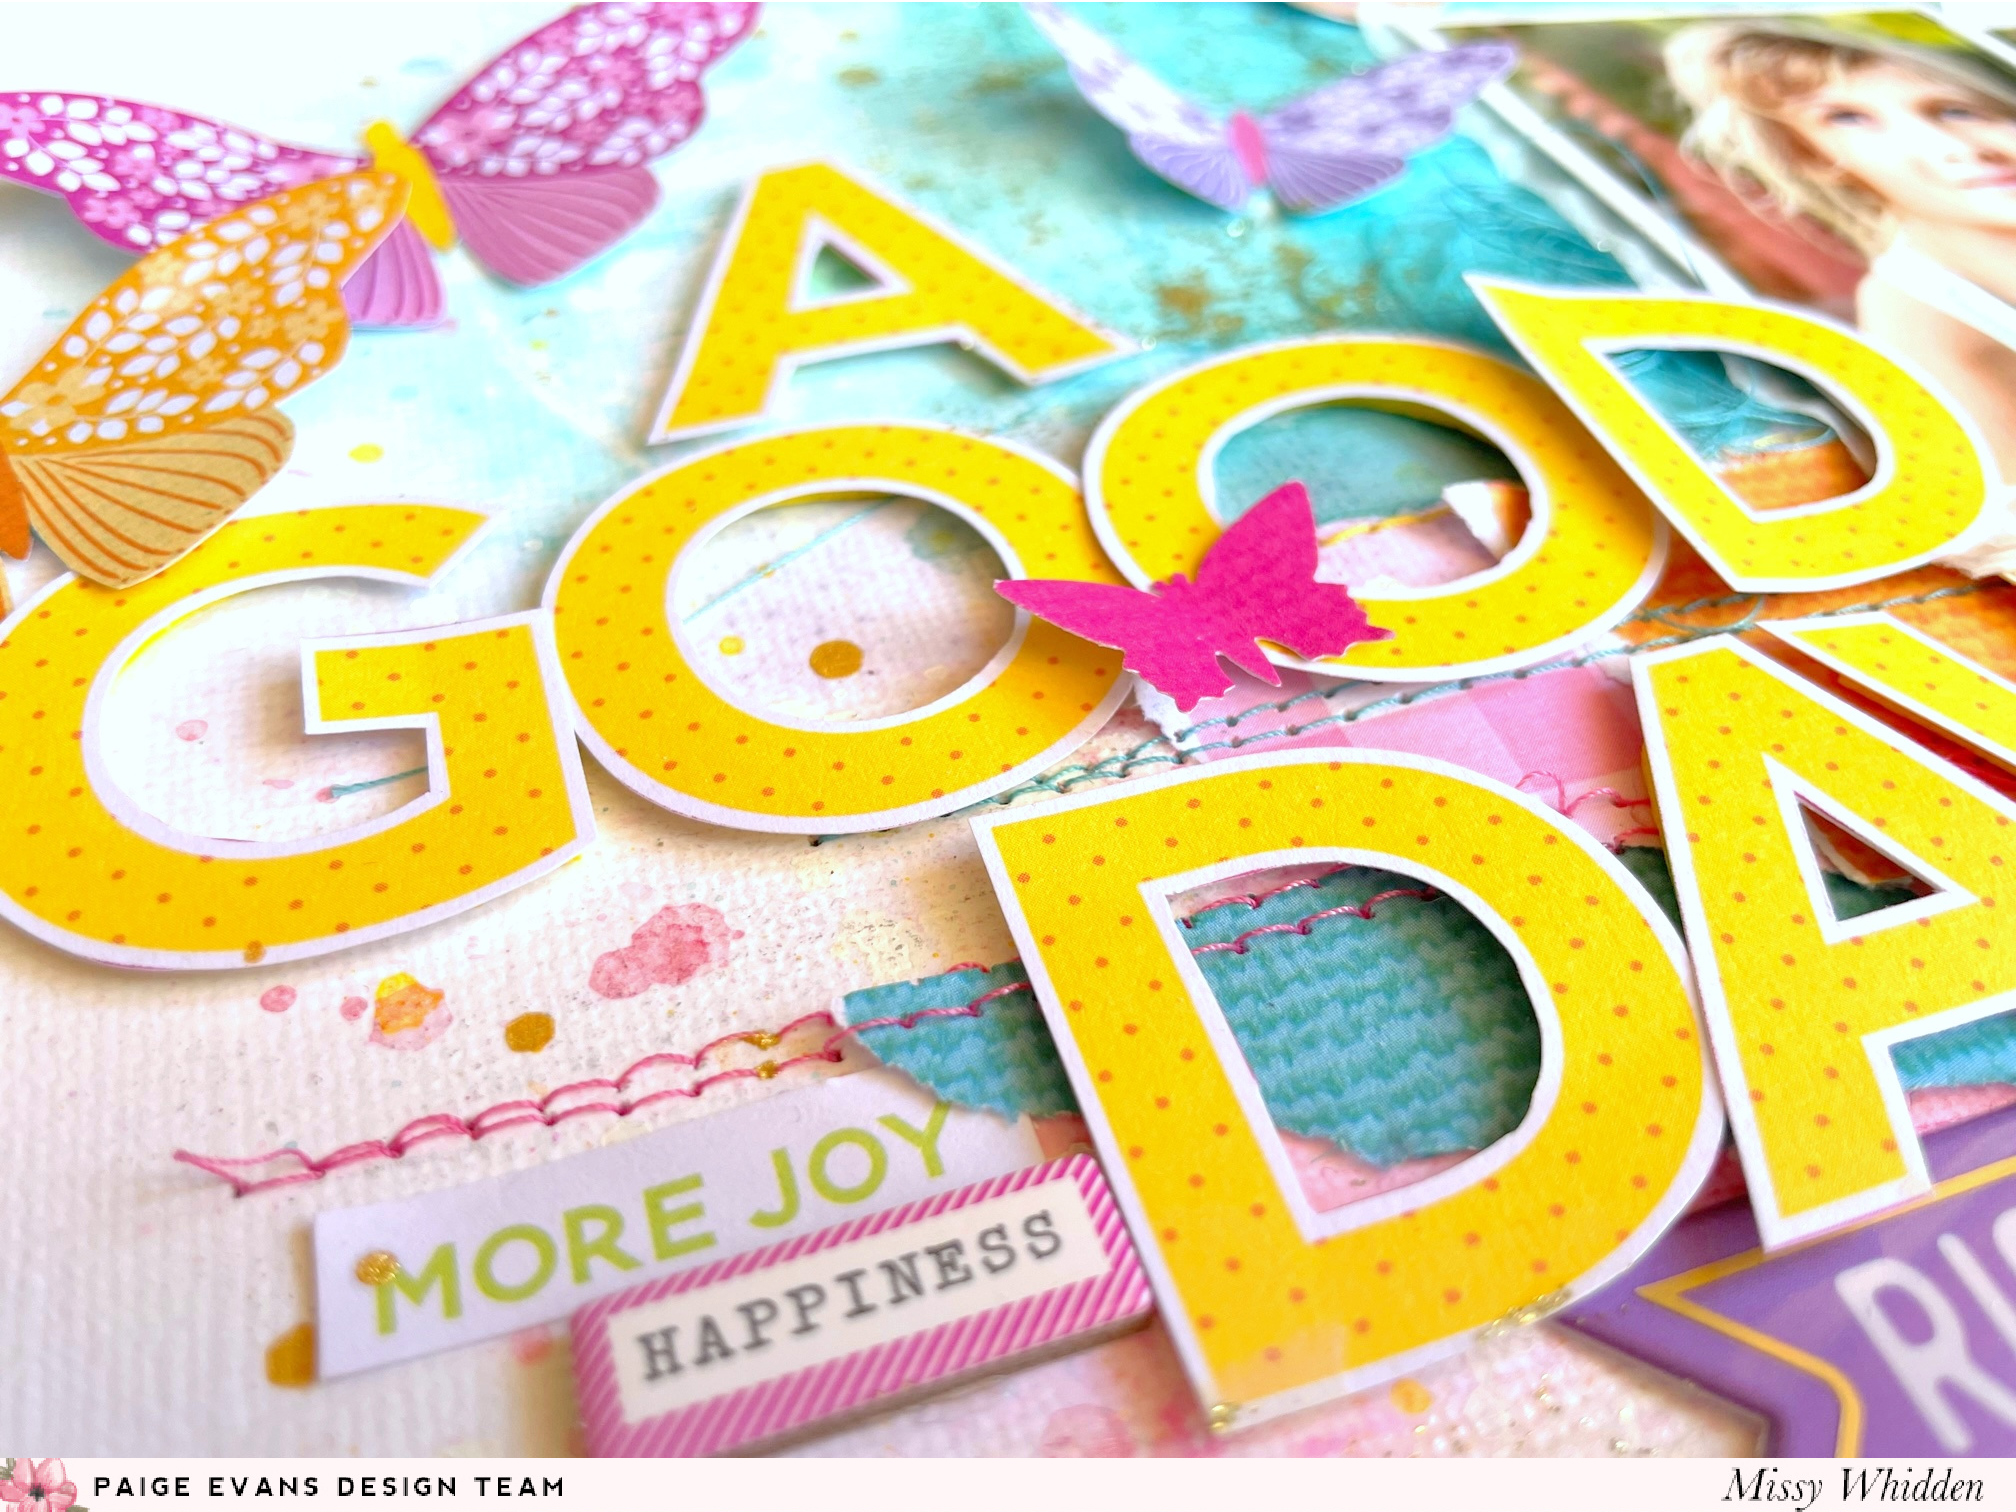
 I planned to use a large title as part of the design, so I fussy cut it out and played around with the placement before I attached the butterflies. Larger bits are harder to work in at the end of the process, so I made sure to work with those in the beginning. I popped the letters up with adhesive foam to create dimension. I used a small butterfly punch from my stash to add a tiny pink butterfly here on the title. I chose a few tiny details to add here including a small piece from the 8-Page Sticker Book and another small sentiment from the Chipboard Stickers.
 It’s fun to see the textures show up through the watercolor areas. These bright butterflies really stood out against the pretty blues. Here you can see the bits of gold shining through. I only glued them down on the centers so I could easily bend the wings. Instant dimension! I used a white gel pen to add trails from a few of the butterflies. I also tucked in matching blue thread here under the photo.
 I wanted to add a bit of detail here, so I used a white gel pen to create some subtle trails coming from some of the butterflies. I wanted to machine stitch, but there was just too much on the page to run it through my sewing machine.
  I always like to layer, so I tucked a butterfly under the corner of the photo here and added a small sentiment sticker from the 9-page Sticker Book.
 I love this shiny gold banner sticker from the Cardstock Stickers. I trimmed off some of the white border and added it under the photos. It was the perfect length. I tucked in some darker pink thread under it to make this blue butterfly pop off the page.
 I chose blue for the background here because it reminds me of the sky, and also because those yellow title letters would really pop against it.
 I had to play around a lot to get the right placement for the title. I originally thought I'd place the title under the photos, but it covered up too much of the paper strips. I settled on the left side of the photos and then popped up the letters using adhesive foam. I love the shadows that creates!
 I took a lot of close-ups, so here are a few more :)

 I hope this gives you some ideas to try out on your next project. I love how this all came together! Be sure to check out my process video to see all the details.


Thanks for stopping by, and have a great day!


