Friday, January 30, 2015

Summer Love / The Cut Shoppe

Hey there, friends!  Even though it's January, I have been in the mood to scrap Summer pictures.  I have so much Summer stash on my shelves, so I pulled out my Echo Park stack and came up with this bright and fun layout for my latest project over at The Cut Shoppe.

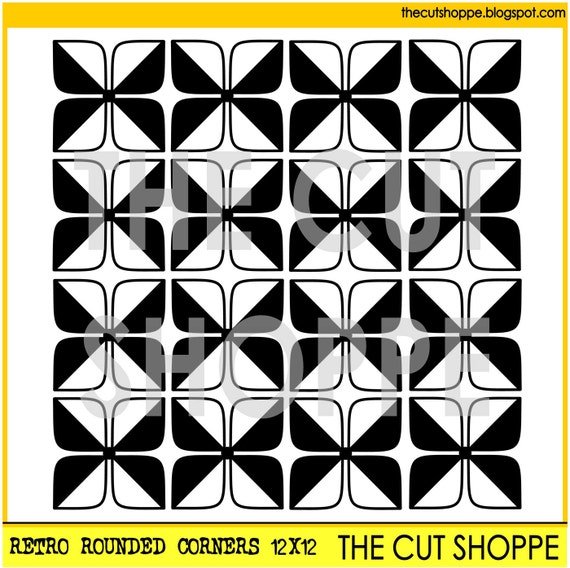
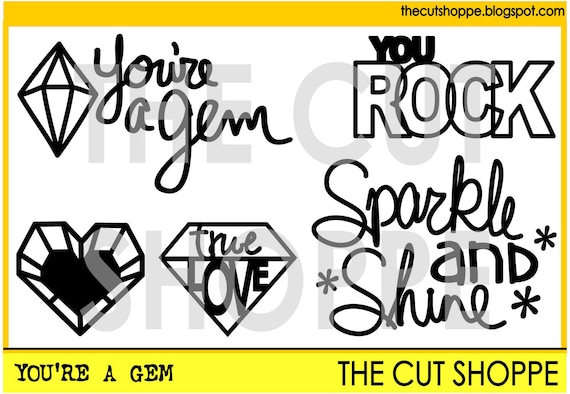
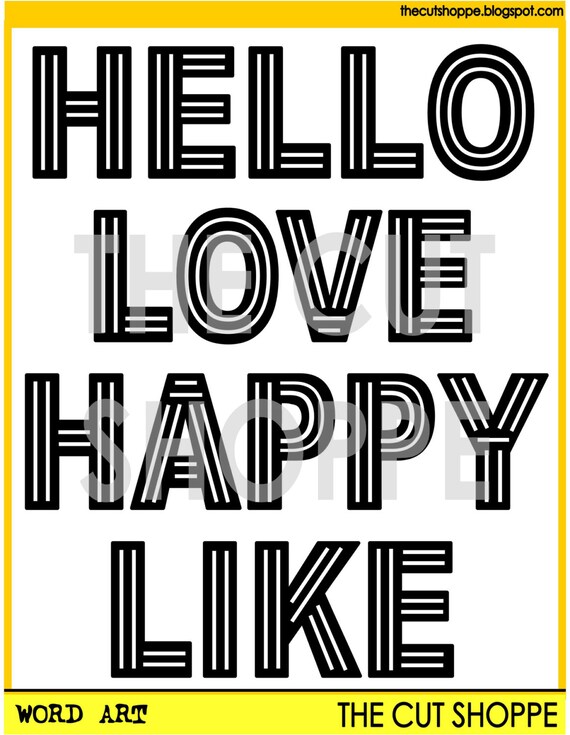
I used both my Cameo sketch pens and the blade on this layout.  I used the Totally Triangles and Word Art cut files shown here.


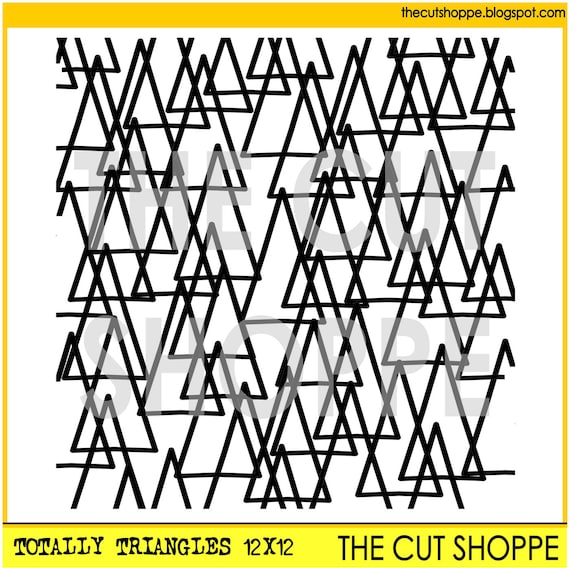
I started with white cardstock.  I shrunk the Totally Triangles cut file down and traced it with my black sketch pen.  Then I covered the whole design with clear gesso and then used a blue watercolor marker and some water to messily color in the triangles.  I layered some patterned papers under the photo, added some white gesso & watercolors and finished the cluster off with some flair pins, stickers and thread.

I cut LOVE from the Word Art file and decided to place it vertically.  I found some awesomely bright rub-ons in my stash and they adhered perfectly over the cut file.  That was a pleasant surprise because you know how tricky old rub-ons can be.


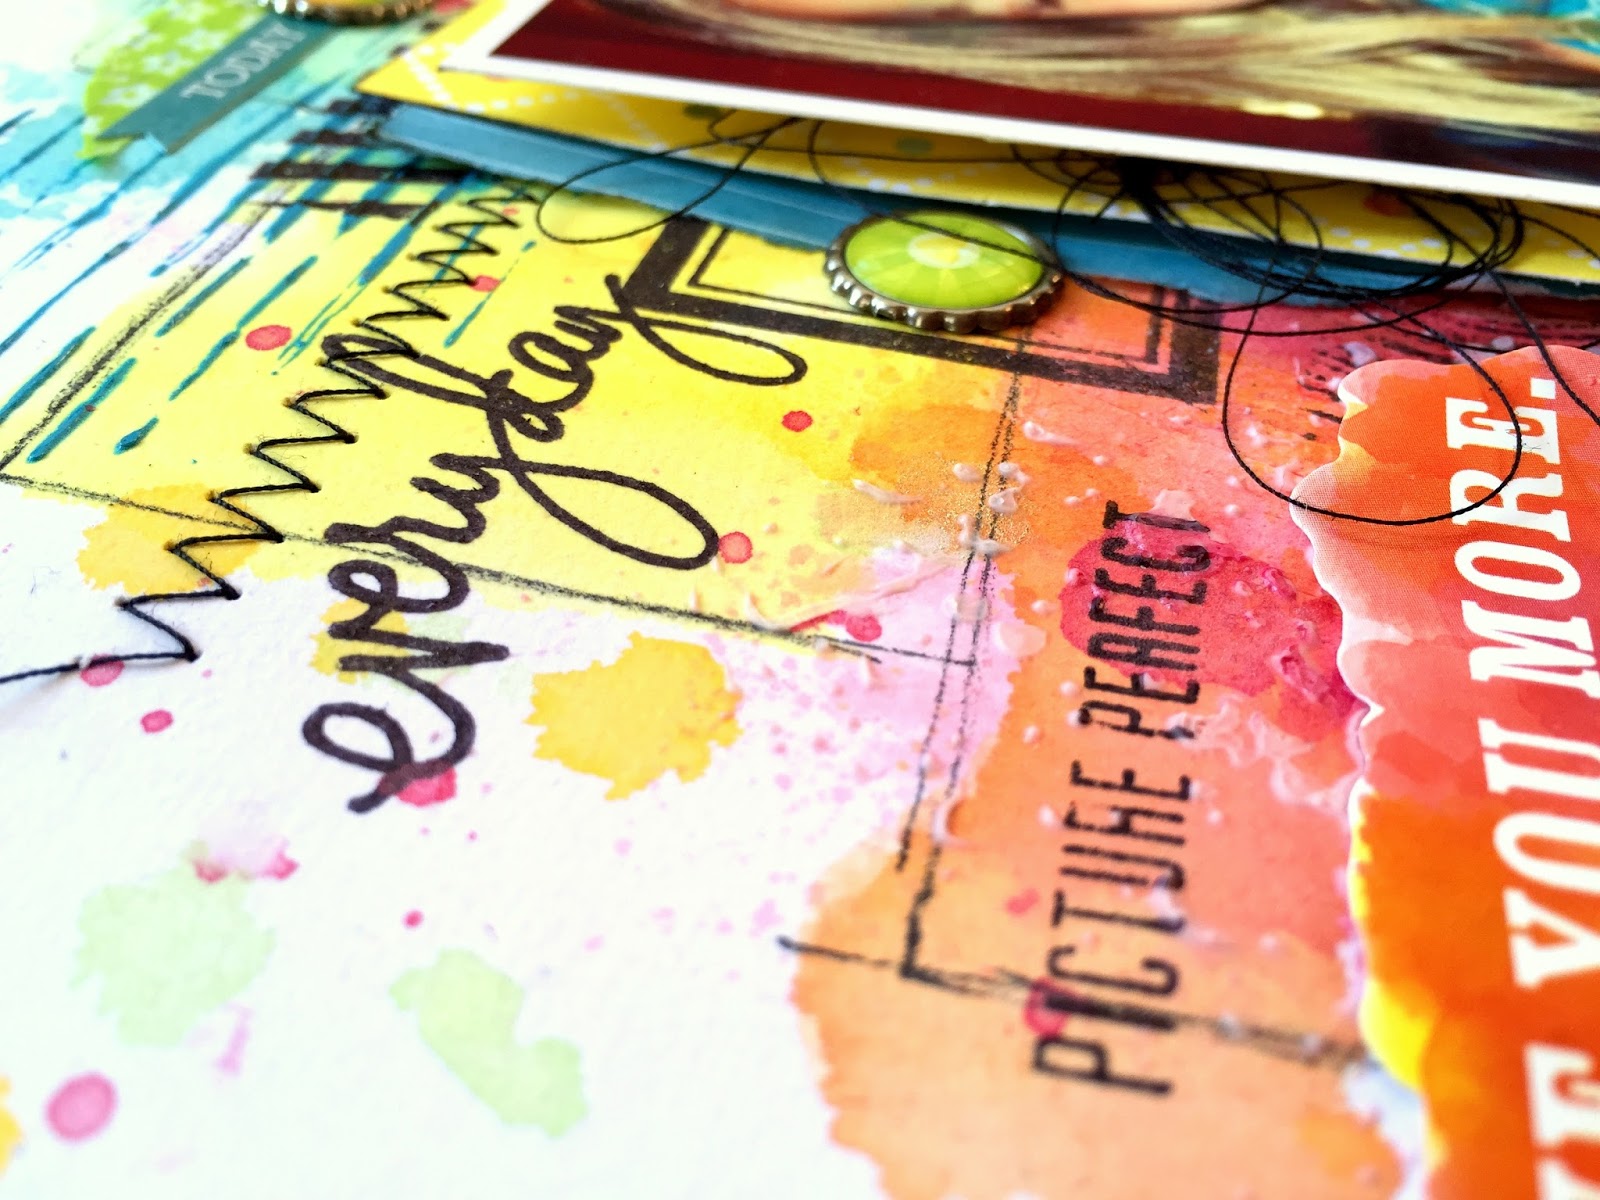
Here's a close up of what the sketch pens can do.  Instant patterned paper!  And you can shrink the files or blow them up...so many possibilities!


I just LOVE this cut file!  I made it rather large for this particular design.  I also decided my journaling needed to be vertical as well.


One more close up...I just love all the rainbow colors!  They all matched the colors in my daughter's swim suit so perfectly.


I hope this gives you some ideas on using the sketch pens.  They really are fun and can give you a completely different look.


Wednesday, January 28, 2015

So Much XOXO / CREATE Magazine + Exciting News!!

Hello and Happy Wednesday to you all :)  Today I wanted to share another layout I have featured in the January issue of Scrapbook Generation's CREATE Magazine.  This was created for the Die Cut Challenge. You can download a copy of the magazine HERE.

I used one of my favorite cut files from The Cut Shoppe and used it to cover my background.  That background paper is from a cardstock stack I found at Michael's...it's full of beautiful hombre papers just like this in a lot of different color combos.  Really pretty.  My patterned papers and embellishments are from various collections of American Crafts and a little bit of My Mind's Eye thrown in.


These wooden hearts are from Studio Calico, and I inked them to match.  I lightly inked over the bottom portion of my large die cut to give it a pink tint.  I had to throw in a bit of tangled gold thread...I can't get enough of gold these days!


This wood veneer card is from My Mind's Eye, and I backed each heart with AC patterned paper.  That cute little arrow clip is from Freckled Fawn.  I cut "so much" on my Cameo and inked it blue and then traced around the edges with a white gel pen.


Isn't this cut file amazing?  I truly love how it looks on this page.  The rest of my layout is layers and embellishments tucked in here and there.


And now for my exciting news....I have been invited to be a member of the A Flair For Buttons Design Team!!  I'm SUPER thrilled about this!!  I love working with Shelley's flair, and I am really excited to be part of her group of amazing scrappers!

If you haven't seen her flair shop, go HERE. Flair buttons are so much fun, and they add that perfect touch to any project or layout.

Here are some of my favorite ones I've worked with over the past few months....aren't they gorgeous?


She has a large variety to choose from...there is literally something for everyone!  I can't wait to get started, and a huge thank you to Shelley for having me!

And that is my share for this lovely Wednesday!  Thanks for stopping by, and have a great day!

Monday, January 26, 2015

My first Shimmerz layout!

Hello and Happy Monday, friends!  Today I'm sharing my very first project as a Design Team Member for the awesome Shimmerz team! I had so much fun working with these bright and fun products.  I just had to go bright for my first layout :)  This was up on the blog HERE last Wednesday.

I absolutely LOVE rainbows, and I love creating backgrounds with the amazing colors in them.  There are tons of colors and textures to choose from in the Shimmerz family, and I used several of them here.  To create my background, I started with white cardstock and my small square acrylic stamping block.  I simply used it as a stamp.  It's really easy and you get a somewhat square yet messy watercolor effect.  Depending on the product you're using, either spray or spread it onto the block, turn it over and just press it down onto the paper.  I used Coloringz and Vibez to create most of my squares.  For an even cooler look, squirt two colors on at the same time!


I used a very old Crafter's Workshop stencil to create these blue lines, using a palette knife and Dazzlerz in Gummy Berry Blue.  Such great texture and color!  I am obsessed with machine stitching these days, so I added lots of that in as well as some American Crafts stickers and embellishments and this cute flair pin from A Flair for Buttons.


Isn't this orange color gorgeous?  That's the Mandarin Mai Tai Coloringz.  I love the look of the black stamps on top of it and the tangled thread under the photo.  Black always pops so nicely against bright colors.


Here's a close up shot of a random mix of patterned paper, washi tapes, stitching, brads, thread and lots of liquid color...that lovely green color is Hermit the Frog Vibez :)


And finally, here's a shot of the top left of the photo.  Gorgeous yellow (No Yoking Coloringz) blending with the Mandarin Mai Tai and Pretty in Pink Coloringz and a little bit of Magenta Shimmerz.  Such a gorgeous combo!


I hope this inspires you to give some of these awesome products and colors a try!  They blend so nicely together, and using the stamping block is a great way to get them to blend naturally.  Don't forget to mention my name when you place an order....you'll get some free product!  Visit the store HERE.  Woo Hoo!!

Thanks for stopping by, and have a GREAT day!

Products Used:
Dazzlerz - Gummy Berry Blue
Shimmerz - Magenta
Coloringz - Mandarin Mai Tai, No Yoking, Pretty in Pink
Vibez - Jeni B Bleu, Hermit the Frog


Sunday, January 25, 2015

My Scraps Sketch #98

Happy Sunday, friends!  Have you seen the newest sketch over on the My Scraps Sketch Blog?  We have Heather Leopard as a guest designer, so you won't want to miss it!  It leaves plenty of room for interpretation with lots of diagonal elements.


I pulled out the Echo Park Creative Agenda for this page.  I really liked the diagonal elements in the sketch, so I used two colorful papers (the orange and aqua) for those pieces.  I added a lot of gesso and some modeling paste over a Hero Arts stencil.  I used gelatos to make colorful smudges here and there.  I didn't use that many patterned papers under my photos.  One pink piece and a piece of vellum.  The rest is washi tape, stickers and chipboard from the collection.


Here you can really see the texture that the paste and the stitching creates.  I like that the paste created a subtle pattern.  It's not overwhelming.  And it was really easy to rub some gelatos right on top of it.  I cut "everyday" on my Cameo and mixed it with the alphas in the EP collection.


I know I've mentioned this a million times, but adding pop dots under your photos makes a huge difference.  You're able to add little bits and pieces under it, like thread, stickers and chipboard.  Plus the dimension they give is awesome.


Here's something I've learned along they way while playing with gesso.  If you spread it thin enough on top of patterned paper (like this orange paper), it dries the color of the paper under it.  I really didn't have to add much gelato to some of this section.  The thicker it is, the whiter it is.  It all depends on the look you're going for.  I added lots of little goodies over here, including a fun flair pin.


I hope this inspires you to give our new sketch a try!  The Sketch Team has done a great job, and there is a lot of inspiration over on the Sketch Blog.  Go check it out :)  You have until midnight January 31st EST to upload your layout & be eligible for the prize!

Thanks for stopping by, and have a great day!

Friday, January 23, 2015

Creating a Collage with Stamps / My Scraps & More

Happy Friday, friends!  Sometimes I like to take a break from using actual collections and just feel like making a layout from scratch.  That's what I did for this page.  I created this for last week's Free For All Friday at My Scraps & More. The challenge was to use several stamps to create some sort of collage.

I've had this set of arrow sentiment stamps just lying around for some time, so I decided to put them to use.  I first took white cardstock and traced around where I wanted my photo to go.  Then I took the stamps and stamped all around the square.  I overlapped them, creating a collage effect.  After that was done, I went over the paper with clear gesso.  This helps tremendously when you're going to use watercolors.  The gesso helps prime the paper so it doesn't seep into it and tear it.  I used watercolors, gelatos and Mister Huey's mist to create all that messy color.


Here you can see the stamps and background color up close.  Stamping is such a fun and easy way to create unique patterns and backgrounds.  Make sure you use a permanent ink, like StazOn or Archival to make sure it doesn't run when you add water.  I didn't even need to add any patterned paper to this layout...the stamps and paint did all that work for me!


I used a sunburst stencil to create the sun rays and then machine stitched over them.  I really love the pretty yellow up against the blues. 


One last shot of the title.  I cut "Summer" on my cameo and then paired them with acetate alphas.  I always feel like I need to color or alter a plain white cardstock title, but I left it plain since the background was so colorful.


I hope this inspires you pull out your stamps and give them a try!  It's fun, easy and you really don't even need a lot of supplies to create this type of page.  No patterned paper needed!

Thanks for stopping by, and have a wonderful weekend!

Wednesday, January 21, 2015

Toning Down Busy Paper / My Mind's Eye

Hey there, friends!  I have a very bright and busy layout to share with you today. It's my latest layout for My Mind's Eye, and it focuses on toning down busy patterned paper so it doesn't overpower the photos.  You can see the blog post  HERE.

I love using busy paper as a background because it's a challenge.  And I like a challenge :)  For me, there a few key elements to toning it down.  I like to cover some of it up, like I did here with the black & white stripes and teal papers.  Another easy way is to gesso it up.  Gesso is thick and white, so it fades away some of the pattern.  Or it can completely cover it up if you add enough of it.  I wanted the pattern to still show through a bit, so I made it subtle.  I also added some watercolors & gelatos to add more interest.  I used the Jubliee Wild Berry collection.


This part of my title is from a transparent frame.  I just cut it out.  Everything to the right of my photo (all the words) pop right off the page because of the faded out pattern.  They would've blended right in if I hadn't use gesso to cover up some of those bright diamond shapes.  It creates more of a solid place to put embellishments and titles so they stand out.


Here's a shot of my torn layers...I just LOVE layering :)


Here you can see the gesso and watercolor up close.  The stamped "Hey You!" pops because of the toned down background.


If you haven't tried gesso yet, I highly recommend it.  It not only helps fade out the background pattern, but it also helps anything wet (like watercolors) dry on your paper without it warping a lot.  It acts as a protective layer between the paper and paint.  I really love using and I've found that my finger is the best way to spread it around :)

I hope this inspires you to break out some of those busy papers and tone them down so you're able to use them!  They can sure be intimidating with all those busy patterns and colors.  Just try it! :D

Thanks for stopping by, and have a great day!

Monday, January 19, 2015

Best Day Ever / CREATE Magazine

Hey there, scrappy friends!  I hope you had a great weekend.  I'm sure by now you've had time to sit and look at the January issue of Scrapbook Generation's CREATE Magazine.  I'm so lucky to be on the design team along with a bunch of other fabulously talented ladies.  This issue features 303 pages of amazing crafty inspiration!  You can download it HERE.  I have a few projects published in there, and today I wanted to share one of them with you.

Jillibean Soup is the featured manufacturer this month, and so I joined in and made a layout using JS products.  These papers and embellishments are all super bright, so I decided to scrap a few photos of a trip to Legoland we took a few years ago.

I started by adding a few long strips of patterned paper onto white cardstock.  I added a bit of washi tape, some distress ink through a stencil, some watercolor and some machine stitching.  I built the layers under my photos on top of all of that with more patterned papers.  I just LOVE the wooden nickels...they are kind of like a cross between big buttons and flair pins.


Here you can see the distress inks and watercolor really well.  I also used some JS stamps on this layout.  The title is also JS...I just messily traced the edges with a black pen.


The JS place mats are fun to use.  I inked this one green.  I love the extra pizzazz they add to a design.


One more close up of the top half.  For the most part, I like to journal right onto my background.  I also added some black splatters around the page.


Be sure to check out the magazine if you haven't yet...it looks amazing!

Thanks for stopping by today, and have a great Monday!

Sunday, January 18, 2015

Creative Scrappers Sketch 286 - The Final Sketch

Hey there, friends!  I'm so sad that this is the very last reveal from Creative Scrappers :(  Kristine has decided to close up shop to take a break and pursue other things.  I can definitely understand how busy life can be, and I wish her nothing but happiness in her future endeavors.  She is amazing, and I have truly enjoyed being on her team for the past year.  Thanks, Kristine, for allowing me to design for you! 

With that being said, here is the final sketch...


And here is what I created.  I had the My Mind's Eye Jubilee Wild Berry out on my desk, so I decided to use it.  I love all the paper strips this sketch has, and it made it really easy to design this.  Now you're probably asking what does Mega Q mean? I'm teach a class at the gym called Body Pump.  It's by a company named Les Mills.  Every few months they hold big quarterly events for instructors all around the world.  Sometimes they're called Mega Quarterly, other times Super Quarterly.  It's a really fun time for everyone to get together and basically work out for an entire weekend!  Trainers and presenters from around the globe come and put on all the different programs.  This is me with one of the Pump trainers from New Zealand.  He is on several of our instructor DVDs, so it was really cool to meet him in person.  Now if you aren't into exercise, you probably think I'm nuts!  I just love working out, and doing fun classes in a room with 1,000 other people is really cool :)

Anyway, I went through the collection and picked out random papers and just cut them into strips.  I wanted to add some watercolor, so I smudged some gesso on first.  Not only does this give the watercolor somewhere to settle without warping the papers, but it also fades out some of the pattern.  You can also get clear gesso if you want the pattern to show through.


I added a few fun flair pins and some thread up at the top along with a banner stamp and some stitching.


Here you can see the overlapping strips....such an easy way to add lots of color and pattern.  That arrow paper clip is from Freckled Fawn.


Here you can see the difference with the gesso and watercolor added.  That big "awesome" is a giant rub-on.  These MME rub-ons go on really smoothly.


I hope you'll play along with us for the last sketch!  The prize from SpeigelMom Scraps is still up for grabs!

Thanks to Kristine and Creative Scrappers for many years of amazing sketches and inspiration!  You will be missed.

Thanks so much for stopping by, and have a great Sunday!

Friday, January 16, 2015

Wonderful Things Will Happen / My Scraps & More

Happy Friday, everyone!  Today I'm sharing a layout I created for last week's Word Up Wednesday Challenge over on our boards.  It was a simple challenge...to use the word "Wonderful" on your layout.  If you have the gorgeous Stitched collection from Amy Tan, this is pretty easy since this sticker is what inspired me for the challenge.

I started off by using a fun die cut from The Cut Shoppe.  I backed all those little plus signs with patterned paper and then stitched through some of them.  I took some old Cosmo Cricket sentiment stickers and used them in place of journaling.  This title made me think of little pieces of advice I'd like to give my daughter, so that's the idea I had in mind when using those.


These fun transparent alpha stickers are part of the collection, and they come in several color.  I think they really stand out, especially up against the black.  I adhered the sticker to some white cardstock and just cut it out and raised it up.


Lots of fun embellishments in this collection...die cuts, fabric stickers and puffy stickers!  What's not to love?!


Here's another close up of the stitching and layering.  If you don't have a sewing machine, I highly recommend one...and believe me, if I can use it and not mess it up, anyone can!  Haha :D


Thanks so much for stopping by today.  I hope you'll check out what's going on the store these days...and stay tuned for lots of new goodies coming in soon!

Have a great day!

Wednesday, January 14, 2015

You Sparkle & Shine / The Cut Shoppe

Hey there, friends!  I hope you're doing well today.  I have a layout to share with you...it's my latest design for The Cut Shoppe.  I fell in love with the Retro Rounded Corners cut file as soon as I saw it...I knew it would make the perfect background on a layout.  I did just that, and I used the You're a Gem cut file for part of my title.

Check them out:


Here's my layout.  I used the gorgeous Dear Lizzy Serendipity line from American Crafts, and I just adore these beautiful colors.  I decided to use the pretty pink hombre paper as my background.  The back of it is full of cut-apart pieces, and after I cut it, I noticed how cool it would be to piece the backside of the paper back into the front side.  So I did that and came up with a really colorful background.  I did add some gesso, watercolors and gelatos before adding my layers under the photo.


Here's a close up of the layers.  I added a few stickers, some tangled thread and some rhinestones.  I just had to add some bling since my title contained the word "sparkle."  :D


Here you can see one of the cut files.  I love mixing my alphas, and this cut file was perfect for this layout.


Here's a close up of the background and layers.  I love that this Retro cut file is so versatile and can be used for practically any type of page.  It all just depends on your photo, your color scheme and the collection.


One more shot of all the fun embellishments.  I love all of these colors mixed together...they're all just so pretty.


Thanks so much for stopping by today!  I hope this inspires you to give this fun cut file a shot...it's really a 2-for-1 cut because I still have all of the flower shaped pieces that were cut out.  I'm planning on making another layout with them!

Have a great day :)