Hey there, friends! I'm back with another layout for the Paige Evans Design Team. I decided to do a throw back layout and use Paige's Whimsical collection that came out a few years ago. The colors and patterns are perfection, and I could not resist making a fun rainbow hexagon design. I used Paper 8 for the background with that gorgeous purple ombre. I fussy cut lots of hexagons from Paper 5 and arranged them how I wanted them. Once I had that decided, I pulled out some white gesso and added some to the lighter part of the background. I needed to prep the paper for mixed media, and I used a few Shimmerz Paints to add some pinkish purples & a bit of orange.

I used a brush and a little bit of water with the Shimmerz to spread it around this bottom area. Once that dried, I splattered some white acrylic paint and some Gold Glitter Spray. I glued the hexagons down and machine stitched through them using metallic gold thread. I added some blue thread in a few places to add a pop of color & texture.
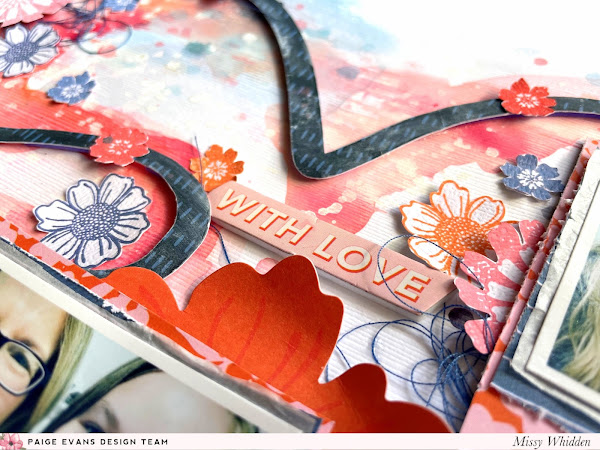
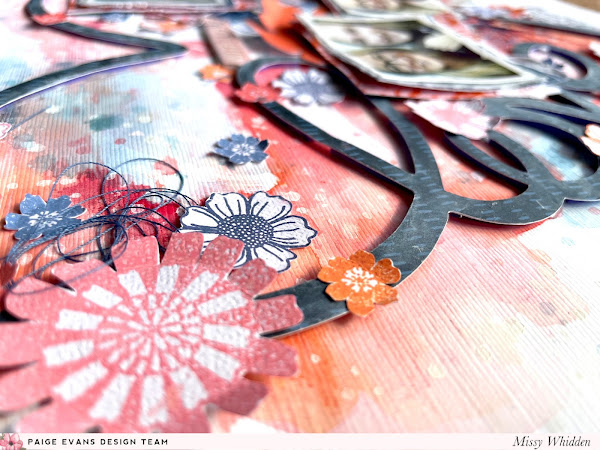
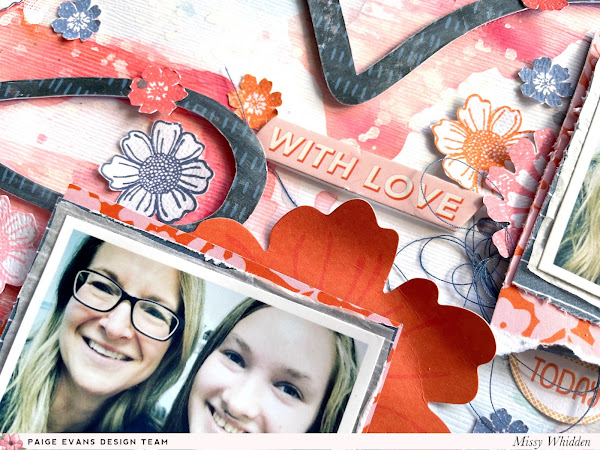
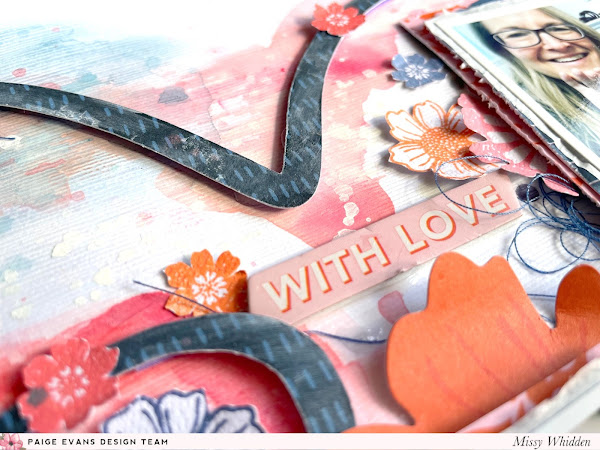
 I was excited to pull out the Rub-Ons from this collection...I hadn't used them in forever! I added some sentiments in a few places and then embellished with lots of flowers. I fussy cut several from Paper 14 and then added some that were stickers, chipboard stickers and die cuts. I also wanted to use this shiny gold ampersand die cut just because :)
 Here is where I added more blue thread. You can tell that I added some adhesive foam under lots of the flowers to create some height. Layering them also makes a big difference.
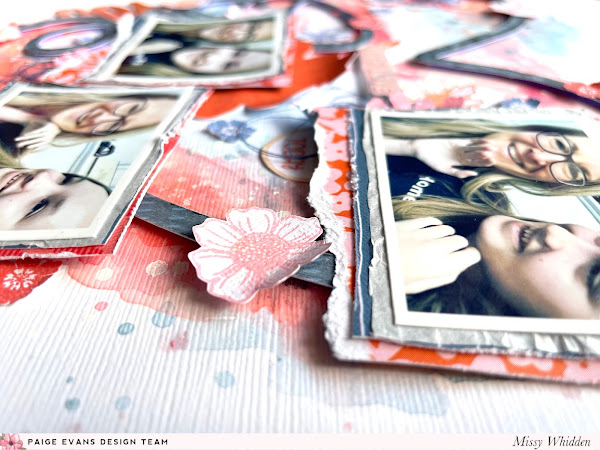
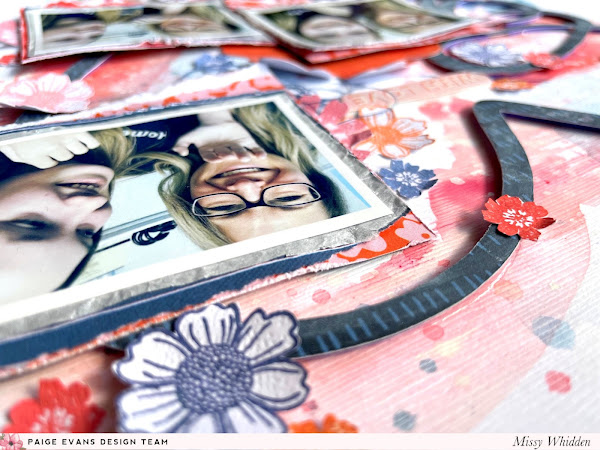
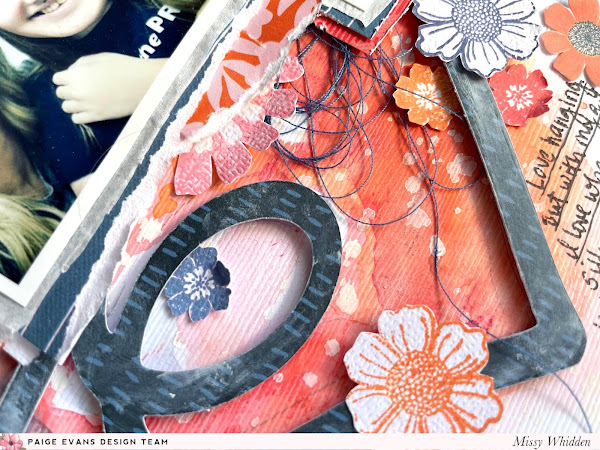
 More flowers here on this side, too :)
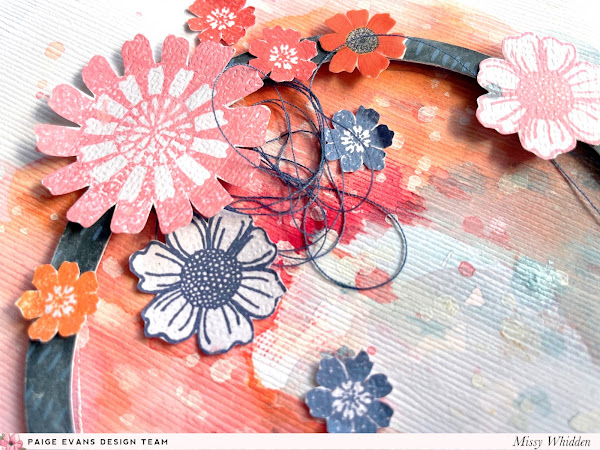
 I wanted to keep the top part of the page gesso-free. I love how the white splatters are so bold against the dark purple. And these colors are so pretty here.
 I just love these beautiful colors!
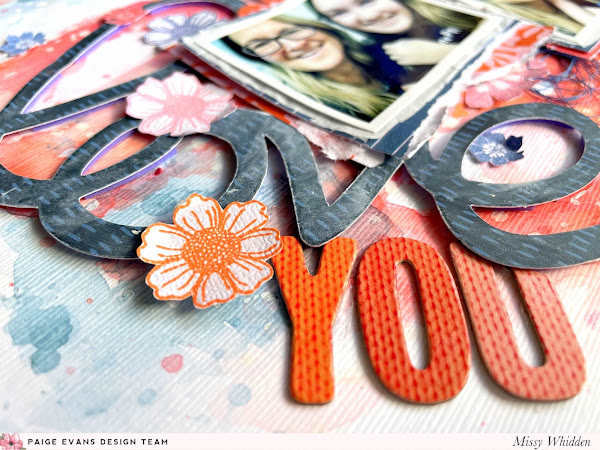
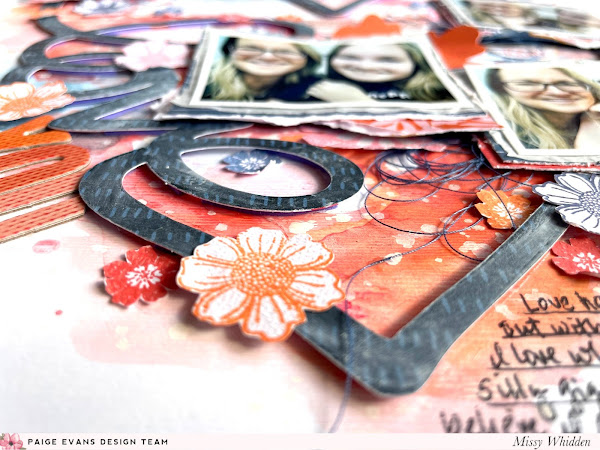
 I used some of the Mini Foam Thickers for the title. It was the hardest part about this layout. Sometimes I begin with the title and other times it's the last part I do.
 More close-ups:


 I hope this inspires you in some way today! I had lots of fun making this one. It was awesome to use an older collection and see it in a whole new way.
Be sure to check out my process video here:
Thanks so much for stopping by! Have a wonderful week :)