Wednesday, April 30, 2014

Outdoor Girl + a sketch

It's Wednesday...yay!  Hope yours is going well so far.  Today, I'm sharing a sketch I created for the April Sketchathon going on over on the My Scraps & More forums.  Today is the last day...it sure went fast!  This was up on the boards last week.


I used some of the awesome October Afternoon Daily Flash goodies for this one.  I just love the color combo here, and it looks really pretty up against the grey & white striped background.  And I knew that cute little deer would be perfect for these photos of my little outdoor baby :)

This layout came together pretty easily.  It's a lot of paper layers with some tape and embellishments thrown in.  This collection made it easy to embellish.


I pulled out one of my Martha Stewart border punches...hadn't used any of them in a while it seems.  I also mixed my title with some old Lily Bee alphas and some burlap Thickers.


I found these cute wood veneer flowers on clearance at Michael's, and I used a Ranger paint dauber to color them.  I also traced around the edges with a white pen.  They're great for layering with paper, stickers and cord.


Here I combined a tab, a banner date sticker, a die-cut arrow and a chipboard piece to create a little corner cluster.


The sketchathon was so much fun...I have one more sketch and page to share.  Each design team member created five, and I've shared four of mine so far.

Thanks for taking a peek today!

Tuesday, April 29, 2014

Today / My Creative Scrapbook

Happy Tuesday, everyone!  Today I'm sharing my final page featuring the April Main Kit from My Creative Scrapbook.  It's also my final layout as a Design Team Member.  I have decided to step down from the team.  As much as I love being a part of it, life has just gotten busier these days and I had to let something go.  I don't like feeling rushed to complete projects, and my time limits just didn't allow me to put the time and energy into designing with the kits like I wanted.  I will truly miss designing for Pam and the team, but I know it's the best decision for me at this time.  A huge thank you to Pam for allowing me to work with her and her beautiful kits for the past year!

Now, onto my page.....I went crazy with the white Thickers for this one.  I decided to use them as a background design.  (There's a little tutorial following my close ups on how I did this).  I wanted to go simple on this page and allow the black and white photos to stand out.  I also didn't do any journaling on this page...I felt that the photos and the small title sentence spoke for themselves.


I loved creating this letter and number collage for my background.  It came together really easily and fast.  I die cut the word "today" on my Cameo and layered it on top of the Thickers and photos.


These adorable flower die cuts are fun to work with, and there are a ton of them in the kit.  They're from the Pebbles Garden Party collection. There are also Prima flowers included.  I sort of tore them and crumpled them up to layer them under the photos.  I don't like a lot of bulk, so I smushed them pretty good so they'd fit under the pictures.


And here's a pink one..aren't these colors just gorgeous?


Here's a quick little How-To on my background.  I created this sample after I created my layout, so I used the left over Thickers. 


Easy!  You can certainly do this same technique with acrylics or mists...I just always have my watercolors out because I use them a lot.

I hope this inspires you to go through all your old Thickers and alpha stickers (you know you have some older ones that you haven't touched in years...haha!).  Use them up....especially all the odd leftover letters you'll never use.  Chances are, you will never use them in a title.  So create a background with them!

Thanks for stopping by, and have a great day!

Sunday, April 27, 2014

Creative Scrappers #267 + Design Team Call

Hey there!  I hope you were able to hop along with our awesome Creative Scrappers Birthday Blog Hop this weekend!  So many amazing sketches and layouts were revealed to inspire you...and it was so much fun!  Today is our next sketch reveal....and it's a GREAT one!  Check it out...


I used the new Summer Bliss line from Echo Park for my layout.  I wanted bright and summery, so I pulled out some pool photos to scrap.  Echo Park has a way of making me go very bold :)  I just wanted to use up every embellishment on this one page...haha.


My usual "thing"....layers, paint, stickers, thread, tape...but it always works!


I think there is one of everything in this close up...paper, tape, stickers, die-cut, brads and my pop dotted title sticker.


How many close ups did I take here?  Haha!  I just couldn't help myself...color was bursting everywhere and I just kept snapping.  There's some chipboard and a button :)


Okay, one more :)  Isn't that light teal color just gorgeous?  Oh, man...it goes perfectly with these gorgeous summer colors.


Be sure to check the Creative Scrappers blog and see what the rest of the team created, and then upload your layout there, too!

In case you missed the announcement, Creative Scrappers is having a Summer Design Team Call!  If you'd like the chance to be on this amazing team, click HERE to read all about applying.  Kristine is a dream to work for, so give it a shot!

Thanks for stopping by, and have a GREAT day!

Friday, April 25, 2014

Creative Scrappers - Birthday Bash!

Welcome to the Creative Scrappers Blog Hop!  We are celebrating 6 years of Creating With Sketches.  We're so excited to share 12 new sketches for you today and some inspiring layouts as well.


We'll be giving away a few prizes, so be sure to play along and check back on Saturday night, April 26th, to see if you're the lucky winner!

Here are the different ways you can play along:

1.  "Like" Creative Scrappers on Facebook.
2.  Comment on our blog or our Facebook page.

Here is the amazing sketch I worked with.  I love all the layering opportunities this one gives!  Let me tell you my FAVORITE thing about a Creative Scrappers sketch....I'm ALWAYS inspired to try something new.  They give me a push to set up my pages in ways that I wouldn't normally do if I just tried to freehand it.  I always wind up creating something totally unexpected, which is amazing to me.


Here is what I created. I used lots of Heidi Swapp Hello Today products for this layout.  I love that the navy blue, light teal/blue and pink were all in my photo as well as this collection, so it all went together so well.  I added a bit of modeling paste, watercolor and washi tape to my background and then went on to add lots of paper layers for my two clusters.  I also added in some vellum and hand stitching.

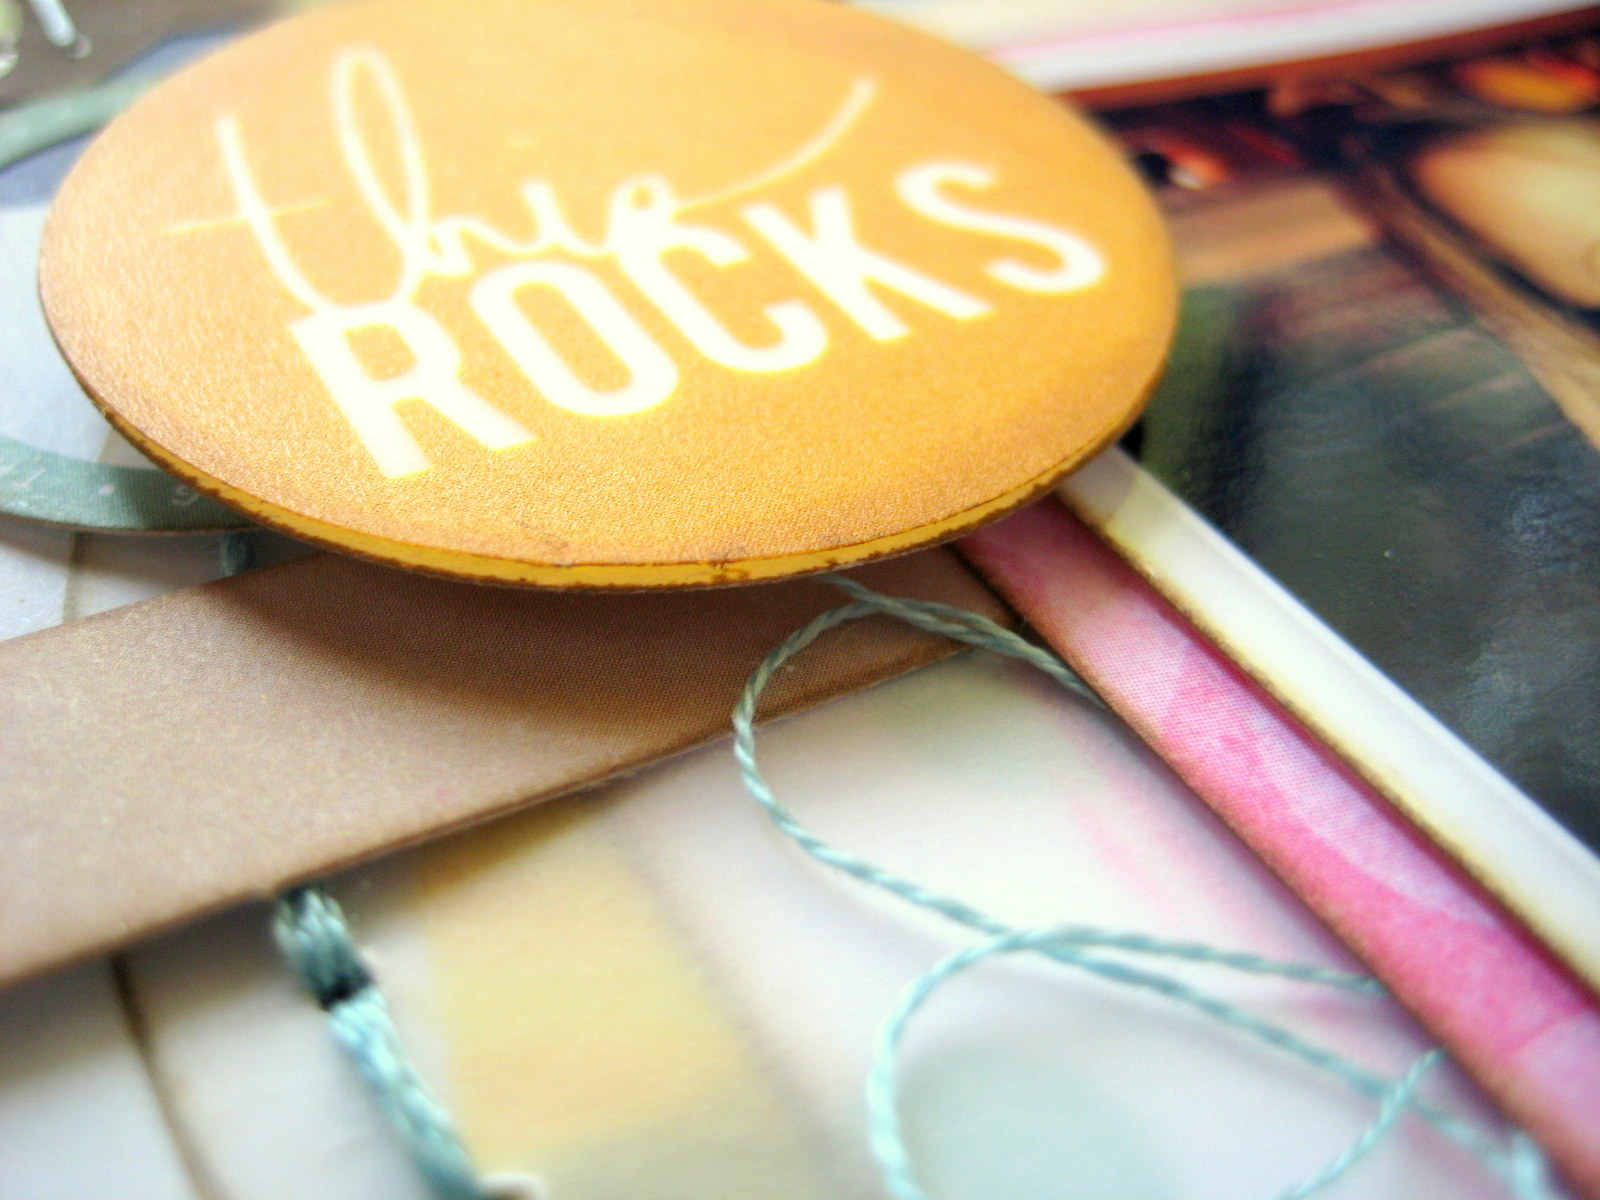
One super fun thing about these Heidi mistables....they are SO fun and awesome!  They come white and whenever you mist them or ink them, the white design shows through.  My "awesome time" title is one of those pieces, as well as the yellow and pink arrows.  So glad I finally gave those a try!


I love these acetate arrows and circle stickers...just perfect for embellishing and layering.  I also did some hand stitching on this page...something I haven't done in a while.


I love tearing my paper, especially when I'm layering it.  I like the uneven look.  And this is also why I love tangled thread....it just adds a bit of messy chaos.


Another area of stiching and layering, along with some buttons, thread, tape and paste.


More layering and adding dimension...


Here is the Blog Hop order:

Amanda Johnson
Ashley Horton
Danielle de Konink
Jenny Evans
Jody Rogers
Kathy Skou
Kristine Davidson
Michelle Whorwood
Missy Whidden
Sherri Funk
Stephanie Hart
Tara Elias
Back to Creative Scrappers

Head on over to the Creative Scrappers Blog and download our sketches from today's Birthday Bash Blog Hop!

Thank you for playing along today, and check in Sunday with us for more layouts using Sketch 267.

Now head on over to Sherri's blog to continue the Hop!

Thanks for visiting today, and enjoy the Blog Hop!

Thursday, April 24, 2014

Lots of Layers / Chickaniddy Crafts

Hi there, friends!  Today I'm sharing a fun and festive Spring layout with you featuring the beautiful Twirly Girly collection from Chickaniddy Crafts.  This page focuses on Spring time and showing how adding lots of layers can really make your layout stand out.  You can also check out this page HERE on the Chickaniddy Blog today.

The Twirly Girl collection is just bursting with bright reds, pinks, yellows and greens.  The perfect line for Spring time photos.  The cute pictures of my little one running around in her pink dress showcase everything so well.  Layering really isn't all that difficult.  The hardest part is deciding which papers you want to use.  My process is always to find the smallest layer to go behind my photos, and it needs to be a color or pattern that doesn't compete with the photos.  The next layer is a contrasting color and pattern, and it's always a little bit of a bigger piece.  Then, depending on how many layers you want, you just keep adding another paper behind it while making sure it's a contrasting color and pattern.  They'll all just blend together if they are similar in color.  It really depends on the look you're going for, though.


I also like to layer my title stickers over die cuts sometimes.  I cut this circle pattern on my Silhouette Cameo and layered it into my photo layers.  Then I added my title on top of that.  I cut "spring" in white cardstock and then used watercolors to paint it a coordinating orange color to make it stick out. I also traced around the pink alphas with a gold pen since I was adding gold accents around the page.


Another fun way to add a layered look is to add pop dots to embellishments.  This big pink flower sticker creates a shadow and depth.  This is great for adding thread or other embellishments underneath it. I also added a brad and a little banner piece here.


Again, another shot of paper layers.  You really can create so much interest just by sticking little pieces in behind other pieces.  This green piece was one of the little card-sized pieces cut from a piece of patterned paper.


Another touch of gold here...I punched a few butterflies from the gold foil paper.  It's so easy to use!  It cuts and punches very clean and easy.


So don't be afraid to create lots of fun layers on your pages.  There are lots of ways to experiment with it...have fun trying!

Thanks for stopping by, and have a great day!

Supplies Used: TG140S05 Paper Posies, TG140S10 Grandma's Quilt, TG140S11 Never Grow Up, TG140S01 Rosy Posy, TG140S02 Birthday Girl, TG140S04 Keepsakes, TG14EB01 Alpha Stickers, TG14EB02 Sticker Sheet, TG14EB04 Mini Sticker Tags, TG14EB06 Brads, CN14SP001 12x12 Gold Foil Paper, Recollections Washi Tape, Heidi Swapp Gold Color Shine, thread, Silhouette Cameo, cardstock, Sharpie Black Pen, Pentel Gold Pen, Recollections Date Stamp, StazOn Ink.

Tuesday, April 22, 2014

Forgot to share this one...maybe because I don't like it...

Hello :)  I just realized I forgot to share this St. Patty's Day page here on my blog from last month.  It bugs me because no matter how many times I photographed it, I couldn't get the lighting right for some reason.  The right side is darker than the left.  I finally gave up and just edited it the best I could without overexposing the photos.  Some layouts photograph perfectly while others give me a hard time.  I photograph mine in front of a big bay window with natural light, but sometimes they just don't turn out that great.

Oh, well...you still get the idea of all the colors, right? :)

I created this page for a challenge at My Scraps and More.  Obviously the girls were dressed in their "lucky" colors, so I decided to use my Cameo to cut out a big shamrock out of cardstock.  I watercolored a green piece and backed it.  Then I went crazy with rainbow colored washi tape over on the side....I really had no thoughts about this one...I just started sticking and painting.  Usually I love a rainbow, but something about this page just bugs me...haha.


I do love these hearts!  I stamped and Elle's Studio heart stamp with embossing ink and heated gold embossing powder over it.  Then I cut them out.  Super fun way to make your own embellishments!  I also traced around the shamrock with a gold pen.  I'm sort of on a gold kick these days :)


This sort of went wrong here, too.  Stamped more hearts to emboss....and didn't realize the gesso I had used over the tape wasn't completely dry.  So the glitter stuck to it.  Geez!  I act like I've never made a scrapbook page before...haha!  Rookie mistakes here.


Some REALLY old loopy Doodlebug alphas here and a Cameo cut.  I do love that Queen & Co. rainbow striped washi tape....although it tears really easily when I'm trying to peel it from the roll.


Thanks for stopping by and listening to me rant about this page....haha.  Have a great day!

Monday, April 21, 2014

You Are My Sunshine / My Creative Scrapbook

Happy Monday, everyone!  Today, I'm sharing another layout I created using the April Main Kit from My Creative Scrapbook.  I also used a sketch I created for the April Sketchathon at My Scraps and More.  This kit is full of the super bright & fun Garden Party collection from Pebbles.  It has so many bold Spring colors and flowers!


This was a pretty simple page...all the squares allowed me to use  a lot of embellishments, like cork, stamps and buttons.  Here I added pop dots to this title piece and added some tangled thread underneath it.


A few simple layers here.  I love the black and white photos...they really pop against the bright colors.


This button was a cheapy find from Walmart a long time ago!  I bought all the packs they had because I seem to use this color all the time it seems.


These cork butterflies are included in the kit...aren't they so cute?


Here's the sketch I created:


You can go HERE to see all the month's available kits, and you can go HERE to see the design team gallery as well as the guest designers.  You can go HERE to check out the April Sketchathon at My Scraps and More.

Thanks for stopping by today!

Friday, April 18, 2014

My Scraps Sketch #77

Hey there, and Happy Friday :)  Today's layout is based on the new sketch that is up on the My Scraps Sketch Blog...and it's an awesome one!  I had lots of fun working with this one.  I used papers and embellishments from the new Studio Calico Lemon Lush collection.  My favorite part...the sequins!

I traced a few rectangles for my background.  I painted the aqua one with watercolors and used sequins to fill in the other one.  I used a few patterned papers from the collection, and then added in lots of random goodies from my stash.  Washi tape, wooden veneers, Cameo cuts, buttons, and stamps.


I had this circle cut left over from another project.  I painted it with watercolors to match that yellowish-green color.  I added in some thread...I can't believe it matched perfectly :)  Those sequins...I just love the colors!


I pulled out some really old Thickers, but they matched!  And I just grabbed a purple marker and wrote "friends" out on cardstock and then cut it out.


I believe this wooden tag came from a pack of various shapes I picked up from Michael's not long ago, and that button is a Walmart special :)  I painted the tag with watercolors, too.


Here's the sketch:


Be sure to come over to the blog and see what the other team members created using the sketch.  I hope you play along with us...there's a great prize up for grabs!

Have a great day!

Thursday, April 17, 2014

A Sketch for My Scraps & More

Happy Thursday!  Man, this week has been busy and fast!  I just realized I hadn't posted since Monday.  Now I have a sick little girl home with me, so she's missing her school Egg Hunt today :(  Vomiting is for the birds!!  Ugh.

On a brighter note, I'm sharing a layout I created for the April Sketchathon going on over at My Scraps and More.  I didn't realize how fun it is to create sketches!  All the Design Team Members are creating their own sketches, and a new one is posted every day this month.  Here's one of the sketches I came up with...


And here's the layout.  I used primarily the Lemon Lush collection from Studio Calico.  I love the bright colors and fun patterns.  I'm usually not a crazy green color lover, but this background paper matched the green in her shirt perfectly.  I added some gesso to blend out some of the text, and then modeling paste over a stencil, then some watercolors.  I wanted to bring out the blues in the patterned paper.

There are a couple of American Crafts embellishments thrown in here, too.


Lots of texture right here.  Modeling paste, tape, paper and thread.


And the other side.  I just love these fun red alpha stickers from SC!  The SUMMER stickers are from my stash...I think they're Doodlebug from years ago.  I painted them a darker blue to match.


One more shot...I had a blue button that matched the other blues.  This yellow piece is one of the vellum cards in the SC collection.


I hope you can join us for the Sketchathon!  There's still time to play with us...it's only the 17th.  Still lots more sketches to be revealed!

Thanks for stopping by, and have a great day!