
Hey there, friends! I'm back today with a new layout for the Paige Evans Design Team. This page features one of Paige's new cut files from her 20 Days of Autumn Cut Files.
I started this by cutting the Banner from white cardstock. I sorted through all of the Garden Shoppe patterned papers and chose Paper 22 for the background. My photos have a lot of green and yellow, so the pretty periwinkle color was perfect. I also wanted to add in some pops of pink so I used Paper 11 to back the cut file. I lightly glued the paper behind it but left a lot of it loose so I could curl up the edges of the banner.

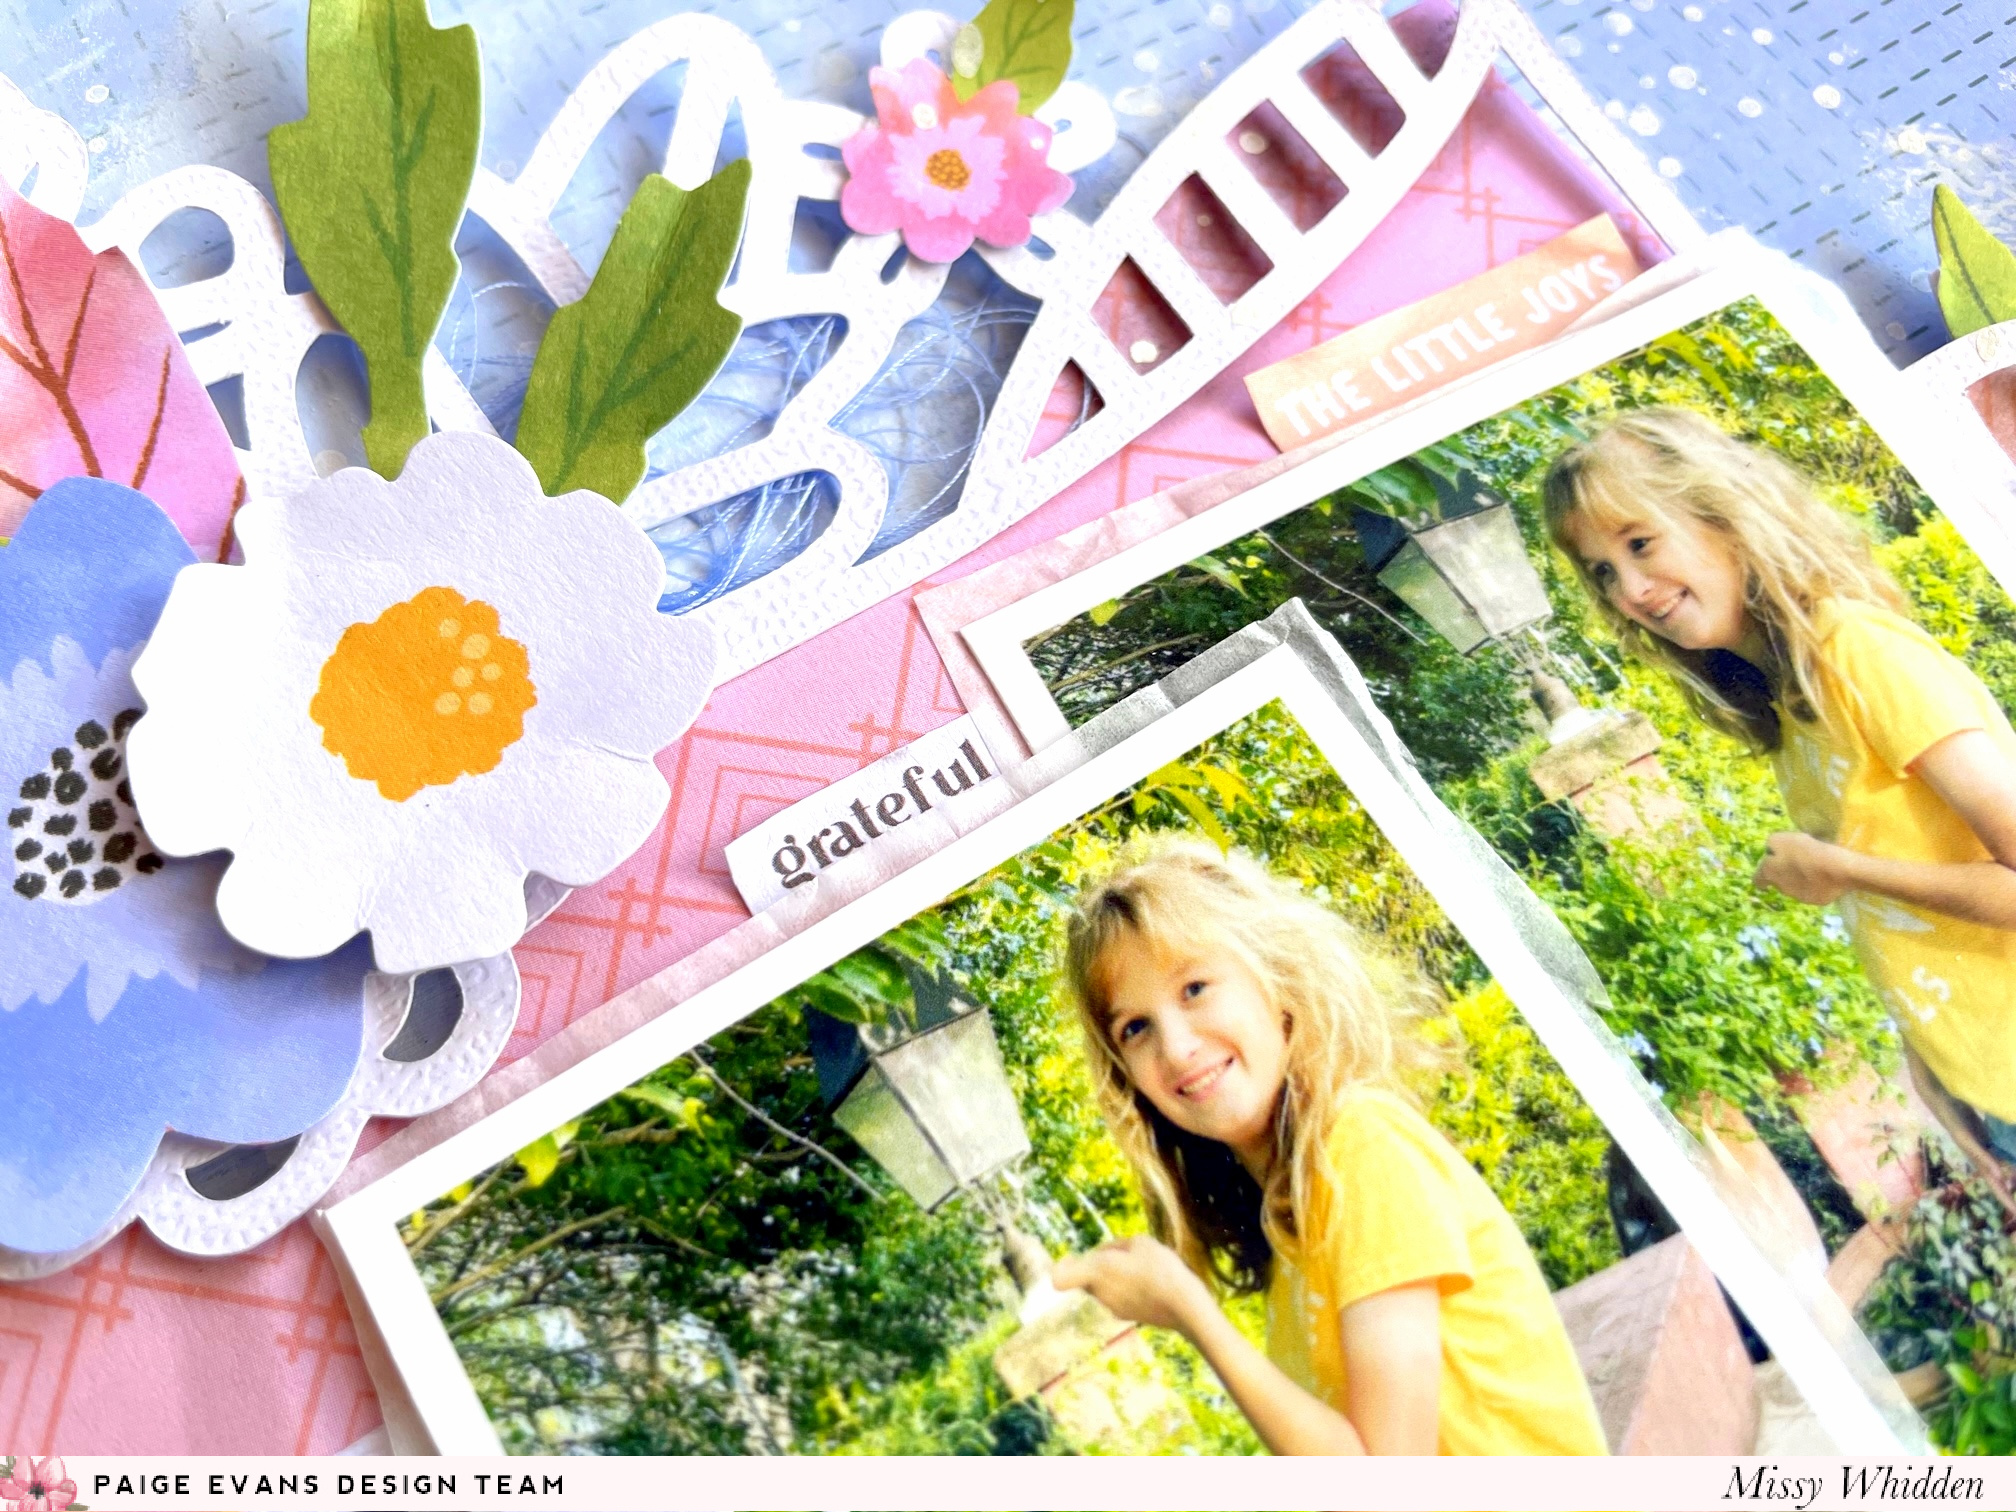
I decided not to add any extra color to the background. I smudged a lot of white gesso down behind and around the banner - this softens up the blue and creates a cloudy hazy effect which makes the banner and photos stand out a little more. I popped the banner up with adhesive foam and embellished with lots of daisies and leaves. I used three large flowers and leaves from the Floral Die Cuts as well as Layered Stickers and flowers fussy cut from Paper 6. I also layered in a few of the periwinkle flowers and I fussy cut a few small pink flowers from the 6x8 Paper Pad. Flowers and leaves are wonderful for creating depth because they curl up off the page nicely.  I love letting things pop of the page like this. All you need is a bit of glue. Don't feel like you have to glue the entire thing together. This effect makes a big statement in a subtle way.
 I also tucked in blue and yellow thread in a few places for added texture and interest. This Banner makes it easy to place your photos - I easily used two right in the center area. You could even fit more above and below. I repeated the flower layering on all three areas, popping up a lot of them with adhesive foam.

 The white splatters were made with white acrylic paint - it always shows up so well on paper like this.

 The trick to getting the white cloudy effect is working fast with the white gesso. As soon as it hits the paper, start scraping and smudging. Use your fingers! I didn't want streaks or brush strokes, so fast smudging was the way to go.
 I also used a phrase I fussy cut from Paper 23 to use for a small title. I also used a smaller title sticker from the 8-Page Sticker Book. I love that there are many options for smaller titles in this collection. Sometimes you don’t need a big title and these small phrases are perfect.
 I took a ton of close-ups, so here are more detailed images :)


 I really love how this turned out and I hope it gives you some ideas to try with the Garden Shoppe collection and Banner Cut File! Thank you so much for stopping by, and have a great day!


Here is my process video:
