Saturday, November 30, 2019

Christmas Holidays / Hip Kit Club

Happy Weekend, friends!  I'm back today to share a new layout for Hip Kit Club.  I used the 2019 November Hip Kits & December Documented Kits.  There are a ton of exclusives this month.  I started this page with all those little die cut trees from the Color Kit.  They come white, so I used lots of the Lindy's Stamp Gang products to color them.  I used a mix of the red, pink and green that come in the kits this month as well as the Jen Hadfield Gold Glitter spray.  It's almost identical to Heidi Swapp Gold Color Shine, so YAY for that!

I used white cardstock as my background, and I coated it with clear gesso first.  I pulled out some blue Lindy's sprays from older Color Kits to create the blue on the background.  I also splattered some watered down white acrylic paint to create "snow" and more of the gold spray.


I did add gesso to the trees before adding color.  It just allows for more blending and shading.  I mixed in a little white paint also before they dried.  I really love how these turned out!  I used a big chunk of the large gold glitter scalloped ribbon here as well, and I stitched through it using gold thread.  The kits also contain a set of holiday die cut frames from Pretty Little Studio.  I didn't use the actual frame, but I fussy cut this tree & flowers from one.


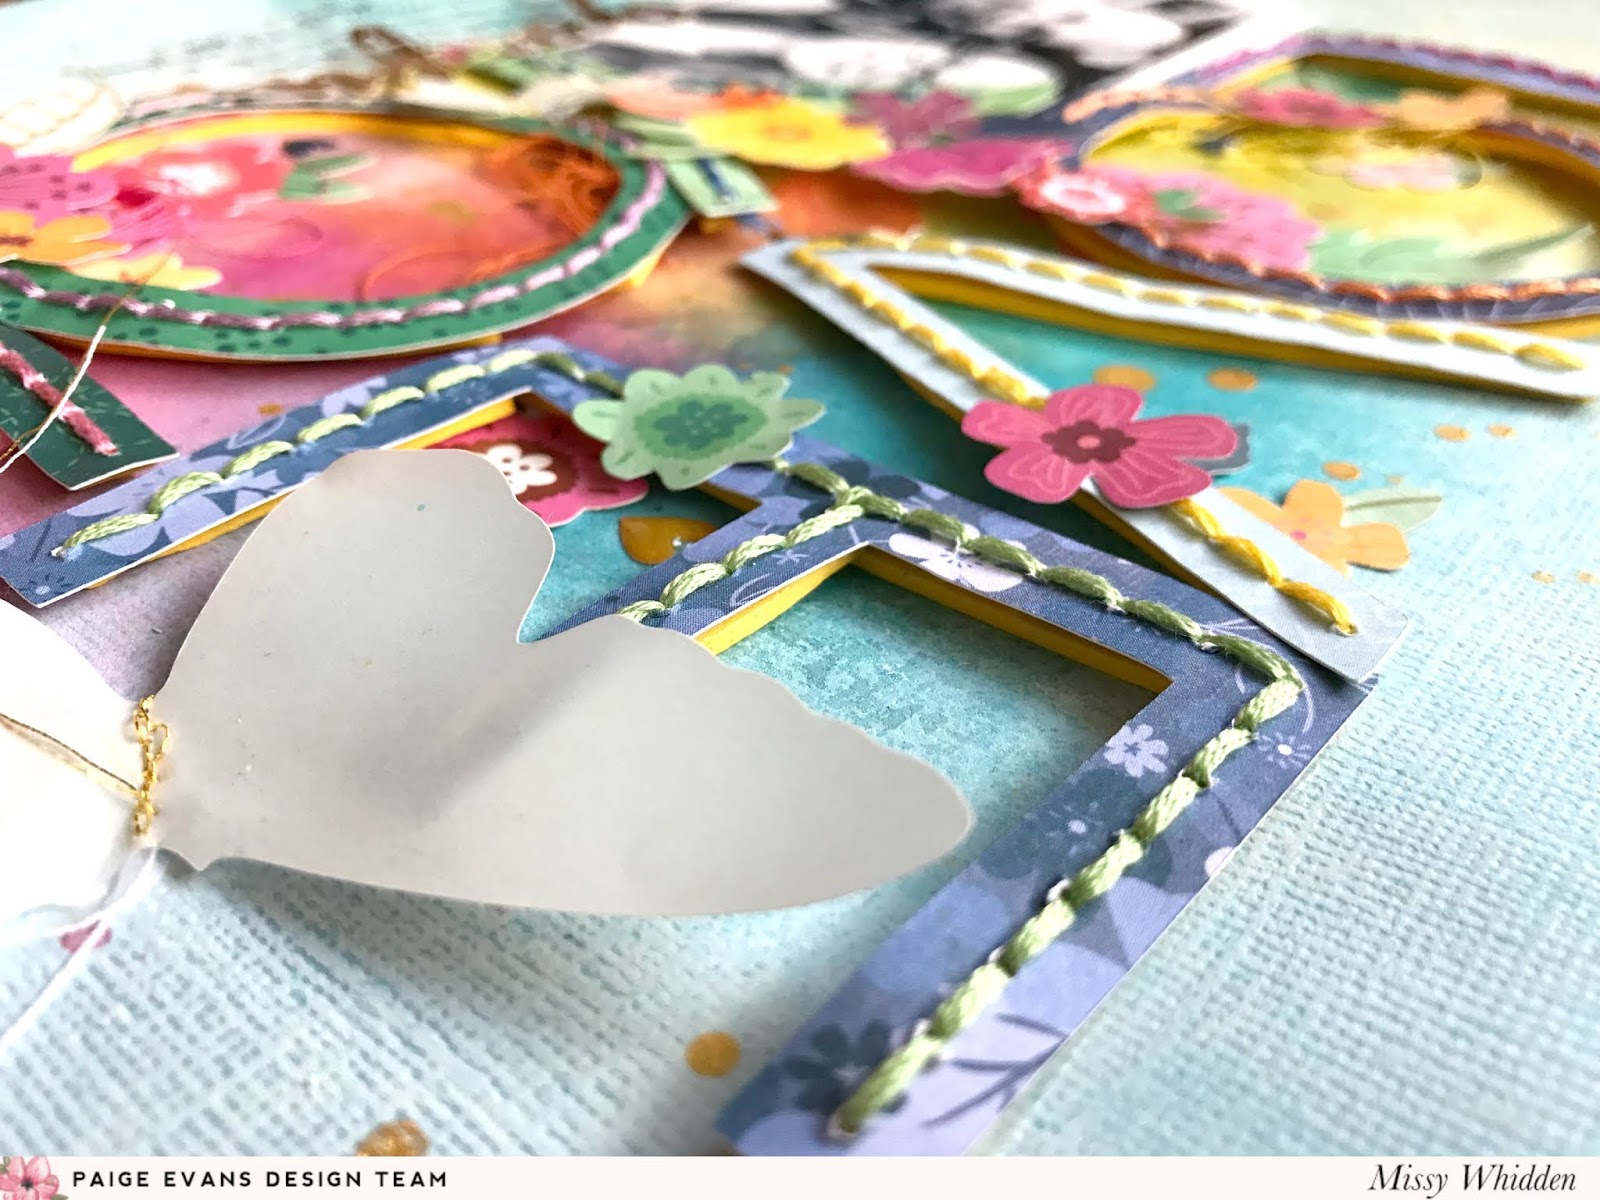
There is an entire pack of beautiful die cut flowers...lots of poinsettias.  I created dimension here by adding adhesive foam behind the photos and tucking in some thread.


I love using nontraditional colors for Christmas pages.  Too much red and green gets overwhelming for me, so I like to use them sparsely.  Also, using different shades of those colors helps a lot.


This Christmas piece here is actually from a die cut.  I just fussy cut around the edges and mixed it with some of the exclusive puffy word stickers.  The Holidays alphas are actually black, but I painted them with white gesso and then added some of the Gold Glitter spray.  I stitched through it once it was dry.  I added a few more stickers under the photo and then wrote my journaling at the bottom using a metallic gold pen.


More pretty die cuts here at the top...


And one more up close photos of all the details:


I hope this inspires you in some way today :)  There are SOOOOO many things in the kits this month.  I don't think I'll ever run out!  More apologies for not having a video again...my channel is still down and being investigated.  I feel pretty lost without it.  Hopefully it will be resolved soon....this is driving me crazy!

Thanks for stopping by, and have a great day!


Monday, November 25, 2019

Merry Christmas / Pretty Little Studio Guest Designer

Hello again, friends!  I wanted to share a layout I created using Kim Watson's new Glitter and Ice collection for Pretty Little Studio.  I was so excited when she asked me to make a few projects with it, and here is the first one.  This line is full of the cutest holiday images.  I used a lot of the adorable die cut trees on this mixed media layout.

I used a light blue cardstock as my background since it would make a nice contrasting color.  I smudged a lot of white gesso down first and let it dry.  I used a few green shades of Shimmerz sprays over it.  I used Coloringz Oh Say Can U Sea and Vibez Velveteen Green.  I also splattered some watered down white acrylic paint to create the illusion of snow.  The silver splatters are Vibez Grey Flannel.


I used the Back This Font alpha cut file by Paige Evans for the word "merry," and I backed it using patterned papers from the collection.  "Christmas" is a die cut as well as all the trees.  I created lots of dimension by adding pieces of adhesive foam behind a lot of the pieces.


There are lots of metallic pieces in this collection, and this cute tree has silver dots on it.  I used a die cut frame as a layer behind the photo, and I also tucked in some blue thread.


This collection has two sets of flair, and I used a few of those on the layout.


I created a little cluster above the title using more die cut trees, a second flair button and some silver thread.  The silver snowflake clear stickers are also from this collection.  They are actually shiny and metallic, but I toned that down by smudging some white gesso over it.  I love the matte effect!


Here you can see how awesome the dimension turned out.  I really makes a big difference just by popping pieces off the page with foam.


Here are even more close-ups because I always take too many :)


I hope this inspires you to get your hands on some or all of this collection.  It's so beautiful, and there are so many pieces to choose from.  You can get it HERE.

I will have another layout using this collection coming up soon.  Again, I am so sorry there is no video for this layout.  My channel is still down due to an evil hacker.  I'll keep you posted if or when it gets fixed!

Thanks for stopping by, and have a great day!

Saturday, November 23, 2019

Smile / Shimmerz Education Team

Happy Saturday, friends!  I'm here today with a new layout for Shimmerz Paints featuring lots of beautiful Shimmerz colors.  I wanted to create a Fall page, so I decided to go with a fun leaf design.  I used a leaf stencil with some Glass Bead Gel.  It's thick like gel medium but has tiny clear beads mixed in.  I scraped it over the stencil with a palette knife over some white cardstock and let it dry.  Then I  painted each leaf with various colors of Shimmerz (original formula).  I used the following colors:

These colors together make such a soft pretty color palette.  The glass bead gel creates some amazing texture, and I love how dimensional the leaves turned out.  I used white cardstock as my background, and I coated a lot of that with clear gesso.  I used those same colors mixed with a bit of water to spread and blend, and then added some splatters.


Once the leaves were dry, I fussy cut them out and scattered them around the page.  I also added some stamps to the background.  I used leaf stamps from the Bed of Roses and Fresh Start Stamp Sets.  I used a gold ink pad to stamp those directly onto the background.


I used some white tissue paper with metallic gold dots as a layer behind my photos, and tucked in some hot pink thread here.  I used an older matte gold Thicker as my title.


I absolutely am in awe of this amazing texture!  The Shimmerz worked very well on the glass bead gel.  I also used the same stencil to trace a few leaves onto some vellum.  I cut those out and machine stitched on them using gold thread.


I love the original Shimmerz...it's always SO shimmery and glittery!  I did use a bit of Inklingz Miner Miner 49er on the leaves and background as well.  It's my favorite gold.


Here are more detailed images.  I always take a ton :)


I hope this inspires you in some way.  I love how this turned out!  I'm so sorry there is no video for this layout.  My YouTube channel was hacked last week, and it was removed altogether.  I was no longer able to even log in.  Google is investigating and working on it, so hopefully it will be fixed soon.

Thank you for stopping by, and have a wonderful day!


Don't forget to mention my name when you make a purchase and check out in the Shimmerz Store...you'll get a freebie paint to try!


Wednesday, November 20, 2019

Wonderful Joy / Hip Kit Club

Happy Wednesday, friends!  I'm here today with a new layout for Hip Kit Club featuring the 2019 November Hip Kits and 2019 December Documented Kit.  Man, are they gorgeous!  Almost everything is exclusive, and they are filled with gorgeous holiday goodness.  It was hard to get started because everything is just amazing.  I decided to scrap these two cute pictures of my daughter in a Santa hat.  I used a light pink patterned paper from the Main Kit as the background, and I used the two Lindy’s Stamp Gang Magical Powders from the Color Kit as well as the silver Nuvo Glimmer.


I coated most of the background with white gesso first and then activated the powders with water.  The colors spread around the page and created lots of different pink and red shades.  I created a fun line of ornaments spreading across the page.  I machine stitched with some gold thread.  I used some ornament stickers as well as some of the plain chipboard die cut ornaments.  I used the Moxy Embossing Powder from the 2019 December Documented Kit to create the gold ones and the silver Nuvo Glimmer to create the silver ones.


I added a title in the center above the ornaments using one of the puffy word stickers from the Embellishment Kit.  This turquoise color was perfect!  Beside each photo I created a little cluster of Christmas trees.  Some are stickers and some are die cuts.  I also used this cute Santa die cut.


I layered a few Pocket Life cards behind my photos as well as some white tissue paper.  I adhered a few chipboard snowflakes and some of the acrylic stars.  I love the dimension on those!


For this word “joy,” I used one of the exclusive stamps.  I used a gold ink pad from my stash, stamped it on some white paper and then cut it out.  Here’s a great shot of the shimmer from the Nuvo Glimmer…I just smudged the paste right onto the background.


I used a few more of the acrylic stars to top some of the Christmas trees.  I also decided to use gold on this page in addition to the silver.  I splattered the Jen Hadfield Gold Glitter Spray.


Here are some more close-ups of all the details :)


I used a gold metallic pen for the journaling here at the bottom.


I added some adhesive foam under some of the ornaments to raise them off the page.


I hope this inspires you or gives you some ideas for your November Kits!  There is SO MUCH to choose from, so the possibilities really are endless.  I’m looking forward to a month of fun holiday pages using all these goodies!  I do not have a process video for this.  If you were not aware, my YouTube channel was hacked last week and eventually taken down.  Google is working on resolving the issue, but as of right now, I don’t even have a channel.  I will resume making videos there once this is figured out.  Thank you for understanding!

Have a wonderful week!


Friday, November 15, 2019

Love You / Paige Evans DT

Happy Friday, friends!  Still no YouTube channel at the moment.  I did film this layout, so at some point I will have it up!  Until then....I'll share my work here and on Instagram & Facebook.

This is my latest layout for the Paige Evans Design Team.  It started out as a blue and green monochromatic page.  As you can see, things took a turn into Rainbow Town :D  I used Paige's Love You with Stitching Holes cut file.  I chose blue and green papers from the Truly Grateful & Horizon collections.  From there, I decided to add all the colors.  I chose a rainbow variety of embroidery threads to hand stitch through all the holes in the letters.  I used a light blue sheet of cardstock as the background, and I used lots of Shimmerz sprays to create all that bold gorgeous color.


This color.....swoon!!  I used all of my favorite Shimmerz colors on the background...Jeni B Bleu, Sweetheart, Mustard Seed, Deep Blue Sea...those are always my go to colors.  I sprayed the colors down, spritzed a bit of water and then let the colors run and blend.  I wanted the letters to pop off the page, so I added adhesive foam strips under then.  I went with lots of floral elements around the letters.  Some of them are stickers, some I fussy cut from the Truly Grateful 6x8 Paper Pad, some are die cuts...a nice variety.


I added a pink and orange scalloped border sticker and a gold word sticker, both from the Cardstock Stickers. My journaling fit perfectly underneath the photo. I used a black fine-tip Sharpie for that. I had a big vellum butterfly lying in my scrap pile on my desk so I decided to use it and I cut two smaller ones as well. I machine stitched with a bit of metallic gold thread in the centers and then folded up the wings.


To create more texture and dimension, I added adhesive foam behind all the letters. The last thing I did was add a few more pops of gold with Heidi Swapp Gold Color Shine.


I trimmed off the white border of this sticker so it wouldn't stand out as much.  Sometimes trimming the border off makes the image a bit smaller, too.


I created fun little clusters of flowers all over the cut file, and I also added some of the little epoxy heart stickers from the Truly Grateful Embellishments.


I had a few leftover butterflies cut out from a previous layout, so I used them on the page.  I had one big vellum butterfly and a few cardstock ones, so I used the cardstock shapes to trace onto vellum.  I machine stitched with metallic gold thread down the centers, and I left the messy threads hanging off for extra texture.


I love this matte gold...I added this for a smaller secondary title. 


Here are a few more close-ups...


I absolutely love how this turned out even though it's nothing like I originally planned.  I will never tire of a rainbow color scheme, so when that happens I'm okay with it...haha :D

Like I said, I hope to have my channel back up soon, and I will make sure this video gets posted.

Thanks for being so awesome!