Thursday, June 18, 2020

Fun Days / Hip Kit Club

Hello again, friends!  I have a new layout to share for Hip Kit Club today :)  I used the 2020 May Hip Kits, and I went with another colored cardstock background.  I had the perfect photo that matched this beautiful aqua color.  I wanted lots of texture and deeper aqua colors on the background and then lots of bright pink, yellow and orange to contrast on top.

My photo alone helped me determine its placement on the page.  I like to have the person in the photo looking across the page, so since my daughter's face is looking toward the left, I wanted the photo on the right.  I wanted lots of layers and embellishments tucked in everywhere, so that's where I started.  I used one of the Vicki Boutin stencils with some modeling paste to create all that fun texture.  Once it dried, I used some blue Lindy's Gang sprays from previous Color Kits to add color over the paste.  I wanted the background to look like water peeking out from behind everything.


I went through pretty much everything in the kits and picked out pieces that were pink, orange and yellow.  I even used the gorgeous hot pink tissue paper the kits were wrapped in!  I fussy cut pink and orange flowers, I used Dear Lizzy and Amy Tangerine stickers...even this cute little yellow bow sticker.


These large flowers were from one of the Stamp Market papers.  They are so summery and pretty and worked so well with the aqua colors.  I had to use the flamingo and palm tree stickers!


So for my title I wanted to use the hot pink Thicker word stickers.  However, using all that pink was overkill.  I had so much pink already on the page.  I decided to change the color of FUN.  It was very easy...I used my finger to smudge a few coats of white gesso on them.  Once dry, I used the yellow and orange Stamp Market ink pads from the Color Kit and literally scraped them across the letters very lightly.  I love how distressed they look!  It broke up all the pink and brought some yellow & orange to this part of the page.


For all these layers, I used lots of goodies.  I fussy cut some squares from a Stamp Market paper, I tore a few pieces, I cut a few tags...used a few stickers.  Basically anything that was pink, orange or yellow.  I tucked in some flowers and even did some machine stitching in a few places.  I added more Dear Lizzy & Amy Tangerine stickers and went tone-on-tone with the Pool Party stickers.  It was much later that I decided to add in the navy blue.  Here on the background you can see some splatters...I mixed the ink pads with a bit of white acrylic paint to make light pink, light orange and light yellow.  I used my brush to splatter it around.


This sticker is what inspired me to add navy blue to the page.  I wanted to use it because it was perfect right in this spot.  I was hesitant because it added another color I hadn't incorporated into the layout.  I went with it and I'm so glad I did!  I popped this up with some adhesive foam, as I did with everything else on the main cluster.


Texture....sooooo fun!  I did add in matching thread colors in a few places.


I went back and added some navy to the background.  I used a Shimmerz spray that we got a very long time ago...but it was the perfect color.  I punched a hole through the top of this tag and added some cord.


 I added just a few navy blue things, and it was the perfect amount to spread it around the page.  I used this "summer vibes" sticker and a sliver of navy here on the side.


I had originally overlooked this navy tag from Stamp Market, but I found it...yay!  I tucked it in here on the right side, and it was perfect for that spot.


A few more close-ups :)


I love how this page turned out...this is truly my favorite kind of layout to make.  I think I could scrap pool photos for the rest of eternity and be completely happy...haha.  I hope this inspires you today.

Here's my process video:


Thanks for stopping in, and have a great day!


Saturday, June 13, 2020

Fun Times Together / Hip Kit Club

It's the weekend...yay!  I hope you are all still hanging in there.  Here's a bright and fun layout I created for Hip Kit Club :)  I used the 2020 May Hip Kits, and I really love how it turned out!  I used one of the free exclusive cut files for June as the main design element.  I also decided to go bold with my background...I used a bright pink cardstock from the Cardstock Kit.

This background was quite an adventure to create.  Long story short...I wound up using lots and lots of color on it.  You can see the entire saga in my process video down below :)  I first scraped white gesso down.  Once that dried, I used the Stamp Market ink pads from the Color Kit to add some color.  I stamped the orange and red colors on to some plastic, spritzed it with water and smushed it down.  I sprayed a bit of some pink Lindy's spray from a previous kit and mixed it all together.  Once it dried, it completely disappeared!  There was literally NO color on the paper.  I repeated this same process, but I added some of the Art Philosophy watercolor from last month's Color Kit, and it worked great.  It's so interesting to see how certain products react with gesso. 


I wound up mixing the pink and yellow Art Philosophy watercolors to create this orange color.  It worked great!  I watered down some white acrylic paint to add some white splatters.  It showed up so nice on the dark pink cardstock.  I cut the title on white cardstock, and I just left it white.  I embellished all over the place using lots of stickers and die cuts from the kits.


I wanted a bright rainbow color scheme, so I backed the cut file using various patterned papers and a few Pocket Life cards from the kits.   I popped that part up using adhesive foam and added some orange thread under it.  I love this little camera, so I added a green rhinestone to the center and placed it right inside the cut file.


I wanted different shades of pink along with some orange on the pink background.  I also used a red gelato in a few places to darken the pink a bit.  I used black and white photos to make all the colors really stand out.  I used pieces of Pocket Life cards as layers behind the photos.


I used some of the Vicki Boutin flower die cuts on both edges of the page.  I love the blue color against the pink and orange background.  I fussy cut a few orange circles from a Stamp Market paper and glued those around the page.  The little green circles are from the Vicki Boutin packaging.  I used my hole puncher!  So easy!


I cut out this large pink flower from the Vicki Boutin packaging, too.  Her packaging is the best!!  I added in a few Amy Tangerine foam stickers in a few places.


Here are some more close-ups of all the dimension and details...
\


 I added a bit of machine stitching with black thread on a few of the sticker clusters around the photos.


Although making this background was a challenge (haha) I honestly love how it all turned out in the end.  Playing with different products is always a fun adventure, and you never know how the end result will look.  I hope it inspires you in some way...I had fun making it!

Here's the video with all the details:


Thanks so much for stopping by!  Have a wonderful weekend!


Friday, June 12, 2020

Sweet / Paige Evans DT

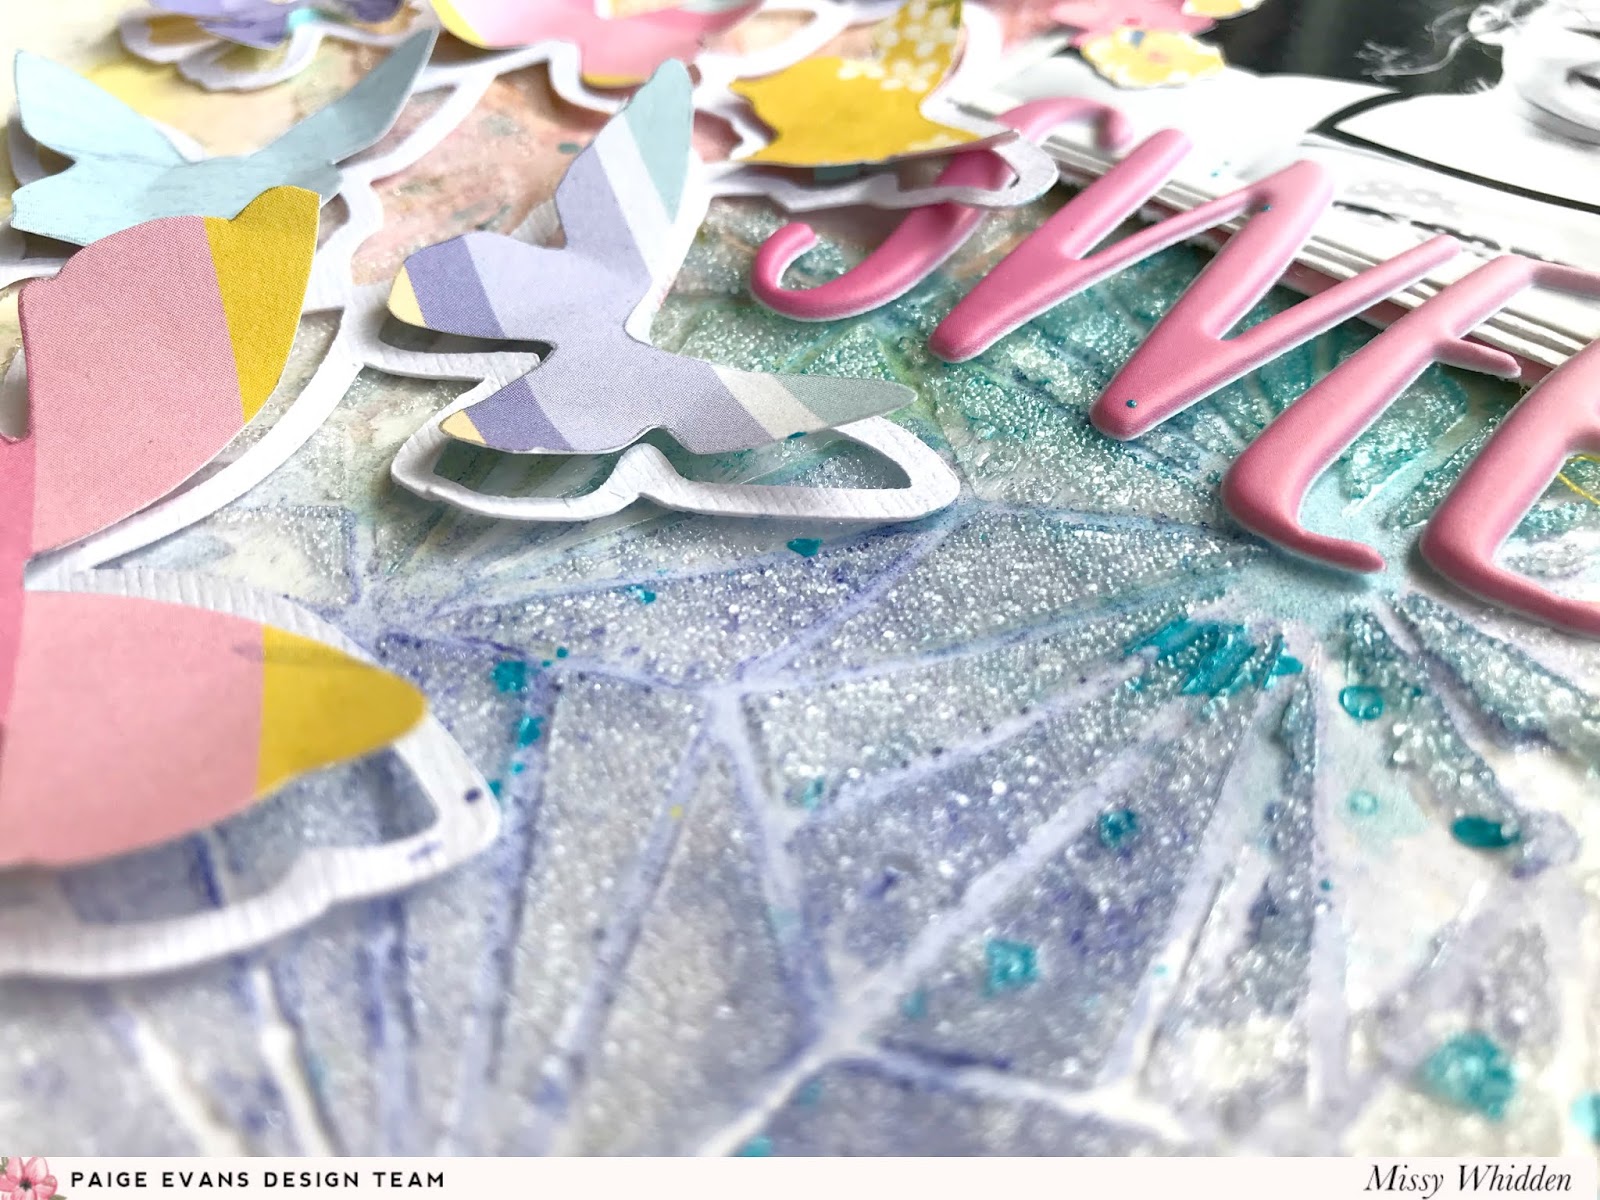
Hey friends!  Happy Friday...yay!!  I'm here with a new layout for the Paige Evans Design Team.  It's a Bloom Street layout featuring another one of Paige’s new stencils called Tiles. It has such a cool shape and it’s perfect for a background design. I also used Paige’s new Butterflies cut file. I began with clear gesso on some smooth white cardstock. I scraped some glass bead gel over the stencil. While that dried, I chose my papers to use with the cut file. I was inspired by the colors from Paper 16. I chose a few other papers that had yellow, periwinkle, and light blue as well. I chose to use Horizon Paper 06 for the light blue color. I traced each butterfly, cut them out, and decided to pop them up with adhesive foam on top of the cut file instead of backing it.


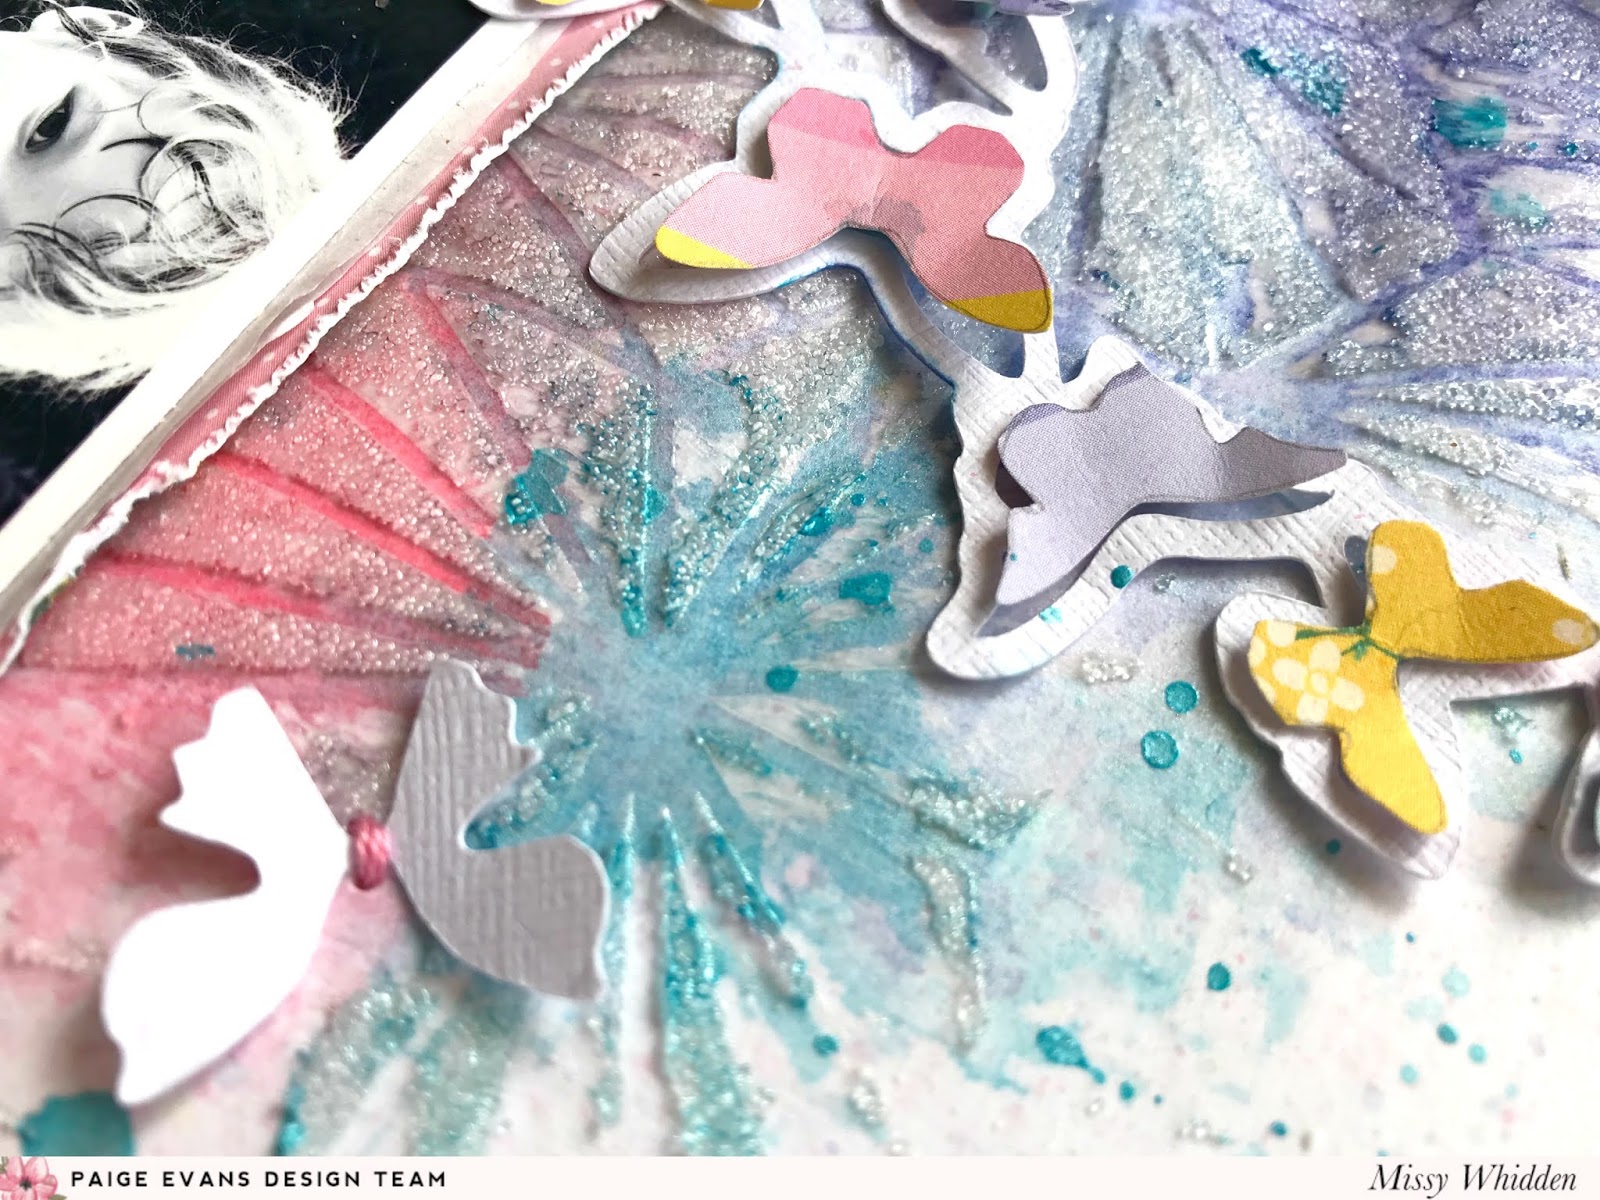
The glass bead gel is so cool! It has a rough and bumpy texture. I used lots of matching Shimmerz sprays and paints on top of the gel. Here you can see the tiny beads through all the color. Once it was all dry, I positioned the cut file and then placed each butterfly in each spot. I was able to bend up the wings after gluing down just the centers. I used one of the Puffy Vinyl Stickers as my title. It matched the pink color throughout the layout.


I used some stickers and fussy cut flowers to create a little cluster on the right side of the photo.  I also used some pieces from the 2x2 Paper Pads along with some yellow thread.  I layered some patterned paper behind the photo with some white tissue paper.


Here you can see the glass beads.  They're so tiny!  I love the effect of this gel...so fun to use something different.  Lots of amazing texture there :)


When I added the sprays to the background, I spritzed a bit of water over it so the colors would lightly blend together. The yellow and pink softly blended into a lighter pinkish color that look really pretty. Here you can see how much of a difference the adhesive foam makes. It literally pops the butterflies right off the page!


 I decided not to waste the inside pieces of the butterfly cut file.  I placed a few of those around the page and glued down the centers.  After they dried, I stitched across the middle of each one with some needle and pink embroidery thread.  I wasn't about to run the glass bead gel through my sewing machine...haha!  Not sure how that would turn out...


My favorite thing about butterflies is bending up the wings!  They look like they were just flying around and landed on the page :)


I created two clusters - one here on the upper left side of the page. I fussy cut this cute sun and the “hello" from a 2x2 Paper Pad. I popped the sun up off the page and tucked pink thread under it for added texture. I also fussy cut a few small flowers from the 2x2 Paper Pad as well as from Paper 23.


 A few more close-ups of all the colors, textures and details!


I hope this inspires you and gives you some fun ideas to try.  How often are you inspired by a single piece of patterned paper or just one embellishment?  I have been wanting to use that striped paper for a while, and I finally did.  It inspired my whole color scheme for this page.  It sure was fun to make!

Be sure to check out my process video here:


Thanks so much for stopping in, and I'll see you soon!


Monday, June 8, 2020

Lazy Days / Pinkfresh Studio June Challenge

Happy Monday, friends!  I wanted to share the Pinkfresh Studio June Challenge.  It's up on the blog, and you can play along with us!  It's all about rainbow colors & die cuts or cut files.


 I used the new Let's Stay Home collection.  Look how colorful and fun it is!  I used the Floral Circles Die Set to create some circles to start.  I cut them using my manual die cutting machine.  I cut a rainbow variety of colors.  I also cut  & punched circles from other patterned papers.  There are actually a lot of circle elements in this collection, so it was perfect.  I used thick white cardstock as my background, and I coated a lot of it with clear gesso first.  I then used the Liquid Watercolors to add lots of pretty color.  I mixed the Sapphire, Lavender and Sky Blue.


I was trying to create that deep periwinkle blue color with a mix of aqua.  I love how it turned out.  When the watercolor dried, parts of it dried a lighter pinkish/purple color.  I placed all the circles along the bottom half of the page.  I added adhesive foam behind the solid circles and wound some colored thread around some of them.


I decided to use black and white photos to really allow the colors to pop.  I kept them in a photo strip.  I added some white tissue paper behind it as well as some adhesive foam.  I layered the circles all around the photos.  I used a die cut journaling piece to the right.


I went short and sweet with the title.  I added lots of color up at the top of the page using a few paper strips.  I used a variety of circle elements here as well...stickers, die cuts, enamel dots.  And thread, of course :)


Here are some more shots of all the circles...


This was my first layout using this new collection.  It's just perfect for documenting pretty much everything that has happened during the quarantine.  Plus the colors are superb!  A little bit of everything for everyone.  I hope you're inspired by this in some way...I had so much fun making it!

Here's my process video:


Thanks so much for stopping by, and I'll see you soon!