
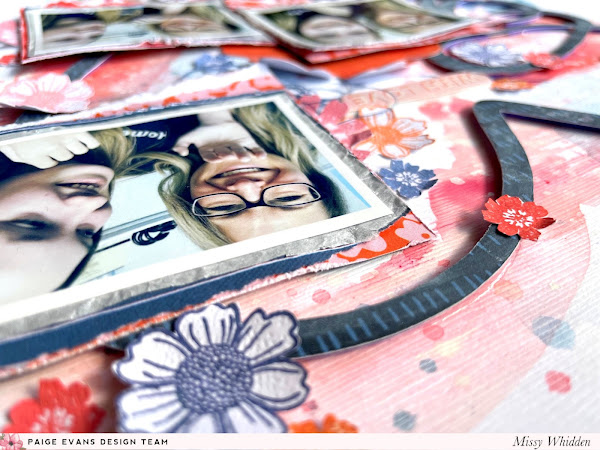
Hey friends! I'm back today with a new mixed media layout for the Paige Evans Design Team featuring the Bungalow Lane collection. I decided to scraplift one of my older layouts to get this page started. I cut Paige’s Love Heart Cut File on Paper 10 and chose three small photos with that same dark blue. I love the mix of reds, pinks, and oranges mixed with the dark blue, so I went with that color scheme.
I used textured white cardstock for the base and coated with clear gesso first. I chose a few Distress Oxides to add color to the background behind the heart and I just scraped the ink pads directly onto the paper and added water to blend it around. I did mix in a few coordinating colors of Shimmerz sprays along the way. I embellished with lots of flowers that I stamped using the Acrylic Stamps and then fussy cut out. I love how imperfect they look! The texture from the cardstock is my favorite for this type of technique because you get some distressed effects.
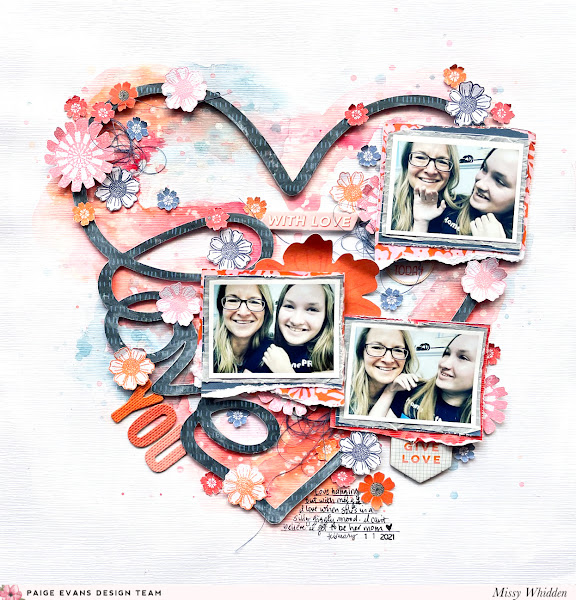

I went with lots of reds, oranges, and pinks on the background with touches of blue. Since the cut file was blue and the photos have a lot of dark colors, I wanted the background to be brighter to contrast that. I layered some tissue paper and bits of Paper 6, Paper 9, and Paper 17 behind the photos as well as some adhesive foam. I used the large orange Floral Die Cut as the main focal point flower, and the rest are mostly stamped flowers. Here I also added in some dark blue thread for even more pops of blue. I did pop the heart up with foam adhesive to create dimension.
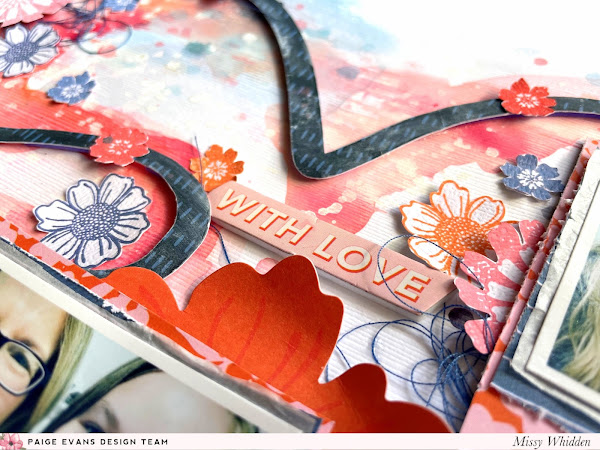
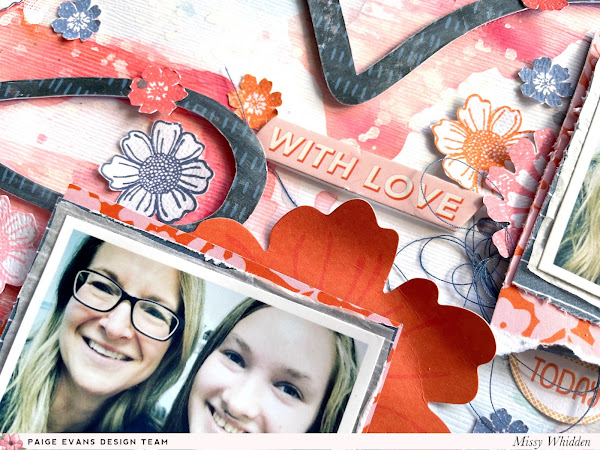
 I love how this background turned out! I splattered white acrylic paint over the colors well. Here on the top part there are more stamped flowers and a Foam Phrase Sticker that matched perfectly. I made sure to leave some white space here inside the heart so the layout wouldn’t be too crowded with all of these bold colors. I like to give the eye a place to rest so the photos don’t get lost.
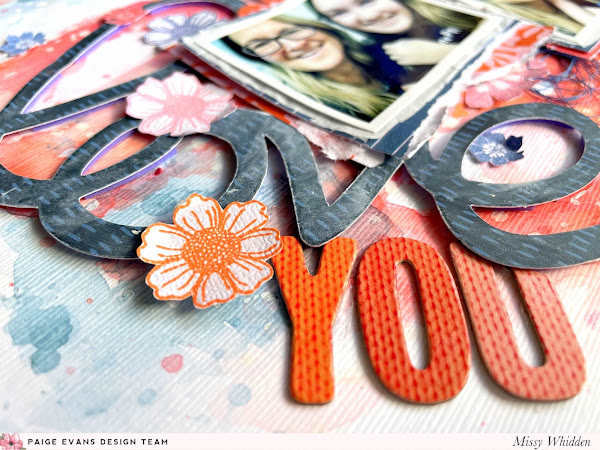
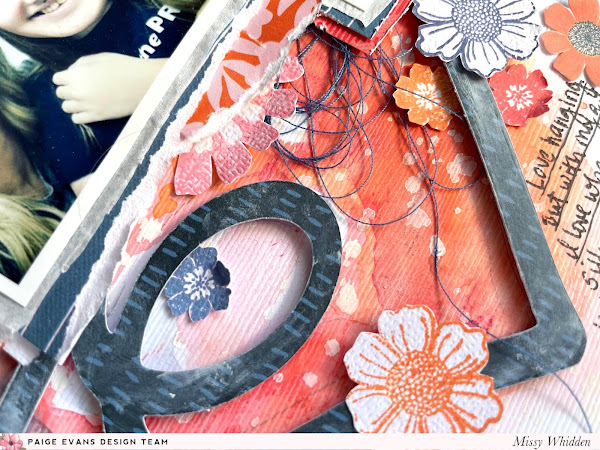
 For the title, I let the cut file do it’s thing and just added a few Thickers under it. I love it when cut files do this for you because it’s one less thing you have to figure out. The title is pretty much done. I added a few more flowers here, a Chipboard Sticker over on the right side under one of the photos, and then added my journaling down at the bottom.
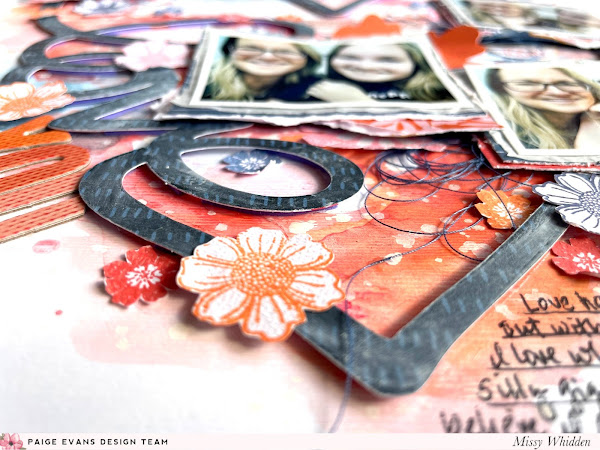
 I need to use stamps more often to create die cuts. I love how these flowers turned out. I think it's so neat to stamp them on textured cardstock so you can see some texture on the image. I love when it doesn't look perfect. Here is a good look at the fun dimesion, too. Just by popping the cut file up with adhesive foam, all this fun shadowing is created.
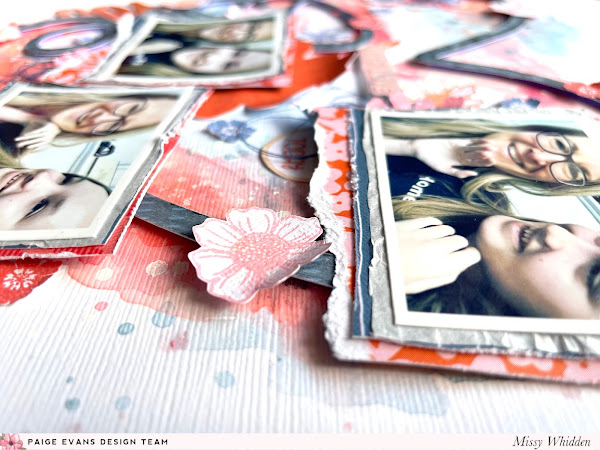 Here you can really see the lined texture on the background.
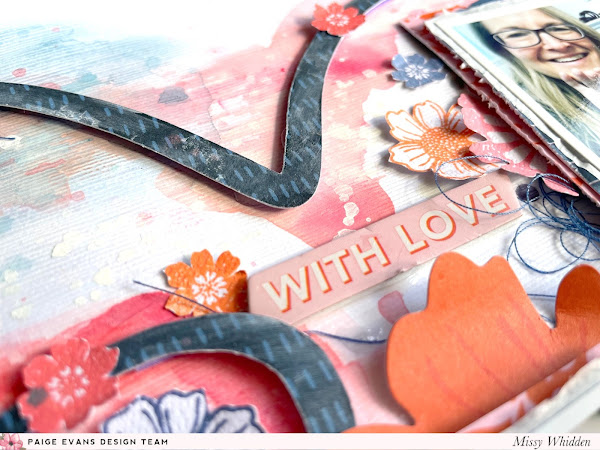
 If you have the patience to fussy cut, stamping is a great way to have an endless supply of die cuts. And you can customize them. These flowers could have a completely different look in different colors, different clusters and a different die cut. I tucked in some navy blue thread for some extra texture.
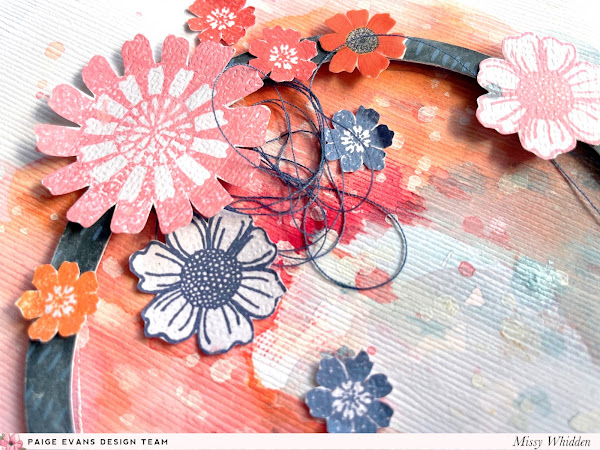 Here are a few more shots of different angles of the layout.
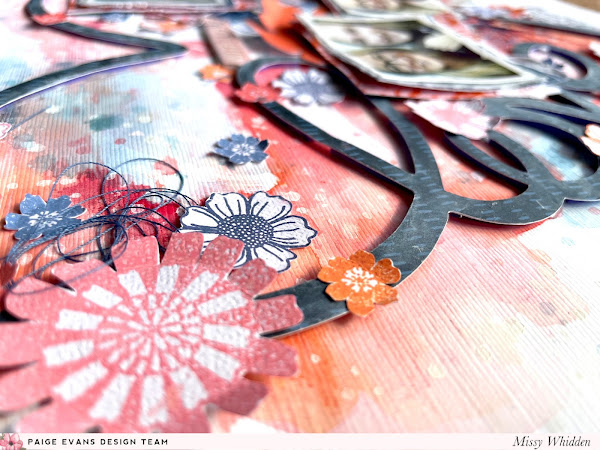
 I hope this inspires you in some way today. I absolutely love how this page turned out, and it was really fun to make. Pull out those stamps for your next project and see where they take you!
Here's my process video:
Thanks so much for stopping by, and have a great day!
No comments:
Post a Comment