Monday, March 13, 2017

If You Think My Hands Are Full / Hip Kit Club

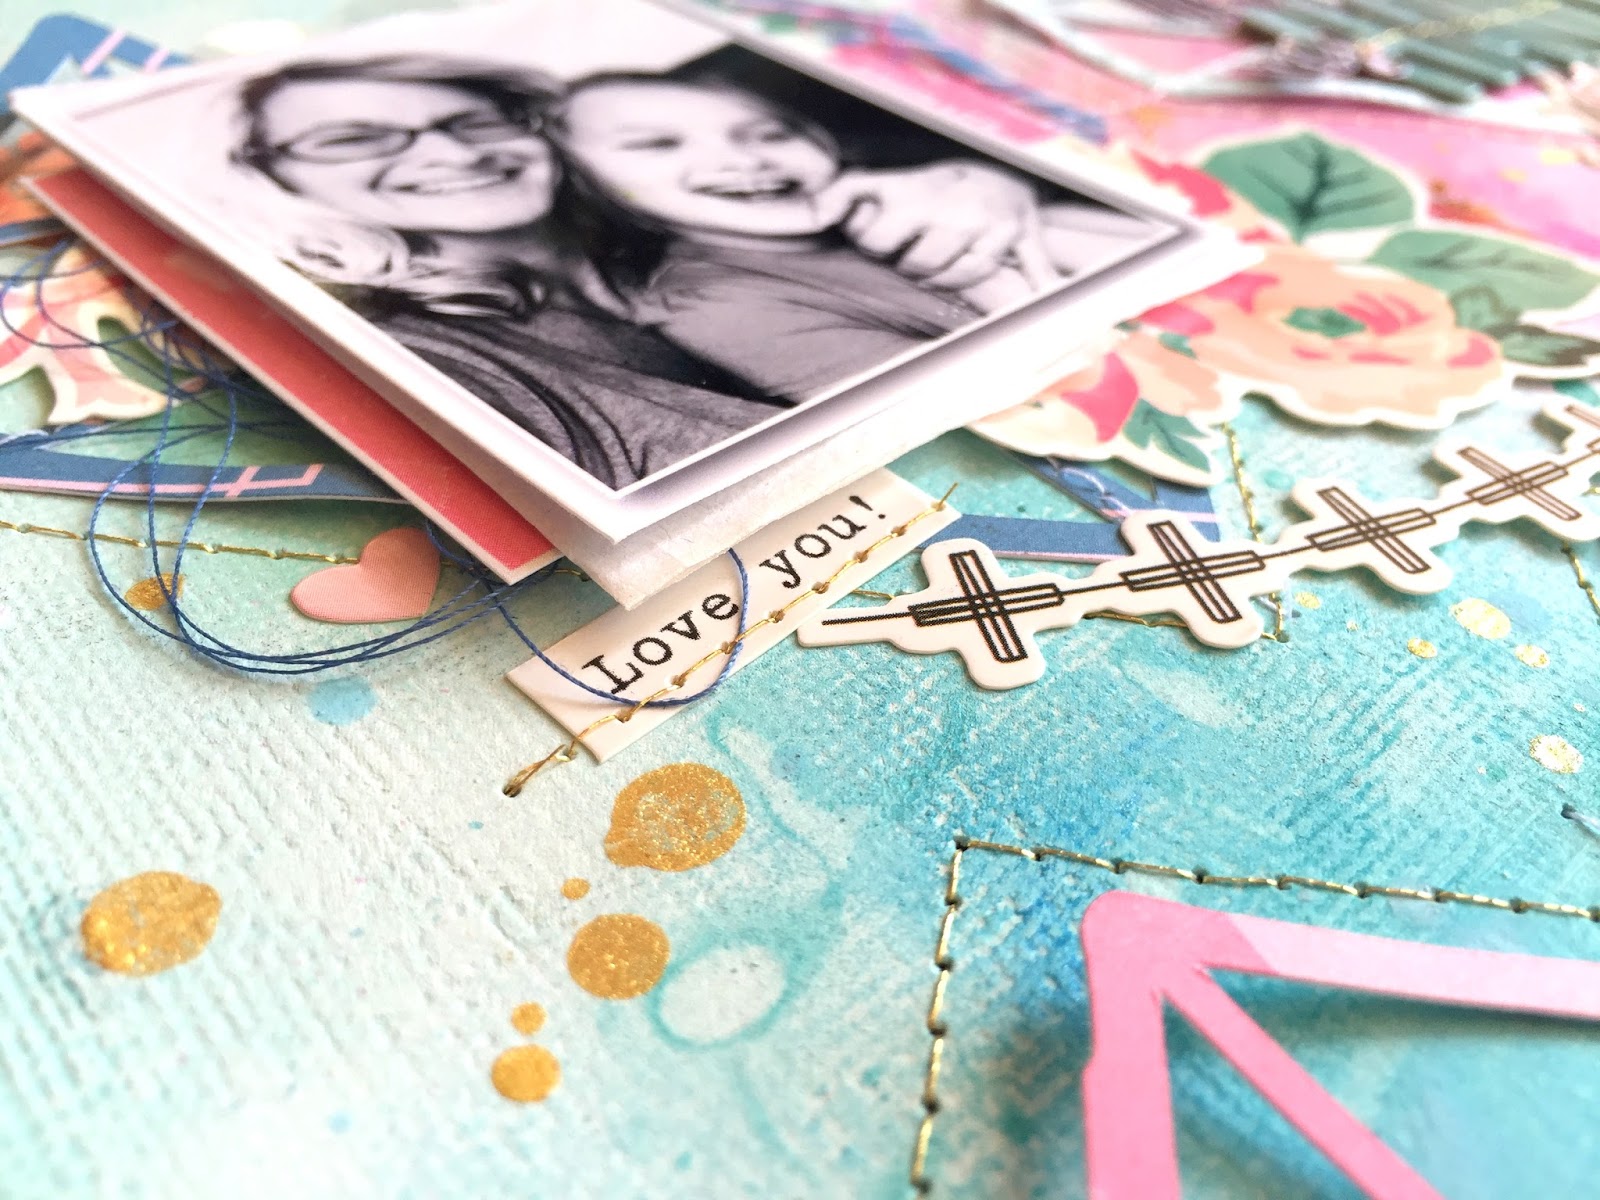
Happy Monday!  I'm back today to share my newest layout for the Hip Kit Club.  I used the 2017 February Hip Kits for this, and I created a fun grid design. I decided to start with the geometric heart cut file designed by fellow DT member Zinia. I cut it four times on my Cameo using four different patterned papers from the Main Kit & Paper Kit.  I used some of the Fountain cardstock from the Cardstock Kit as my base, and I did some fun mixed media work on it.  I smudged down a lot of white gesso first to prime it and to give me a little bit of white area.  I used some of the Shimmerz AcriTonez from the Color Kit as well as some sprays from my stash (and older Color Kits) to create the watercolor look.  I built clusters on each heart using lots of fussy cut pieces as well as stickers and chipboard pieces.


I think this is the prettiest color combination!  The Paper Kit included a specialty paper from the Paige Evans Oh My Heart collection, and I fussy cut out the words "If you think my hands are full you should see my heart."  I split it up into two clusters and paired it with some of the blue gradient Thickers.  I fussy cut some of the beautiful butterflies from the Maggie Holmes Crate Paper paper as well.  I also did lots of metallic gold stitching.


I used some patterned papers and die cuts as layers behind my photos as well as some tissue paper and fun foam for dimension.  I love all the floral elements in these kits!  They're the perfect embellishment...especially next to my sweet photo :)


I just love the rose gold in the title work here...it's so shiny and pretty!  These Thickers are so awesome...and they're pretty thin, so they were easy to stitch through.  Here I added a fun plus sign banner sticker from the Maggie Holmes sticker sheet, and you can see I used another gorgeous floral and more layers under the other photo.


I love how this background turned out.  The blues and mints look so nice mixed in with the pinks and greens.  And I did add some Heidi Swapp Gold Color Shine.  We got that in a Color Kit over a year ago, I believe.  That never goes out of style, right?!

My favorite part about these fussy cut butterflies is bending the wings up.  If you just glue down the center of them, the wings will pop up and give a nice dimensional look.  I added a few small chipboard hearts and some rose gold stickers from the Oh My Heart Sticker Book.


Here's one final close-up...lots of beautiful color and texture going on :)


Here's my process video if you'd like to check it all out...I hope it inspires you!


Thank you soooooo much for visiting me today!  Have an awesome day!


Saturday, March 11, 2017

Little Delights / Pinkfresh Studio Guest Designer

 ***********Go HERE for the Bella Blvd + The Cut Shoppe Blog Hop!*************

It's the weekend...yesssss!  Thank goodness for a slow down.  Today I'm excited to share that I was asked to be a Guest Designer over at Pinkfresh Studio this month!  I created two layouts using the beautiful Live More collection.


I love that the color scheme is so pretty...a little bit of a different take on my usual favorite summer colors.  I'm usually not a big red fan, but this red is more of an orange dark coral red.  I have photos of my daughter wearing a swim suit with lots of red, so I decided to scrap one of them and play on that red color.  You know I love to make Summer pages... so I took this beautiful white and grey marbled patterned paper and smudged a lot of white gesso on it.  To create the idea of pool water, I used some blue & aqua Shimmerz sprays and plastic packaging.  I used the X-File cut file from The Cut Shoppe and backed it with lots of patterned papers.

 
I love backing cut files with pretty paper!  To create all that dimension, I added lots of foam adhesive behind the circles.  I also added some aqua thread for even more texture and color.


I layered my photo under the cut file so it sort of looks like she's climbing out of the pool....out of the circles.  I layered a bit of tissue paper and some paper under it as well as a puffy sticker, a die cut sticker and a chipboard sticker.  These are all a part of the Live More collection.


I used one of the die cuts for my title and added a fun sentiment sticker above it.  I also added a chipboard sticker...it was just too cute not to use!  To make it stand out a little more, I added aqua thread under it.


I layered in a few more die cuts and stickers here and one of the cute metal paper clips.


I had so much fun creating this project for Pinkfresh Studio....a huge thanks to Kinnari for inviting me over :)  I do have a process video for this...I hope it inspires you in some way!


Thanks so much for stopping in, and have a great day!  I do have another project and process video for my Guest Design spot, so stay tuned for that :)

Friday, March 10, 2017

Bella Blvd + The Cut Shoppe Blog Hop!

Hey, friends!  Happy Friday...woo hoo!  I'm so excited to be taking part in the Bella Blvd + The Cut Shoppe Blog Hop!  Designers from both teams have used Bella Blvd products mixed with cut files from The Cut Shoppe to create some awesome projects.  There is a ton of inspiration on all the blogs, so be sure to hop along and visit them all.  And what would a Blog Hop be without giveaways and discounts, right?

You should have arrived here from The Cut Shoppe's blog.  Keep reading to see the Hop order and the project I created :)  Keep reading for the prizes, giveaways and discounts!


For my layout, I mostly used the new Illustrated Faith Delight in His Day collection.


And here are the cut files I used from The Cut Shoppe... Say Anything and The Half of It.


Here is what I came up with.  I used the Illustrated Faith Delight in His Day collection mixed with a few Illustrated Faith Basics embellishments.  I used the The Half of It and Say Anything cut files from The Cut Shoppe.  One of my favorite techniques is backing a cut file with patterned paper, so that's what I did here.  I cut all those scallops on white cardstock and backed lots of them with papers from the Delight in His Day 6x8 Paper Pad.  I left a lot of them open and backed them with another sheet of white cardstock.  I love the tone-on-tone look, and it created some really cool texture.  I did use a bit of watercolor and gelatos on my background to create some splotches of messy color.


I love the texture here!  Even though there is a lot of white, you can still see the cut file and the awesome shapes it creates.  I printed my journaling out on my computer and created little strips.  I also did a bit of machine stitching with black thread around the cut file.


I paired the "Love" piece from the Say Anything cut file with some of the new Wonky Alpha Puffy Stickers and some of the alphas from the DIHD Fundamentals Sticker sheet.  I love mixing and matching fonts and colors for my titles!  I also added some machine stitching again and a fun black & white arrow die cut from the IF Basics line.


I layered some of the solid 6x8 papers behind my photo as well as a few stickers from the Fundamentals sheet.  Isn't that scallop piece so cute?!  I also added some adhesive foam under the photo to raise it up and also some black tangled thread.


Here's another angle of the cut file and dimension.  This cute heart is from the IF Basics Bits & Pieces pack.  I raised it up and added thread for an extra pop of yellow.


I love this fun butterfly from the IF Basics line!  I decided to tuck it under the photo along with some yellow thread.


Here's the Hop Order...I know you'll just love what everyone created!


Now it's time for the PRIZES!  Here is what you can win from Bella Blvd...look at all those PUFFY STICKERS!!  I promise you, they're amazing, so make sure comment so you have the chance to win them!!


The Cut Shoppe's PRIZE is a $25 Gift Certificate to the Etsy Store!  That's a whole lotta cut files you can get...woo hoo!  And you can also enjoy this 30% OFF discount  if you use the code BLOGHOP30 valid today through March 13.


So make sure you visit all the blogs and leave your comments for a chance to win!

Thanks for stopping by, and have a GREAT day!

Thursday, March 9, 2017

Throw Kindness Around / Bella Blvd + a Video!

Happy Thursday, friends!  I'm back today sharing my newest layout for Bella Blvd.  This week we are celebrating Words Matter Week, and I decided to center my journaling inside  few large die cut stars.  I used the new Illustrated Faith Basics collection for this.  I just love this awesome dotted background paper.  The sentiment on it inspired me, and it made me think of stars.  I used some of the patterned papers to cut the stars, which is a cut file from the Silhouette Store.  I used a lot of white gesso on the background before adding some watercolors.  Our product focus this week is Puffy Stickers, so I added lots of Puffy Star Stickers all over the page.


I just love the colors in this collection!  They're so bright and fun.  How adorable are the Puffy Stars?  I wanted to create the idea of "confetti" with them.  I used a few floral die cuts as layers here and added in some blue tangled thread.  I also machine stitched through the centers of the three large die cut stars.


I used a few of the floral die cuts here and there, and I popped them up with some foam adhesive.  Again, I added some tangled thread for added color & texture along with more Puffy Stars.  For my journaling, I printed it out on some vellum.  I didn't want to completely cover the background, and writing with a pen over gesso can sometimes be a disaster.  This way I can clearly read the text and still see the watercolor background.


Here's another floral die cut, more Puffy Stars and lots of stitching :)


I really love how this turned out.  I love that you can still faintly see the dots under the gesso.  I also love the texture and interest the stitching creates.


Here's one more close-up of the photo area.  I love this picture of my daughter :)  I added in a cute black & white arrow die cut here and more tangled thread.


Here's my process video for this layout...I hope you enjoy and gain some inspiration!


Thanks so much for stopping by!  

Tuesday, March 7, 2017

Favorite Gardener / Paige Evans Design Team

Hey, friends!  Happy Tuesday to you :)  I'm back today to share my newest layout for the Paige Evans Design Team.  Our theme this week is FLOWERS, and you know I love those...woo hoo!  I decided to go with Paper 13 from Oh My Heart...it's full of tiny colorful blooms, and yes...I fussy cut them all out!  It took quite a while, but it was worth it in the end.  I love the pinks, oranges, yellows and light periwinkle colors and the fun green leafy stems.  To contrast those colors, I added some bright blue acrylic paint to my white cardstock background.  It reminds me of a sky, so I decided to add some fussy cut clouds up top.  I used papers from the 6x6 Paper Pad for that.  I dd mix in a few Puffy Stickers from the Fancy Free collection.


I really love how this turned out!  I kept fussy cutting until my hand couldn't take it anymore...haha.  I wanted to create the illusion of lots of blooms scattered across the page, and I feel like I achieved that.  My photo is of my daughter exploring the hedges down around our pool, and it looks like she's looking across the page at all the flowers.  I added a tiny bit of glue to the center of each one, and I like that the petals are all raised up to create dimension.


To create these larger leaf stems, I cut them on my Cameo using white cardstock.  It's a leaf cut file from the Silhouette Store.  Before pulling them off the cutting mat, I used three different colors of green gelatos to color them.  I smudged the color around with my fingers.  You can see exactly how I did that in my process video down below.  I added some tissue paper and foam adhesive under my photo as well as some tangled thread.  That's a Fancy Free Puffy Sticker under the photo.


I combined this Fancy Free Puffy Sticker with some of the tiny alphas from the Oh My Heart Sticker Book to create my title.  The colors were a perfect match!  I  machine stitched through the alphas and then added my journaling underneath.  My pen had no problems writing over the acrylic paint.  It's actually pretty smooth.


I think this blue may be my favorite color of all time!  I added a Fancy Free Puffy Sticker cloud up top and a cute little heart.  I used one of the Oh My Heart Chipboard Stickers above the photo. I'm seriously loving how the edges of the leaf stems curl up!


I added some foam under the clouds that I created as well as some tangled thread.  I also did a bit of straight stitching through the bottoms of some of the clouds.


I hope you enjoyed this!  Now you can watch my process video if you'd like to see how I put this together.


Thanks so much for stopping by!  Have a wonderful day :)


Sunday, March 5, 2017

Beautiful / Hip Kit Club

Hey, friends!  Happy Sunday!  It's been a few days, but I'm back to share my newest layout for Hip Kit Club.  I used the beautiful 2017 February Hip Kits, and I just can't get enough of them.  I decided to start this page with one of the monthly cut files.  Zinia designed this one, and it's actually meant to be a 3D flower once you cut it and circle it around and glue the center of it.  But I used it as a flat floral spiral design.  I duplicated it several times, resized them, arranged them in a vertical pattern and then welded them together to create one big shape.  I used one of the abstract papers from Maggie Holmes to cut it on, and I just love how it turned out!  The patterned paper is in the Main Kit and Paper Kit.

I used a sheet of the Butter cardstock from the Cardstock Kit as my background.  I went over a lot of it with white gesso to make the yellow even lighter and to give my paper some texture before adding watercolor.  For my background, I combined some of the new Shimmerz Acritonez Paint from the Color Kit with some more Shimmerz sprays from my stash.  I used pinks, blues and aquas.  I even used an orange gelato from my stash to create a few orange areas.


Aren't these the prettiest colors?  I used the fun and colorful Thickers from the Paige Evans Oh My Heart collection for my title.  They're in the Project Life Kit.  I wanted to keep it simple, and I love how I was able to stagger the letters.  I stitched through them with yellow thread for added texture.  I also punched a few tiny hearts using a punch from my stash and added a sticker sentiment from the Maggie Holmes sticker sheet.


Here you can see the fun texture from this cut file.  I machine stitched through all the spirals...very slowly and carefully :)  I love how that dark blue looks against all the yellows and pinks.  I also used a few of the Pretty Little Studio floral die cuts (designed by Claudia VanR) as layering pieces.  Those are in the Embellishment Kit.


I added in a few Crate Paper chipboard hearts here and there and more of the die cuts and stickers.  I also used some of the Crate Paper floral die cuts...they are just amazing, and I wish I had a never ending supply of them!


These flower die cuts from PLS are gorgeous.  I love the watercolor look to them, and they are my favorite colors!  I added in a big leafy die cut here from Crate Paper along with some tangled thread, chipboard hearts and some stickers.  I used some of the CP die cuts as layers behind my photo as well.


I wanted some smaller leaves for this small flower and I couldn't find any in the die cut packs.  So I pulled out this tag from the CP ephemera and fussy cut these leaves.  It was perfect!  Remember, you don't always have to use an item just as it is.  You can always cut it up and get creative with it.  Better to cut it up and use it in a different way than not use it at all, right?


Here's one more close up just because of the gorgeous colors :)


Here's my process video if you'd like to check it out.  I hope you enjoy watching, and I hope you get some fun ideas to try!  Check out the cut files over at hipkitclub.net.


Thanks so much for stopping by!


Wednesday, March 1, 2017

He's My Person / Simple Stories

Happy Wednesday, friends!  I'm back today to share another layout for the Simple Stories Creative Team.  This is my second layout for February using the beautiful Love & Adore collection.  I just loved this gorgeous Head Over Heels paper.  The diagonal design stood out to me, and I knew I just had to use that to my advantage.  I tilted the whole design using two photos, some mixed media and lots of die cuts and stickers.

I used a lot of white gesso on the background first.  This gives my paper a protective coat, whites some of the pattern out and allows for blending.  I came in with some Shimmerz in blue and yellow.  I also added a few black and pink splatters.  This collection does have a lot of lovey dovey elements to it, but it's very versatile.  I love this paper...the flowers in the lower left corner does so much for this layout.


Here you can see all kinds of texture going on.  I machine stitched with black thread under the diagonal line and then added even more tangled thread under that big flower die cut.  I used some of the black alphas in the collection to spell out my title and then stitched through that as well.  I love the mix of the black and white with all those bold colors!


I created a fun vertical cluster above the photos using lots of die cuts and stickers in various colors.  Mixing and matching shapes, colors and sizes of things really keeps it interesting.  I love those open hearts and the gradient XOXO...beautiful colors.


As I always tend to do, I added some adhesive foam under my photos along with some tissue paper.  You can see the awesome shadowing it creates.  This is a great way to really make things pop off the page.


I added more floral stickers and die cuts here as well as more tangled thread for a bit of a messy look.


Finally, here's one more close-up of the left area.  This background paper did most of the work for me on this page.  The diagonal design and large floral cluster really helps to make the layout come together pretty quickly.


Here's my process video if you'd like to check it out.  I hope you enjoy!


Thanks so much for stopping in today...see you soon!