
Hey friends! I'm here with a new layout for the Paige Evans Design Team featuring Paige’s Splendid collection. I began this page with the Acrylic Stamps to create a watercolor background. I used the large flower stamp with Distress Oxides on thick white cardstock. I coated the cardstock with clear gesso first and after stamping the flowers, I used a brush and water to smudge some of the color around. I love the “left out in the rain” effect. The flowers run and blend but they’re still visible in areas. I also used a few Shimmerz sprays to add a bit more color in a few areas, but not enough to cover up the flower shapes. I cut strips from Paper 19 and created layers. I arranged my three black & white photos and then started embellishing with lots of flowers and stickers.
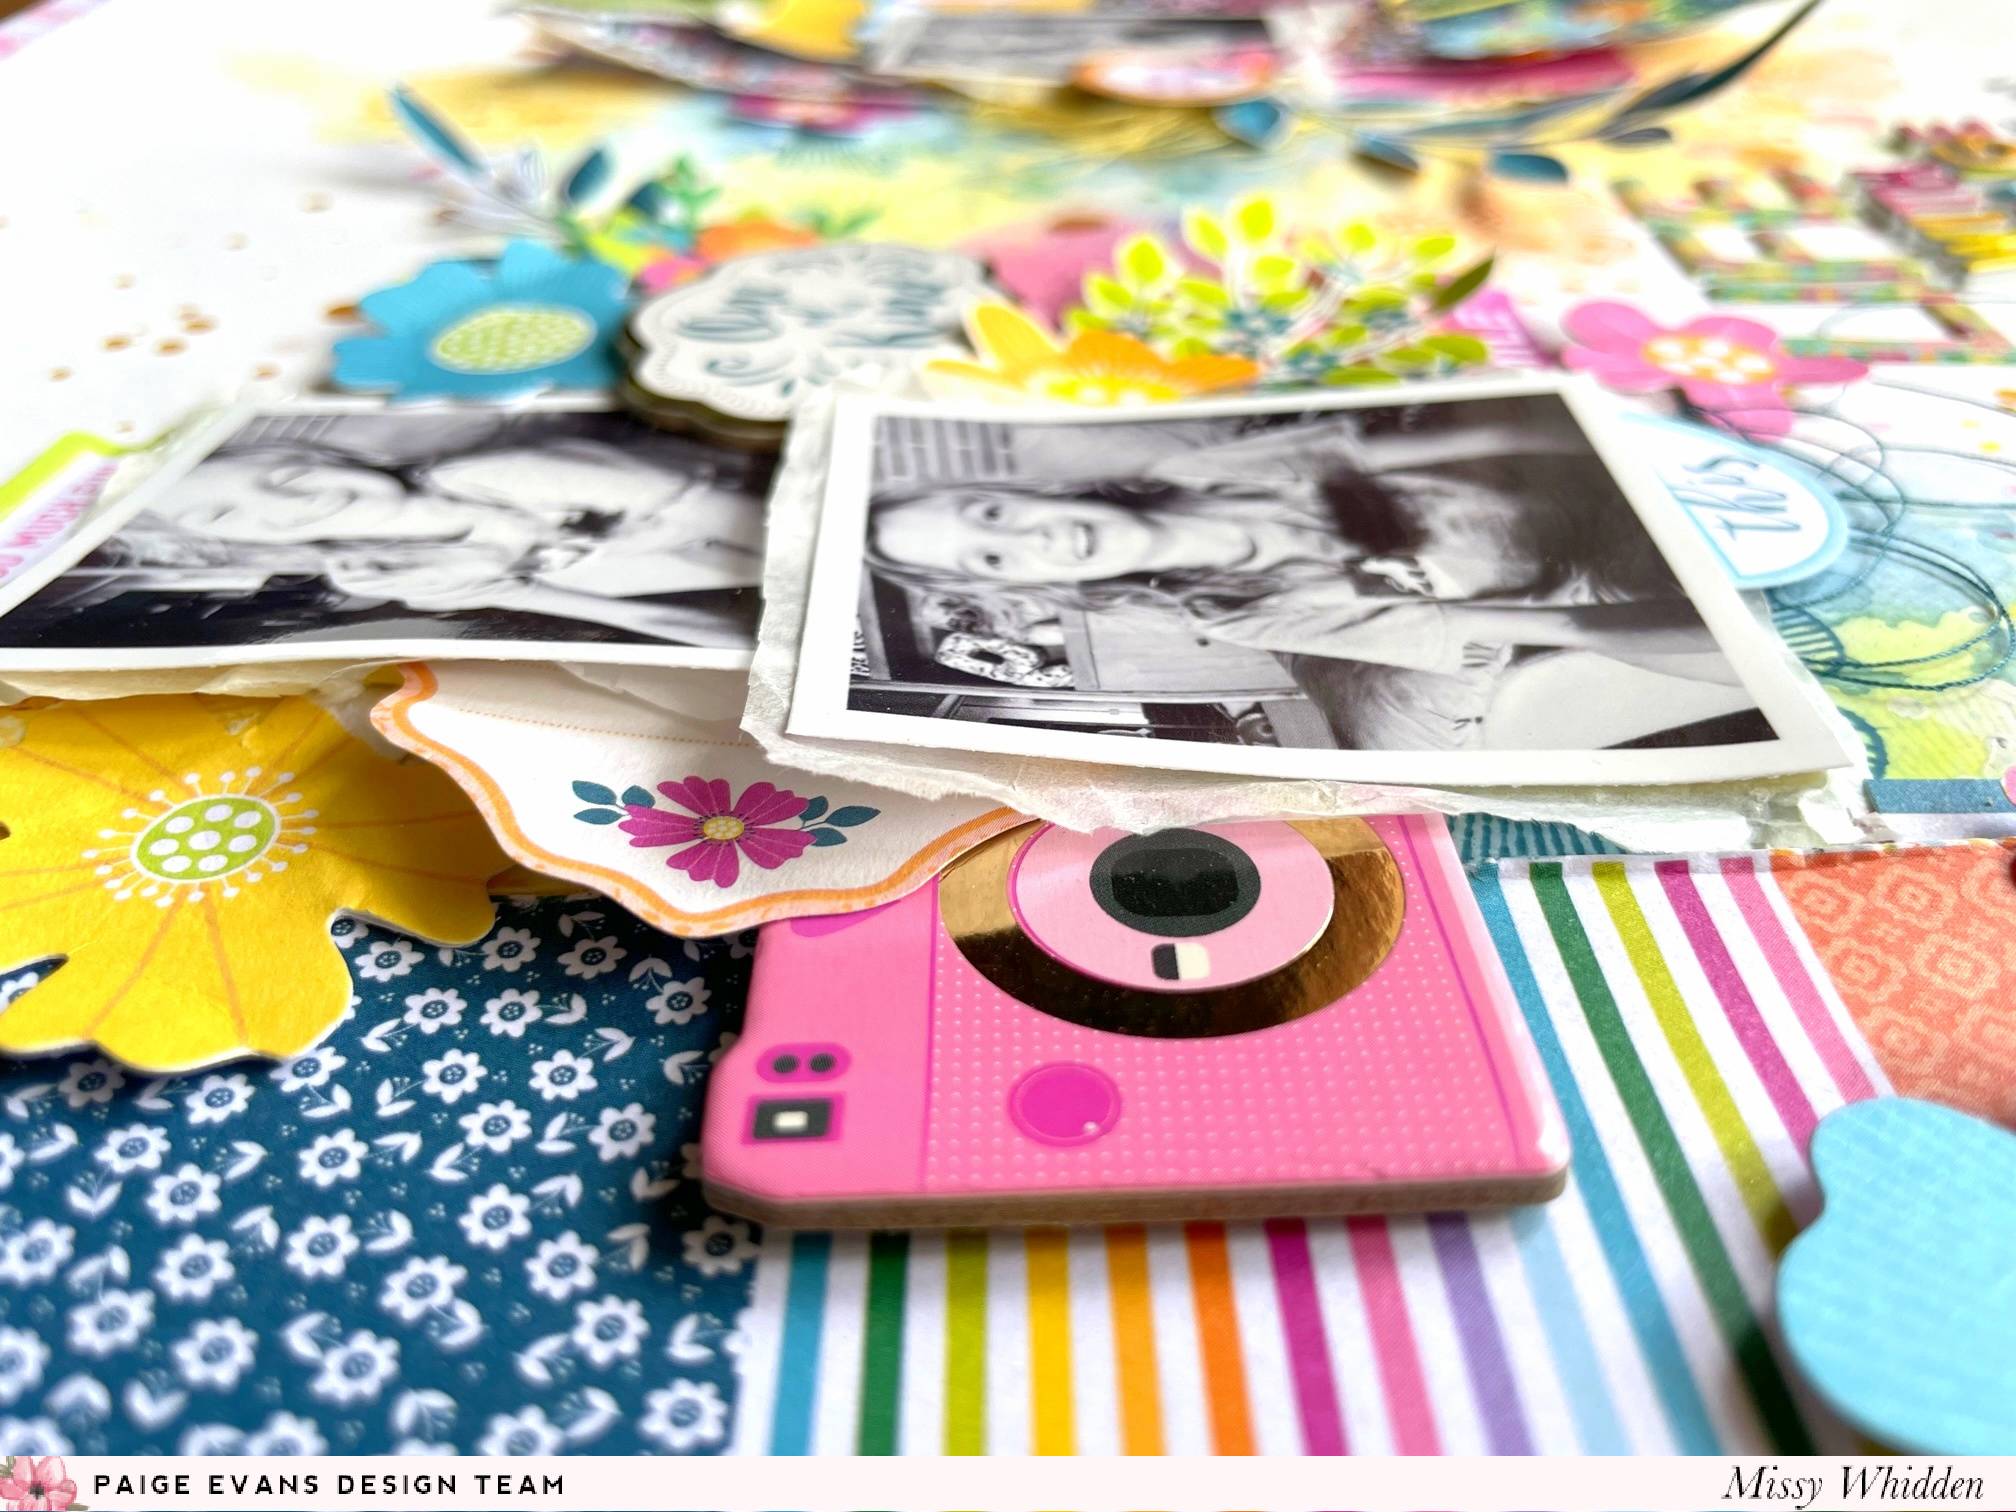
 This stamping technique is a lot of fun. It still gives you the stamped image, but the water makes the edges blend and run. The key to this working so nicely is using the gesso first and then stamping with Distress Oxides. I used lots of flowers from the Cardstock Stickers, Floral Die Cuts, and Layered Bouquet Stickers. I used a few stickers from the 8-Page Sticker Book and I fussy cut a few blue leaf stems from patterned paper. I also tucked in a Chipboard Sticker and blue and yellow thread. So much fun dimension and texture!


I love how colorful this turned out! It was a lot of fun to put together and I hope it inspired you in some way today. Don’t be afraid to create a fun messy background with Acrylic Stamps!
Here's my process video:
Thanks for stopping by, and Happy Monday!

No comments:
Post a Comment