Thursday, February 28, 2019

You Love Summer Time / Cheeky Studio Guest Designer

Hello again, friends!  Today I'm sharing another layout I created as the February Guest Designer for Cheeky Studio.  I was inspired by the Wildflower Ephemera Set 3 to put together this fun tropical page.  I started with an exclusive Cheeky Studio cut file and resized a bunch of scalloped flowers.  I cut them on white cardstock, and before peeling them off my cutting mat I covered them with gesso.  Next I used lots of bright Distress Oxides to color them.  You can see how magical those color blend in my video down below. 


Once I had all the flowers done, I stacked them together to create four big layered blooms.  I arranged them in a way so I could tuck my photo inside them.  I put the blue flower farther away from my photo since it had lots of blue in it already.  I sorted through the Wildflower Die Cuts and tucked them in around the big flowers.  I tried to keep it tone-on-tone and use matching colors.  I love all the fun dimension and depth!


I bent up the edges of the flowers to really make them pop off the page.  I did trim the white edges from the die cuts to minimize the white against all the bright colors.  I layered in some matching tangled thread as well as a few flair from the Missy-isms Flair Set.


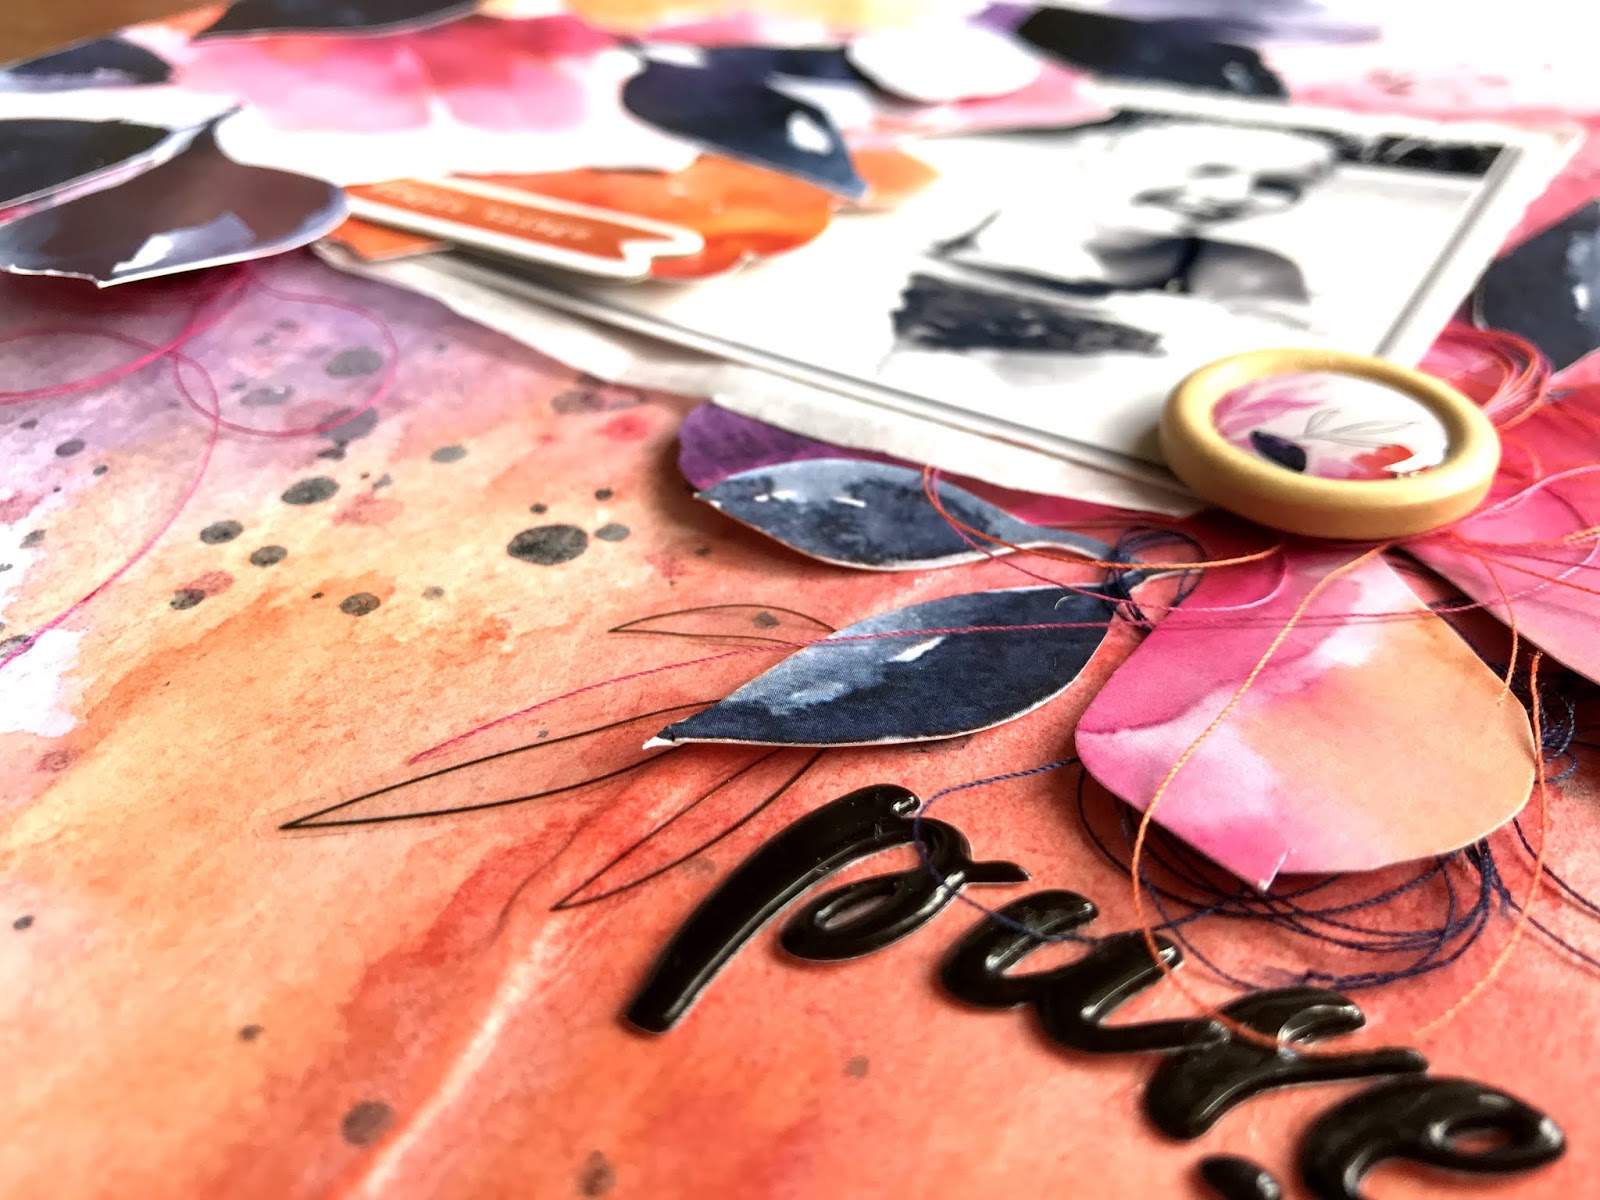
I added some matching buttons from my stash to the centers of each flower.  I threaded some embroidery thread in the small holes of each button to finish them off.


I love the pops of black from these leaves and stems.


I used some small black alpha stickers from my stash for my title.  I fussy cut the "you" circle from the Wildflowers Cut Apart Sheet.  I decided to use the circle centers I punched out of each of the flowers over to the right of the photo.  I love the pops of color they give!


Here are a few more close-ups just because I love them1


I hope this inspires you in some way!  It's a lot of fun to make a layout using no patterned paper.  Don't be afraid to get out your watercolors or ink pads or gelatos and make your own flowers or embellishments.  You'll see how easy it really is in my video...I promise anyone can do this!


Thanks so much for stopping by, and have a great day!

Tuesday, February 26, 2019

Love Makes Everything Better / Hip Kit Club

Happy Tuesday, friends!  I'm back with a new layout for Hip Kit Club featuring the 2019 February Hip Kits.  All of this month's Hip Kit cut files contain hearts, so I used one to create all those cute hearts.  I cut them on a Pinkfresh Studio patterned paper and created a fun cluster above my photo.  I was inspired at first by a few of the Project Life cards.  I fussy cut that big flower cluster down at the bottom from a PL card.  I used the "Love makes everything better" card as my title, and I decided to place it to the right of my photo and have the hearts bursting out from the top of them.


I used some smooth white cardstock for the background, and I coated a lot of the area with clear gesso first.  I used some of the Prima Opal Magic Paint from the Color Kit along with some of the Prima Color Bloom sprays from last month's Color Kit.  I added a bit of color to a small acrylic stamping block, spritzed it with water, and then smudged it down onto the paper.  You can get a better idea of this in my process video.  I also used a few Shimmerz from previous Color Kits.  I attached the hearts and stitched down the middle of some of them.  I also traced around the edges of a few of them to add a pop of black.  Those small black hearts were the last thing I added...I just punched some out of the black & white striped Carta Bella paper.


I folded up some of the hearts' edges to create some dimension and shadowing.  This cute fabric banner piece is from Pinkfresh Studio Joyful Day, and I love the pop of green it gives in that space.  Those are in the Embellishment Kit.


I couldn't resist fussy cutting this big flower cluster out from a PL card.  The colors make me so happy!  I attached it to the bottom of my photo and tucked in some black thread under it.


I love the dimension here!  I did also add some black splatters.  I wanted some small pops of black on the top half of the page since there was a lot of black in the lower half.


I layered some more PL cards and a Carta Bella die cut behind my photo.  Towards the end, I added in some Pinkfresh Studio puffy heart stickers, enamel dots and die cuts.


I tucked in a few more Pinkfresh Studio stickers down here at the bottom.


I know....I always take way too many close-ups...haah.  I can't help it...the colors and dimension are just so awesome!


I used one of the adorable Crate Paper shaker heart stickers here...they are the CUTEST!!  I also added some machine stitching around the edges of the title PL card for an extra pop of color and detail.


One last close-up of the left side.  I used another Crate Paper heart puffy sticker here under the photo.  I forgot to mention that I did add some adhesive foam under the photo to raise it up off the page a little bit.


I hope this inspires you to create something fun and bright with your February Kits!  This was fun to make, and I just love playing with all those colors.  Be sure to check out my process video for more details!


Thanks so much for stopping by!  Have a great day!


Thursday, February 21, 2019

Altenew Live Your Dream Scrapbook Collection Release Blog Hop + Giveaway

Hey, friends!  I'm super excited to be part of the Altenew Live Your Dream Scrapbook Collection Release Blog Hop & Giveaway!   This collection is truly gorgeous, and you can find out all the details about it below.  Make sure you check out all the information about prizes & giveaways!


Our Live Your Dream ScrapbookCollection is a bright and elegant line that you can use to document any occasion. From the little daily moments, you want to remember forever to bigger milestones like parties and birthdays.

All of the products in this collection are very versatile and you can use them for many different projects such as 12x12 layouts, pocket scrapbooking, cards, home decor, and much more.

This collection contains
·         16 sheets of 12x12 double-sided patterned papers (2 of each/16 different designs)
·         2 6"x12" sheets of puffy alphabet stickers (220 pieces)
·         2 6"x12" sheets of chipboard stickers (38 pieces)
·         2 6"x12" sheets of clear stickers (31 pieces)
·         1 pack of wood epoxy buttons (20 pieces)
·         1 pack of die-cut cardstock embellishments (32 pieces)   


To celebrate this release, Altenew is giving away a $50 gift certificate to 6 lucky winners! Please leave a comment on the Altenew Card Blog and/or Altenew Scrapbook Blog by 2/28/2019 for a chance to win. 6 winners will be announced on the Altenew blogs on 3/3/2019.

Here is the layout I created.  I couldn't resist fussy cutting out some of the beautiful watercolor floral clusters.  I arranged the flowers in opposite corners.  I wanted to tuck the photo under the flowers in the upper left corner.  I love making my own backgrounds, so I used white cardstock for the background.  I coated it with clear gesso and let it dry.  Then I came in with some coordinating colors of ink sprays.  I sprayed the paper with water and then sprayed some color down.  I tilted the paper in different directions and just let the colors run and blend.


I cut another flower out of one of the beautiful watercolor papers and tucked in under the corner of the photo.  I tucked in some pink and navy thread for added color & texture, and then topped off the center of the flower with a wood veneer button.  I added a few chipboard stickers over to the right.  Aren't these deep rich colors so gorgeous?!


I used some of the black puffy alpha stickers to create a short and sweet title.


I used a few clear stickers here...these subtle leaves looks like I drew them or stamped them.  But they're stickers!  I wish I had a whole sheet of those.  They're the perfect detail. 


I added some white tissue paper behind my photo for added detail and to create a subtle border behind it.  I added a chipboard sticker on top of the photo.  I love the sentiments in the collection because they're very general and versatile.


More close-ups....


I loved making this background...I think I did pretty well with matching the colors to the flowers.


And a few more because I always take too many :D


Here is a list of all the designers in the Blog Hop:


I hope you will hop along and check out all the beautiful projects made with this new collection!  I had a blast making this page, and I hope it inspires you in some way.  I have a process video here if you'd like to check it out:


Thanks for stopping by!