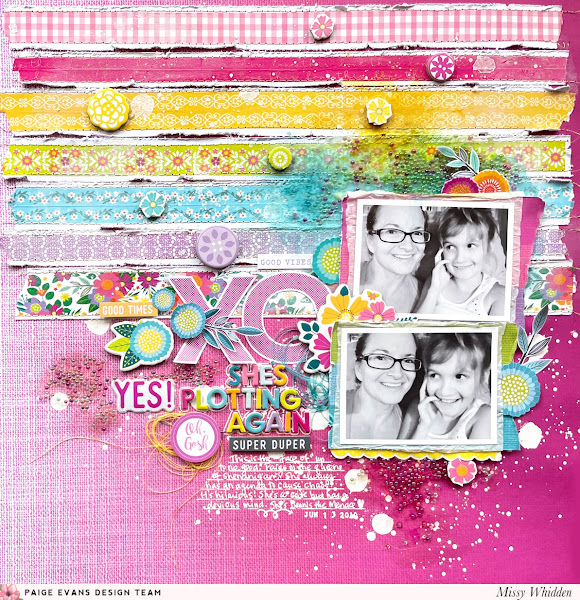
These tapes are so bold and pretty! Very easy to use in so many ways. I embellished on each strip with a matching Chipboard Sticker.
I wound up creating a cluster here in the title area. I first cut the large XO from a paper in the 12x12 Paper Pad. I used lots of the blue flowers from the Chipboard Stickers and 8-page Sticker Book. I used the Thickers for my smaller title to describe my mischevious child LOL. I also used an Epoxy Sticker as well as some blue and yellow threads. I also added more beads. I got the beads from Michaels, and I just pressed them into some texture paste that I scraped on using a palette knife. The beads are fun...they're my current obesssion :) I tucked in a few flowers here and some leaf stems. Behind my photos I layered some white tissue paper and a bit of paper from the 6x8 Paper Pad. I highly recommend white splatters on top of bold darker colors like this. It shows up so crisp and bright and looks awesome! Very easy to do.This yellow scalloped border is one of the Washi Tapes. It's a perfect little detail to add around photos like this.
More close-ups of all the details :)
I also recommend using a white gel pen to write your journaling on dark colors like this. It shows up very well. I used Paige's Roller Stamp here for the date. To make my title stand out a bit more I traced around the letters with the white gel pen. It just makes them a little more readable.
I hope this inspires you in some way today! I had a fun putting it together even if I did become possessed by the Bead Demon LOL! I just can't stop when I'm loving making a mess :D
Here's my process video:


