Thursday, March 31, 2016

Spring Time / Hip Kit Club

Hey there again, friends!  I have another layout for Hip Kit Club to share today.  This was up on the Facebook page last week, and I used the 2016 March Hip Kits to create it.  I combined some of the Pinkfresh Studio patterned papers with the HKC exclusive papers.  This gorgeous butterfly cut file was designed by Kim Watson, and I could not wait to use it!  I cut several butterflies using different papers and scattered them around the page.  That beautiful sketchy bird paper is PFS, and I added some white gesso before adding my Shimmerz paints to create that watercolor effect.

This cute picture of my little Paige was the perfect photo for a Spring layout!  The colors and embellishments coordinated so nicely together, and I just love how it turned out.


I stitched through the bodies of all the butterflies and ruffled their wings for added dimension.  I created a little cluster here using some of the PFS washi tape, a few of the PFS stickers and sentiment die cuts, some wood veneer and a vellum arrow from Basic Grey.  And more stitching, of course! :)


I love how the background watercolor looks through the butterflies...that is such a fun technique!  I also used a few of the Project Life cards as layers behind my photo as well as some of the Basic Grey cork stickers.  I used the Shimmerz Aqua Huez to color the Elle's Studio wood veneer.


To color this heart wood veneer, I used gelatos and a bit of water.  Some yellow tangled thread helped to make it pop against the photo and that cute cork bird.


Here's another look at the top area...that cute bird is a PFS puffy sticker, and I continued the grass green color pops by adding some thread under the photo.


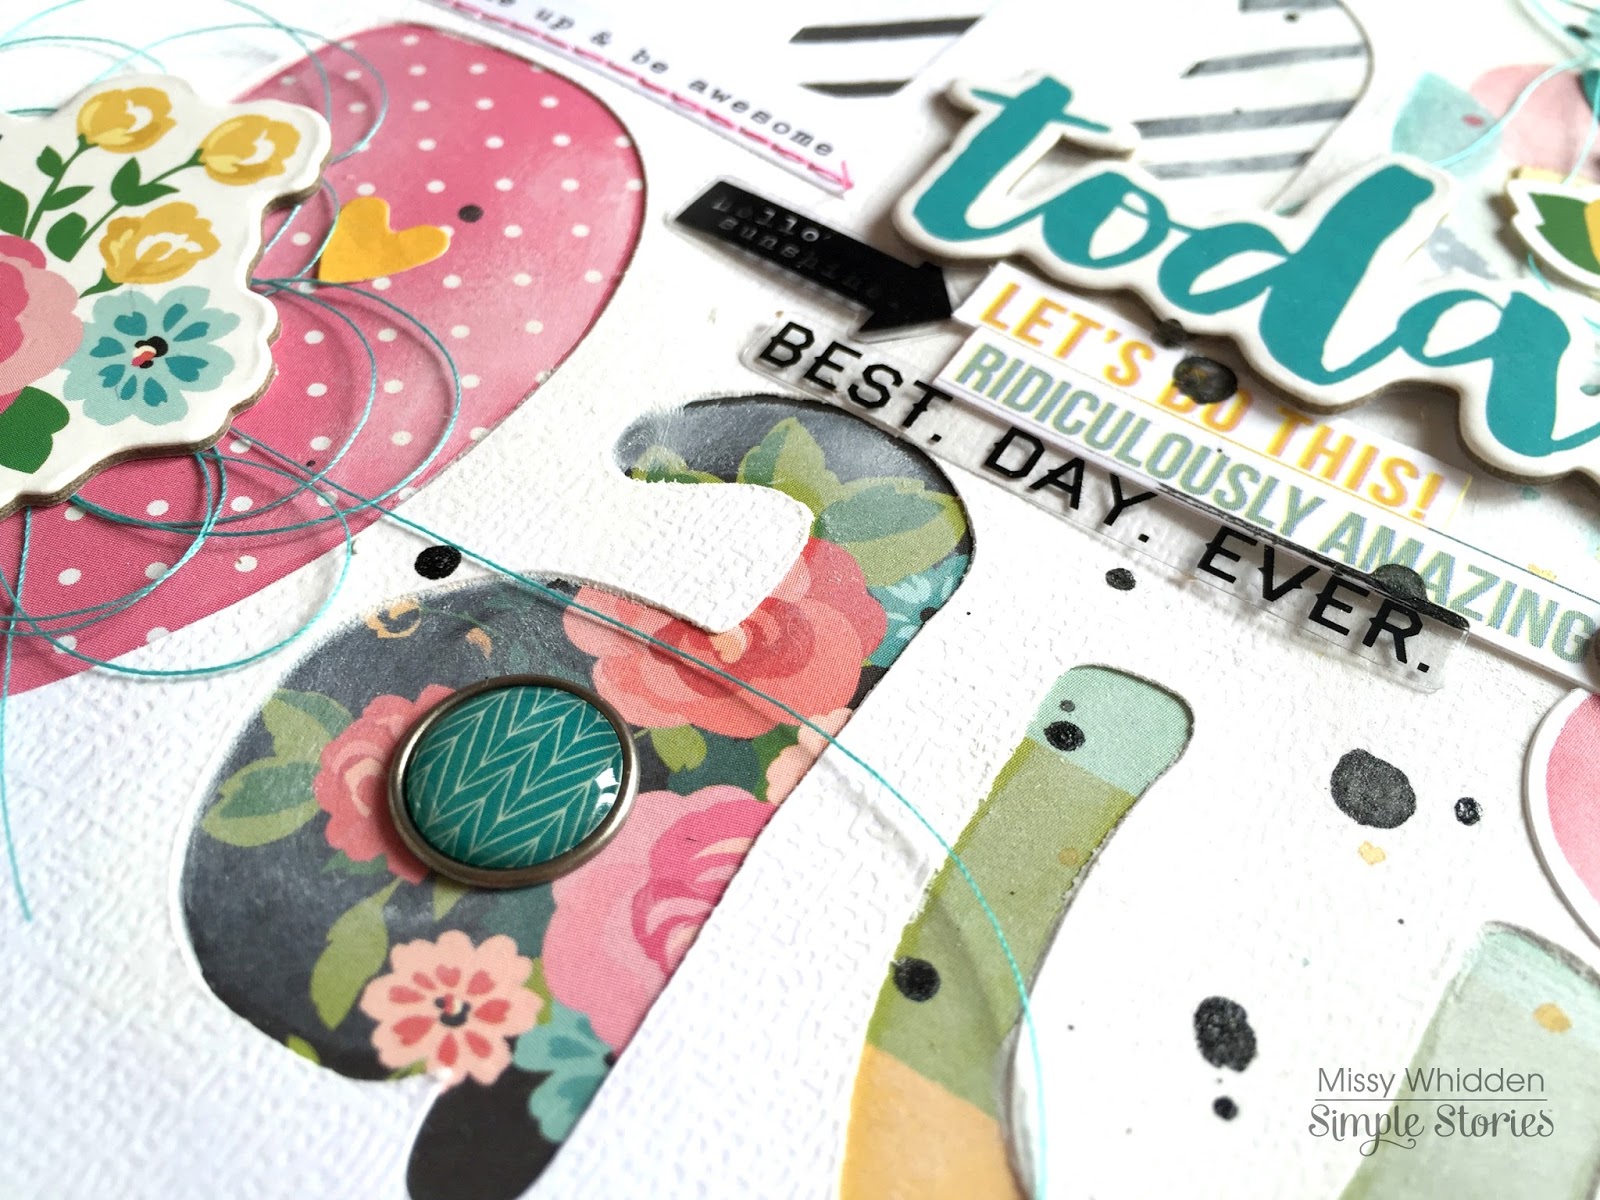
Here's one last close up...the title area.  I used some of the PFS alpha stickers here and grouped them with a cute die cut bird, another sentiment die cut, more wood veneer hearts and an Elle's Studio wood veneer that I colored with the Shimmerz again.


Here's my process video showing you exactly how I created this layout from start to finish.  I hope it inspires you!


Thanks so much for stopping by!  Have a great Thursday!

Wednesday, March 30, 2016

Love Every Minute / Simple Stories

Hello again!  I've been super busy lately...the layouts keep on coming!  Today I'm sharing another layout I created for Simple Stories this month using the gorgeous Carpe Diem collection.  I decided to try and work with some of the 6x12 papers for this one, and so I created what I call a half & half layout.  I let the paper on the left speak for it self since it was so pretty and had such a great saying on it.  I chose more of a solid color for the right so I could add my photos and embellishments.

I printed three small photos and framed them with some of the smallest chipboard frames.  I just love how they make the photos pop!  They draw your eye right to them.  I used a bit of white gesso and smudged a bit along the center edge.  I added a little bit of coral watercolor just to bring in a faint hint of color there, and then I stitched for a bit more detail.


I wanted to add another small title on this side of the page, and so I combined one of the Snap die cuts with some of the alpha stickers.  Since "EVERY" is black and my background is black, I used a white pen to trace around the letters so they would be more visible.  I added some machine stitching and a few hearts as well.


I just love how these frames look!  I raised them up using pop dots so I could layer embellishments under them.  I added a few fussy cut pieces, a few stickers and some chipboard.


I love that cute balloon sticker!  The colors are perfect, and it just looks adorable there.  I also added some black tangled thread...oh, how I love tangled thread!


Here you can see the gesso and watercolor...I love using my finger to smudge it.  That gives is a faded and cloudy look and lessens the harsh edges of the gesso.  I added a cute sun and a few clouds around the page as well as some blue tangled thread.


Here's one last look at the frames again...I can't wait use some of the bigger ones next time!


Thanks so much for stopping by today!  Have a great Wednesday!

Tuesday, March 29, 2016

Sparkle / Shimmerz

Happy Tuesday, everyone!  Today I'm sharing a fun layout for Shimmerz using several different products.  I used the Cocoa Vanilla Hello Lovely collection for this, and I was inspired by one of the die cuts.  It says "Don't let anyone ever dull your sparkle."  I wanted "Sparkle" to be my title, so I cut it on my Cameo.  I used the cut out letters below the cut as a reverse stencil and went over them with Dazzlerz Sea U in the Mornin'.  I love how it turned out!  I peeled the letters up and then placed them above the cut and stitched through them.  The background watercolor is a combination of Inklingz, Creameez, Coloringz and Vibez.


Here's a close-up look at the Dazzlerz.  This was a really fun thing to try...you could do this with any kind of cut you create.  I backed the open letters with various patterned papers.  The blue color is Creameez Ride the Tide.  I used the packaging technique and a water brush.


I ran my page through my sewing machine on the top letters.  I used the die cut as the top part of my title, and those cute sequins are from the CV collection.  I was inspired by the colors in these cute flower die cuts that I layered under my photos.
 

This beautiful orange color is Inklingz Can't Elope.  I added splatters here of Coloringz Oh Say Can U Sea, Inkingz Gosh Garnet and Vibez Taupe of the Mornin'.


Here's a look at the bottom area.  More paint splatters and lots of fun stickers and die cuts.


Sometimes a collection can really push you out of your comfort zone to use a color combo that you wouldn't ordinarily use.  I love how this teal, pink and grey turned out together!


Here's my process video for this layout if you'd like to see how it all came together.  I hope it gives you some ideas to try!


Thanks so much for stopping by, and have a great week!


Supplies Used: 
Dazzlerz - Sea U in the Mornin'
Coloringz - Oh Say Can U Sea
Creameez - Ride the Tide
Inklingz - Can't Elope, Gosh Garnet
Vibez - Taupe of the Mornin'


Monday, March 28, 2016

Never Let Go of Your Dreams / The Cut Shoppe

Hey there, friends, and Happy Monday!  Today I'm sharing a layout I created for The Cut Shoppe using the Girl Stuff Cut File.  I've been eyeing that adorable "Love" speech bubble for a while, and so I decided to make a page with it!


I created several copies of the speech bubble, placed them like I wanted them and then welded them together.  I used papers from a few collections...Shimelle Star Shine and Amy Tangerine Better Together.  Once I had all the opens spots backed, I went to work on my background.  I used acrylic paints, a stencil and a foam applicator to create the background design.  I also added some ink splatters.


I raised the entire cut file with pop dots and then I hand stitched around it.  I love how it turned out!  The dimension is so much fun!


I added some clear Shimelle stickers, a few flair buttons from A Flair For Buttons, and some Dear Lizzy alpha stickers.  There are also some small heart stickers from Simple Stories and MAMBI.


I used a few different blue shades of paint here along with some pink and golden yellow.  I love the pops of navy/royal blue in these collections!  Luckily I had some matching thread in my stash!


Here's one more look at the cut file...pop dots can really change the entire look of a design.  I really love how this one came out!


Here's the process video of this layout if you'd like to see how this page came about.  I hope it inspires you in some way!


Thanks so much for stopping by!


Saturday, March 26, 2016

Seize the Day / Simple Stories

Happy Saturday!  I'm so excited to share another one of my layouts for Simple Stories with you today!  I couldn't wait to dig into the Carpe Diem collection.  Seriously...it has all of my favorite colors, patterns, embellishments...you name it.  And it fits my little Paige perfectly because she is a go-getter every single day.  She has worn a dress only a handful of times in her life, and as you can see, she took this opportunity to go barefoot and run wild...haha! 

I started with some white cardstock.  I created the large title on my Cameo software using a fun font and then cut it out.  I used lots of patterned papers to back the letters and then went over a big portion of the paper with white gesso.  I used wtaercolor paints and some Color Shine on the background.  I used some floral stickers and a fussy cut floral cluster as layers behind my photos as well as some tissue paper from my stash.


I combined lots of bits & pieces here.  Chipboard, brads, sentiment stickers, clear stickers...I love how they all look layered together!  I just love these pretty colors, and you know the Simple Stories collections contain a TON of things!  I can't wait to use more of them!  I added some light blue tangled thread here, and I love the texture it gives.


My journaling fit right inside this little nook here.  I created another small cluster under it with a few sentiment stickers and another chipboard piece. I did some random machine stitching around the page as well.


I love this fussy cut piece.  You can tell it's not perfect...it's hard to get around those tiny stems and leaves with the scissors!  But I love how it turned out.


Here's one more look at the cut out letters.  I've said this so many times, but this is a great way to get lots of pattern and color on your layout without it being too busy or overwhelming.  You get to incorporate a ton of papers this way, and you get a fun look!


Thanks so much for stopping by today...enjoy your Easter weekend!


Friday, March 25, 2016

Dream On / My Mind's Eye

It's Friday....yay!  I have a new layout for My Mind's Eye to share with you today.  If you know me, then you know how much I love using digital cut files on my projects.  I wanted to use the new Hello Gorgeous collection, and as I was going through the 3x4 Journal Cards, I came across a pretty watercolor blue one that read "Dream On."  It inspired me to scrap this adorable photo of my daughter sleeping.  I knew that these cute clouds from The Cut Shoppe would be perfect for this page, and so I traced, copied and welded several of them together to create a background shape.  I used the MME Mini Dots cardstock in Day Lily.

I used clear gesso on my white MME Canvas cardstock (Snowbound) and then used blue watercolors to create that pretty blue haze around the perimeter of the clouds.  I used a few of the 12x12 patterned papers as well as the 6x6 Paper Pad to back the clouds.


This collection reminds of me some of the older MME collections...lots of classic florals, stripes, plaids, polka dots...and hints of sparkly glitter.  I created a fun little circle cluster here with various pieces...wood veneer, chipboard and die cuts.  You can also see the raised dots on the cloud cardstock.  I ran the background through my sewing machine using gold thread before I attached the embellishments.


You can see the dots better here.  I just love the texture of that cardstock, and it ran through my Cameo without any problems.  I turned my blade up to 6 and it cut perfectly.  This floral paper is my favorite one!


Here's a look at the bottom half of the clouds.  I just love the touches of pink glitter on these papers!  And the 6x6 Paper Pad has the glitter, too!  A lot of those small pads don't have the glittered papers, but the MME ones do!  Woo hoo!


Here is the Journal Card that inspired this whole layout.  I decided to use it as my title and so I fussy cut "Dream On" out and added pop dots to it.  I added some chipboard to my photo with some gold tangled thread and then added a wood tag under it.


I had a blast creating this...I hope you've had a chance to play with some of the new MME lines!  Thanks so much for stopping by, and have a great day!

Thursday, March 24, 2016

Carefree / Hip Kit Club

Hey, friends!  I hope you are all doing well this week!  I have another layout for Hip Kit Club to share, and I used the 2016 March Hip Kits to create it.  This month's Main Kit and Paper Kit contain a lot of Pinkfresh Studios products and some really amazing exclusive papers...they truly are gorgeous!  Kim Watson designed them, and my favorite is this multi-colored bright paper that I used to cut these flowers.  Ashley Horton designed the cut file, and I cut four flowers on the patterned paper and on white cardstock.  I used the Green With Envy Aqua Huez paints from Shimmerz that we received in the Color Kit to color the leaves.

I used some white gesso on the background before adding the watercolors.  I also used a few Project Life cards on this...I fussy cut that beautiful aqua heart and the "Remember This" tag piece.  That yellow strip in the background is from one of the Pinkfresh Studio papers, and the bits and pieces are all from Pinkfresh, Basic Grey and Elle's Studio.


Look at that paper!  The colors are just so pretty all mixed together!  I wish I had 20 more sheets of it...I'd hoard it forever :D  I layered some tangled thread here, and I fussy cut "carefree" from another Project Life card.  Kim Watson also helped design the PL Cards, so you won't want to miss those!  That blue flower is from the Basic Grey flower pack...another set of gorgeous colors!


I love how adding the Aqua Huez to the leaves made them curl....they look so dimensional like that!  Some of the Basic Grey flowers are vellum....like this pink one.  Swoon!


These Pinkfresh Studio pieces are soooo much fun!  I love the birds.  I added a pop dot to this little guy.  He looks like he's looking right at the photo :)  Those sentiment strips, the "oh happy day" circle and the striped piece behind it are all from Pinkfresh as well.


Here's my process video if you'd like to check it out!  Thanks for watching!


Have a great day!!

Tuesday, March 22, 2016

Weekend / Citrus Twist Kits

Happy Tuesday, friends!  Today I'm sharing another layout for Citrus Twist Kits using the 2016 March Add-On "Day Dreams" Kit.  It contains a large sticker sheet from the Maggie Holmes Bloom collection and a cork sticker sheet from Basic Grey.  I used both of those to embellish the layout.  I started with the light mint colored cardstock and the blue and green triangle paper from Amy Tangerine.  I cut a messy circle using the triangle paper and adhered it to the cardstock.  I went over most of that area with white gesso and then used spray inks to create a watercolor effect.


These Thickers are AMAZING!  I mean look how beautiful and sparkly they are...seriously!  I used lots of the Bloom stickers here.  These cute banner stickers were just begging to be sewn together to create an actual banner, and I incorporated a few of the Basic Grey cork stickers as well.
 

I couldn't wait to use this beautiful bouquet of flowers here...the colors are just so pretty.  I also did some yellow machine stitching around the messy circle on the background.  I added in the white cork flower as well.


I was inspired to use pool photos by all the stickers with the word "sunshine" on them.  It doesn't get much more "sunny" than summer time pool photos :)  I added some tangled teal thread from my stash and some tissue paper behind my photos for an extra layer.


Here's my process video for this page...it was fun creating a layout from just an Add-On Kit.  I hope you enjoy the process!


Thanks for watching, thanks for stopping by, and have a wonderful day!

Sunday, March 20, 2016

Sweet / Citrus Twist Kits

Hey, friends!  I'm back today to share a layout for Citrus Twist Kits using the March Add-On "Day Dreams" Kit.  I love all the beautiful Maggie Holmes stickers in this kit, and I used quite a bit of them on this page.  I began by cutting the pretty butterfly cut file on my Cameo with white cardstock.  Before I removed it from the sticky mat, I used one of this month's exclusive stamps and repeatedly stamped it all over the butterflies.  Then I used some ink sprays from my stash to give them some watercolor effects.  Then I peeled the whole thing off the mat and stitched it down to another sheet of white cardstock.


I couldn't resist using these beautiful floral stickers here, and I paired them up with the cute mint & gold deer.  Here you can see the background mixed media work.  I used some yellow ink spray on the background and then came in with my waterbrush to paint more on.  Aren't these glittery gold Thickers amazing?  In person they sometimes have a silvery sheen to them as well.


These are all from the Maggie Holmes sticker sheet.  I love layering embellishments and stitching through them with my sewing machine.


The stamp I used says "The Wild in You" which is the perfect sentiment for my youngest daughter...haha!  Here you can see the colors and the stitching...this was so fun to do!


This shows how you can use the stamps in a unique way...in this case, creating a fun and abstract mixed media embellishment!  I also add in some tangled gold thread here.


Here's my process video if you'd like to see how this layout came together from start to finish.  I hope it inspires you in some way!


Thanks for stopping by!  Have a great day!