Friday, July 31, 2015

Lost in a Good Book / The Cut Shoppe

Hey there, friends!  It's Friday....YAY!  Today I'm sharing my latest layout for The Cut Shoppe using the adorable Little Letters cut file.  I love that the letters overlap, and I knew right away I wanted it to be a background element on my page.


I started out with papers from the Pinkfresh Studio Up in the Clouds collection.  I cut the file on a colorful patterned paper.  I used the dotted paper as my base, and I covered a big section of it in white gesso.  I used a lot of gelatos and some spray inks to create the watercolor look behind the cut file.  I brought in a lot of American Crafts Rise & Shine embellishments as well as some washi tapes from my stash and a few flair buttons from A Flair For Buttons.


I love how the gelatos look behind the cut file.  I didn't want it to be just white behind it...I think the different colors make it stand out a bit more.  I added some of the AC washi tapes and some different color stitching.


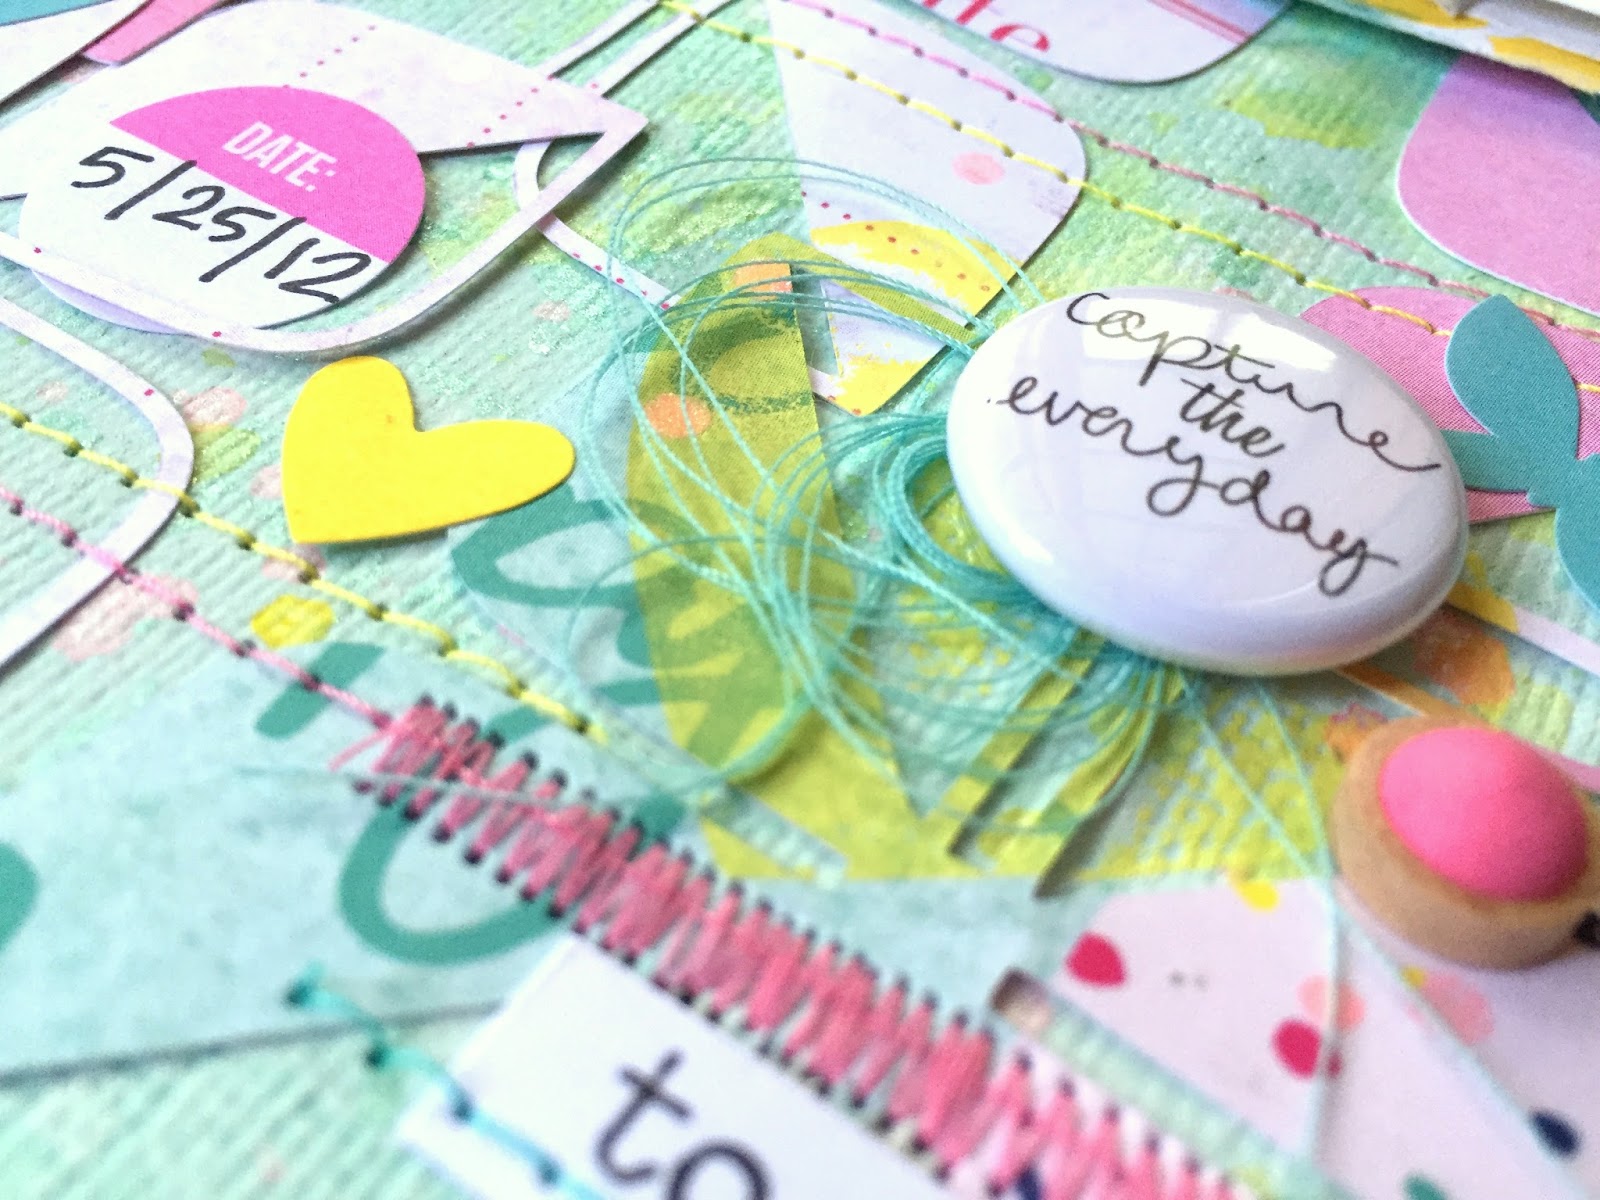
I couldn't resist using this flair button...it's perfect for a layout about books or reading!  I layered in some black and yellow thread to throw in a few more pops of color on that side of the layout.


Here's another look at the top of the cut file and more of the AC washi tape.  I also used a black pen to trace around all of the letters.  I think this makes them look a little more crisp.


I originally made the title all black Thickers but changed my mind.  I decided to break it up by bringing in some hot pink and yellow Thickers.  I also added in another flair button.


Here's a look at how this layout came together if you'd like to check it out. Hope you enjoy!


I hope this gives you some ideas on how to incorporate this cut file into a background for your layout.  Thanks for stopping by, and have a great day!

Wednesday, July 29, 2015

Gone By So Fast / CREATE Magazine

Hey, friends!  I'm sure by now you've seen the 2015 July issue of Scrapbook Generation's CREATE Magazine.  I am honored to be a part of the amazing Design Team, as a part of that, I have two layouts published in this issue.  I'm sharing one of them today.  I created this layout for the Journaling Challenge, which was to use song lyrics as inspiration and as part of your title or journaling.  I chose the song "You're Gonna Miss This" by Trace Adkins.  The words ring true for the way I feel about my children...because time does go by so fast, and I know all parents WILL miss these times when their children are little!

I used the American Crafts Serendipity collection for this.  Months ago I created a layout for The Cut Shoppe using the Retro Rounded Corners cut file, and I saved the cut out parts.  I decided to use them on this page, and I love how it turned out!  I used minimal embellishments...mostly a few stickers from the Simple Stories DIY Boutique line and Tim Holtz, a few enamel wood bead from Pinkfresh Studio,  and a few flair buttons from A Flair For Buttons.


My title stickers are from Simple Stories, and I decided to just journal right onto the paper.  I love how these die cuts look against the colored cardstock...and I did add a bit of white gesso and some watercolor to the background.


This flair button is sweet and simple, just like the photo.  Just an unposed everyday moment with my sweet girls :)


I did add lots of machine stitching in a few coordinating colors as well as some tangled thread.


One final close-up of the bottom area below the photo.  I love when several collections can be pieced together to match perfectly!


If you haven't, make sure you check out the CREATE Magazine...it's a FREE download, and there is so much inspiration in there from so many creative scrappers!

Thanks for stopping by, and have a wonderful day!

Tuesday, July 28, 2015

Be Silly / My Scraps & More Sketch #110

Happy Tuesday, friends!  Have you seen the latest sketch over on the My Scraps Sketch Blog?  The awesomely talented Juliana Michaels is the Guest Designer this month, and her sketch is so much fun! 


Here's what I came up with.  I pulled out the Amerian Crafts Dear Lizzy Fine & Dandy collection for this.  I decided to go mixed media for this one, so I started with some white gesso on top of the black dotted patterned paper.  I used watercolors and gelatos to create the color splotches on the background.  For the circles in the sketch, I traced some of different sizes and then used gelatos to shade in some yellow.  I was excited to use one of the transparency papers in the collection...I really love how it looks!


Here's a close-up of one of the circles.  Gelatos smooth on very nicely if gesso is down first.  I just colored it on like a crayon and then used my finger and a touch of water to smooth is around the circle.  You can also see the transparency here as well as some stitching I did.


Here's another angle of one of the circles.  I splattered some black Color shine at the end to bring in a little more pops of color.


Gold foil....hello!  I cut this from one of the specialty patterned papers and added a gold arrow paper clip.  Sometimes the best embellishments come straight from patterned paper!


Layers and more layers :)  I layered in patterned papers, tissue paper, stickers, chipboard and tangled thread.  I finished off my photos with a cute little yellow bow sticker.


One last close-up of the title....and it's shiny gold!  These Thickers are gorgeous!  I layered them right on top of the transparency and added a die cut under it.


Be sure to visit the My Scraps Sketch Blog every Friday for a new sketch! And be sure to check out the STORE...there are SO many things coming in!!

Thanks for stopping by, and have a great day!

Monday, July 27, 2015

When Life Gives You Lemons / The Rubber Cafe Guest Designer

Happy Monday, friends! I'm so excited to share my newest card with you using the July Kit of the Month from The Rubber Cafe.  This is my third card as the July Guest Designer.  I was so inspired by all of the lemon elements in the kit that I decided to create a shaped card.  Yep, it's a lemon!  You don't even need a die cutting machine to make it.  I made it freehand, and it was easy.  I love how it turned out!


The first thing I did was just draw a big lemon on my white cardstock.  I used a pencil, and as you can see, it was very sketchy.  I made sure the very top of the lemon went to the fold in the cardstock.


Then I cut it out.  Don't worry about the pencil lines.  You can erase those later.


The important thing to remember is to cut just around the top fold at the top of the folded cardstock.  This way you have the connecting piece that makes the front and back of the card.


 Next, I picked out the yellow paper from the 6x6 paper pad and traced around one side of the lemon.


I cut that out and glued it to the front of the card.  So easy!  I erased all of the visible pencil lines, and now when the card opens, the inside is white.


Here's a close-up of the stamped images.  I don't own any Copic markers, so I used a tiny paintbrush and some gelatos to color my images.  I just stamped them onto white cardstock scraps, colored them and carefully cut them out.  I went back over the pitcher with a white gel pen to give it some shading.  I also added some of the pale yellow ribbon in the background, along with some Mustard Seed Distress ink and Butter Color Shine.  Lastly, I added in some tangled thread from my stash.


I hope this gives you some fun ideas on how to make homemade shaped cards!  This was a lot of fun!


Supplies:
Stamps:  The Rubber Cafe' -Creative Cafe' kit- Too Much Sun-
Paper: The Rubber Cafe' - Creative Cafe' kit- Too Much Sun - Doodlebug 6x6 pad, cardstock
Ink:  Tim Holtz Distress Ink, Ranger Archival Ink, Heidi Swapp Color Shine
Embellishments: Ribbon from the kit, thread from my stash
Tools: Ranger ink blending tool, Signo White Gel Pen, Faber Castell Gelatos


Sunday, July 26, 2015

She's So Fun / Hip Kit Club

Hey there, friends!  I'm back today to share my latest layout for Hip Kit Club using the 2015 July Hip Kits.  I decided to go big, bold and busy for this one.  I started out with the floral October Afternoon paper, the red paper from Crate Paper Journey, the light pink piece from Crate as well, and the striped paper from Fancy Pants.  Once I adhered all that down, I added a lot of white gesso over a big chunk of it.  Once that dried, I used several inks and sprays to create my watercolor background.  I used the plastic packaging technique for a lot of it.

You can see how I did that in detail in my process video down below :)


This fun Heidi Swapp stamp comes in the Color Kit this month, and I decided to stamp it and then emboss it.  I used the clear embossing powder from last month's kit.  I used a few of my gelatos to color it blue.  I layered in an Elle's Studio wood veneer that I colored with Dylusions and then worked my title around it all.  That little heart is also from Elle's Studio, and those cute enamel dots are OA.  I added in some tangled thread (big surprise!) and some stitching.


Here you can see the gesso and mixed media as well as more stitching.  That cute stamp is a roller stamp from OA that is included in the kits.  The flair button is also OA.  I just love all of these colors together!


I just love layers...especially behind my photo.  I layered in some tissue paper and a few Project Life cards.  I added in one of the Simple Stories chipboard frames and a few die cut pieces from Elle's Studio. Those cute puffy stickers are OA.


I do not do Project Life, but I always get the PL Kit because of the gorgeous exclusive designs!  They are always so beautiful, and as you can see, they make great additions to 12x12 layouts.  I love using them as layering pieces.


Here's one last close-up of the title area.  I love how the flowers from the background paper are still slightly visible through the ink.  This is a great way to tone down busy paper if you still want to use it as a background but don't want to over power the photo and other embellishments.


Here's my process video if you'd like to watch.  Hope you enjoy!


Thanks so much for stopping by!  Have a great Sunday!

Friday, July 24, 2015

Love This Sweet Girl / My Scraps & More

Happy Friday, friends!  Today marks our 8th Got Talent Challenge at My Scraps & More!  I'm up on the our forums and our Facebook group.  I hope you will join in with us!

The challenge this week has two parts.  The first part is to use some plastic packaging from some of your scrapbook supplies and use it somehow to create an embellishment.  I created a see-through shaker pocket full of chunky glitter.  The packaging contained a set of brads.  I cut both ends off and machine stitched through one end.  I poured some glitter inside and then stitched the other end closed. It was really fun to make!  I have never done this before, so it was neat to give a whirl.

The second part of the challenge is to draw or paint at least one word of your title.  I used watercolors and a paint brush to paint the word "LOVE" onto white cardstock.  Then I cut it out and combined with alpha stickers.

I used the gorgeous Simple Stories So Fancy collection, and let me tell you....it's stunning!  I love the colors...just beautiful.  Get yourself some of it HERE.


I jazzed up the background a bit with a few blue shades of Distress Ink and a Crafter's Workshop stencil.  I also added in a few splatters with my brush and some splatters of gold Color Shine.


I found a sketch circle die cut in the Silhouette Store and used as a layering piece behind my photo along with a few patterned papers and some tissue paper.  I also added in some tangled thread, a few heart die cuts, a brad an some enamel dots.


Check out this shaker pocket!  I love it....it turned out so much better than I thought it would!  I added in blue, purple and gold chunky glitter I found at Michael's.  I also fell in love with that gorgeous dream catcher die cut from the collection.


And here's a shot of the hand-painted title.  I love how it turned out, too!  My small alphas are from the Basic Grey Prism sticker sheet.


Here's a look at how I put this all together if you'd like to take a look.....hope you enjoy!


Thanks so much for stopping by, and have a wonderful weekend!

Thursday, July 23, 2015

Celebrate Good Times, Come On! / My Scraps & More

Happy Thursday, friends!  I hosted last week's Trigger Tuesday Challenge over at on the My Scraps & More forums which is where we use the monthly theme to come up with the challenge.  July's themes are celebrations/patriotic/stars & stripes.  I challenged members to use the word CELEBRATE on their layouts and to make a shape of some sort with their title.

I learned how to created a shaped title in my Silhouette software and decided to give it a try.  It was actually really easy!  I learned by watching this video by Ashley Horton.  I used the Amy Tan Rise & Shine collection on this, and used various patterned papers to back all those cut out letters.  I like this kind of design because it automatically creates a place for your photos & embellishments to go...right inside the circle.


If you know my work, then you know I love mixed media.  I went very light on this and only added a bit of ink spray and gelatos to my background.  I just wanted a bit of a darker teal peeking out from under the photo and embellishments.  I layered lots of paper under the photo, and I added some washi tape, that cute "love" wood veneer and a few flair buttons.  I also stitched around the inner circle with grey thread.


Here's a look at the backed letters...a very easy and fun technique to get lots of color and pattern around your page without it being too busy.


I punched this "just having fun" piece from a piece of patterned paper, and that pretty clear sticker is from this collection.  That cute flair button is from my stash.  I love to add tangled thread under them.


Here's one last close-up of the layers and the other cute flair button.


Here's a video of how this layout came together from start to finish.  Hope you enjoy!


Be sure to check out the store for all the newest collections.  Thanks so much for stopping by, and have a great day!

Wednesday, July 22, 2015

Sweet Summer / A Flair For Buttons

Hello again!  I'm back today with another layout to share.  This was the second layout I created for the Product Swap earlier this month between A Flair For Buttons and Simple Stories.  We worked with the Summer Vibes collection and these gorgeous exclusive flair buttons!  They are just so dreamy...I can't get enough of the yummy colors.  You can buy them HERE!


I really love the blues mixed with these pretty pinks, yellows and oranges.  My first layout was a mixed media-type page, so I wanted this one to be pretty clean.  I used my triangle punch to make lots of banner pieces out of different patterned papers and then stitched them down.  I pulled several of the die cuts of the drinks and ice cream and fussy cut the lemonade jar from a cut apart sheet.  I cut the scribbly circle behind the picture on my Cameo on white cardstock and used gelatos to give it some color.


I love this camera flair button...you can never go wrong with a camera!  And that red orange color is just beautiful.  I added a bit of vellum behind the photo and some tangled thread under the button.


These adorable die cuts made this design come together pretty easily.  I just spread them out, layering them for depth.  I added pop dots behind the lemonade jar and the camera.


I combined the sticker sheet alphas with part of one of the transparent frames.  I just cut out the word "Summer" and used a tiny bit of glue to adhere it.  I used another of the flair buttons with more tangled thread.  This grid paper made my journaling easy to get straight :)


One more close up...the simple and fun banner.  You could do this same thing if you have a circle punch.  Just punch the circle and then fold it in half.  Create the same banner across the page with the half circles!  Same idea, different look.


Thanks so much for stopping by!  Be sure to visit the A Flair For Buttons shop...there are SOOOO many awesome flair buttons available!

Have a great day!