Monday, February 27, 2017

Dreams / Hip Kit Club

Happy Monday, everybody!  Today I'm sharing a new layout for Hip Kit Club.  This is my first layout using the new 2017 February Hip Kits, and they are amazing!  I couldn't resist scrapping a tropical photo for this page, and these kits made it easy.  I used the Crate Paper wood grain sheet as my background.  I love how it reminds me of the sandy beach :)  I used the new Shimmerz AcriTonez from the Color Kit to add some blue to my background.  I used a big dry brush to paint the blue and white paint onto the paper.  I tore a big sheet of vellum to place over it to soften it up.  I didn't want the blue paint to compete with the blues in the photos since they are the focus.  I love how the vellum looks, and you can still see all the blue, but it's muted.

I embellished with lots of Maggie Holmes die cut flowers, a few fussy cut flowers, some stickers and chipboard and some thread.  I love how this turned out!


I love this little cluster at the bottom right.  I layered a big pink flower that I fussy cut from a Maggie Holmes paper half way under the vellum.  I added some die cuts, stickers, a bit of washi tape from the Oh My Heart Sticker Book, and that adorable puffy gold heart!  It's like a little mini-pillow!  I added some blue thread under it and then a little journaling to the left.


I first was inspired to scrap this page by this big "dreams" chipboard piece.  I tend to shy away from really big word pieces like this, so I challenged myself to start with one.  I love the shiny gold color, and I added a cute little bird sticker on it.  Here you can see the dimension from the chipboard, but also from the adhesive foam that I added under my photo and flowers.


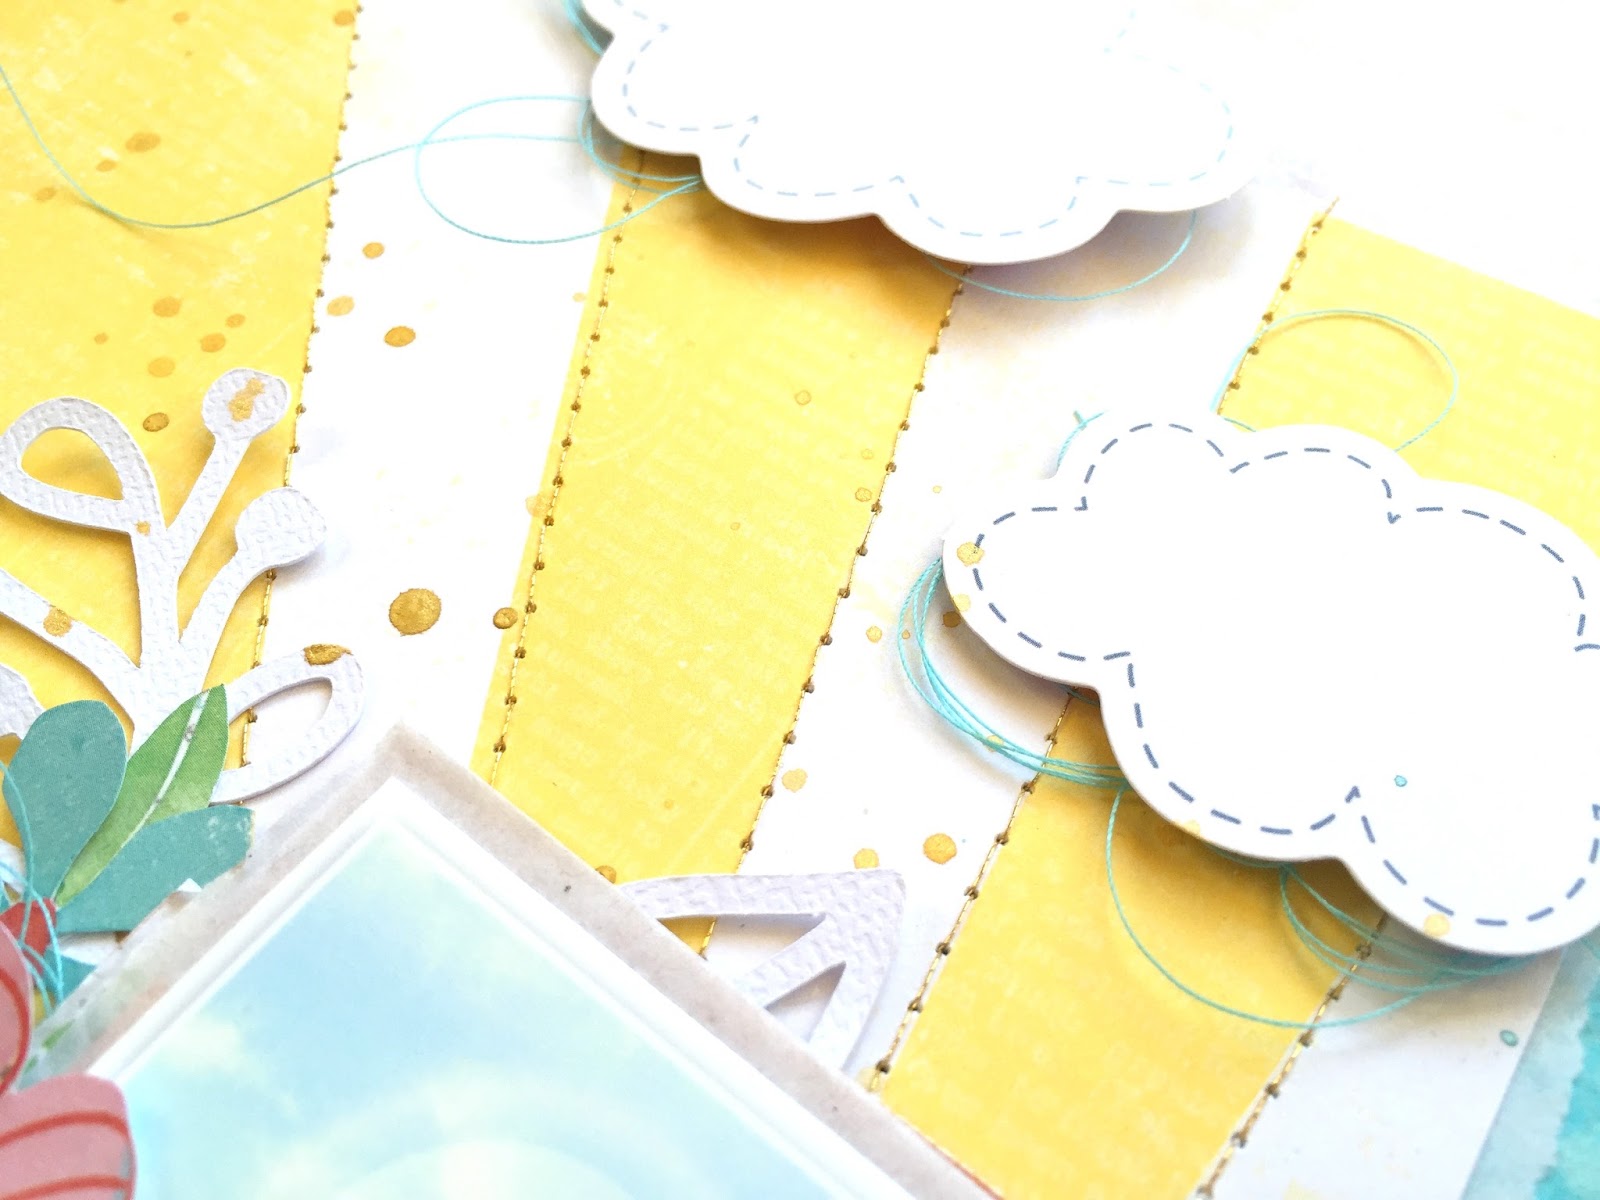
Speaking of dimension, this is why I do it.  I love the 3D effect here, and you have all this space to add things under it.  I love the shadowing!  Here I layered in some Maggie Holmes flowers, a fussy cut camera and more tangled thread.  I also added in some blue and gold splatters.


Here's the left side of the page...more flowers, stickers and thread :)  Oh, and by the way, this photo was taken in Maho Bay, Aruba.  I wish I was there NOW....haha!


I think this is one of my favorite pages in a while...I just love how it turned out.  If you'd like to see my hands in action putting this together, here's my process video.


Thanks so much for stopping in!  I hope you've gotten some inspiration today.  Have a great Monday!


Sunday, February 26, 2017

Hello Sunshine / Cocoa Vanilla Studio

Hey scrappy friends!  I'm back again today to share my newest layout for Cocoa Vanilla Studio.  I can't say enough how much I love these beautiful products.  This is the Hello Sunshine collection, and it is so perfect for me and my Summer photos!  This is a picture of me on the beach in Aruba last year, and the colors were just right in this line.  I used a beautiful light wood grain as my background. We literally had just walked on a sandy boardwalk to get to the tiki bar here on the beach, so it reminded me of that.  I used a combination of blue acrylic paint and watercolor to create some water splash effects on the background.  I cut a big square of this beautiful Solar Flare paper to layer behind the photo.  I wanted to create the effect of sun rays coming out from behind my photo.  I used an exclusive CVS floral cut file, several fussy cut flowers, die cuts, Woodies and puffy stickers to embellish.


I machine stitched with gold thread through all the sun's rays for added texture and shine.  You can't have too much shine on a beach layout, right? :D  I fussy cut all these flowers here from the Full Bloom and added in a few leaves.  Some of the leaves are from the ephemera pack and some I cut out.  I layered in some blue tangled thread and added a cute Woodie to the center of the pink flower.  I love this beautiful floral cut file from CVS...I cut it on white cardstock and layered it in.  You can also see the cute Puffy Stickers here.  I fussy cut my title from the Summer Hits paper.


I wanted to create the effect of water splashes, so that's where the acrylic paint and watercolor comes in.  I LOVE blue....and this was the perfect contrast to the yellow rays.  I used a big dry brush first to brush on some paint and then added the watercolor using the packaging technique and splattering with the nozzle.


These two cute clouds are in the ephemera pack, and to give them some dimension and shadowing I added some adhesive foam under them along with some blue tangled thread.  Something simple yet it creates a huge statement.


I added more fussy cut flowers and another Woodie to the right of the photo.  I fussy cut those colorful phrase pieces from the Happy Days paper and layered them down under the photo.  I machine stitched through most of them with blue thread.  I also added a small floral cluster underneath them using more fussy cut flowers.


I absolutely love how this turned out...Cocoa Vanilla's collections make it easy to create something awesome :)  Be sure to check out my process video here if you'd like to see how I created this from start to finish.


Thanks so much for visiting my blog today, and enjoy the rest of your weekend!

Saturday, February 25, 2017

Love This Girl / Shimmerz Education Team

It's Saturday...woo hoo!  Time for a much needed relaxing weekend :)  Today I'm bringing you a new layout for the Shimmerz Education Team mixing and matching the new AcriTonez and Paste-eez products.  I had so much fun making this!  I did a Shimmerz Shortz on this technique a few weeks ago.  You can find it HERE.

You know I love bright colors, so I decided to pull out some white cardstock and make some messy circles.  I used a mix of the two new products and a small acrylic stamping block.  All I did was smudge a little of the paint and paste in two or three different colors on the stamping block, turn it over and press it down onto the cardstock and turn it around once or twice.  This smudges and blends the paint.  When you pull it off the cardstock, it creates this fun web-like texture.  I combined blues and greens, pinks and yellows, added a little red and orange in the mix...it was fun to play around and see what colors looked prettiest together.  Once they dried, I just fussy cut them out and arranged them on another sheet of white cardstock.


I added some foam adhesive under the three top circles to give a bit more dimension.  I combined a Bella Blvd chipboard word with some Evalicious puffy alpha stickers for my title.  I wanted it to be white so it would pop against all those colors.  I added in a few random Simple Stories stickers and lots of SpiegelMom Scraps sequins.  I also did a bit of the packaging technique with some Jeni B Bleu Vibez and No Yoking & Pink Stilettos Coloringz.


I love how these turned out!  The texture is so cool, and I love the mix of colors.  And the shapes aren't perfectly circular, which makes them even more interesting.  When I did this technique for Shimmerz Shortz, I made these wonky circles into flowers.  Lots of possibilities!  I also added in some various matching colors of tangled thread for added color and texture.


I decided to go with a bright color photo.  I tried to focus on lots of other bright colors besides blue since there is a lot of it in the photo.  I like how pops against the pinks and yellows.  I did add a bit of adhesive foam and tissue paper under my photo.


Ahhhhh.....the color....I'm obsessed.  And this was so easy to do!  I hope you try it :)


Here's one final look at the dimension.  Just by adding a little bit of adhesive foam you get this awesome lift.  I thought the sequins were the perfect touch.


Here's my process video for this page...be sure to check out how I made these fun circles!  I hope you enjoy and get some fun ideas!


And don't forget, when you're shopping at the Shimmerz Store, mention my name in the "comments" section of your order for a FREE surprise!


Have a fantastic day!


Thursday, February 23, 2017

Be Wild / Bella Blvd

Happy Thursday, friends!  I'm back today sharing my newest layout for the Bella Blvd Creative Team.  This week we are focusing on the new Make Your Mark collection.  It's full of color and artsy abstract designs...perfect for mixed media lovers!  I am in love with this beautiful Magnifique floral paper.  I fussy cut out a few large flower clusters and used those as my big background design.  I offset those pinks and yellows by adding some bright blue watercolor to my white cardstock background. I love the contrast and how each of those colors really pop.

I chose an adorable color photo of my little Paige, and I love how it looks with the bright colors.  Since her swimsuit has some black in it, I brought in a few pops of black and white.  I used a few strips of the Break Rules Washi Tape and one of the Designer Clips.


I love how these flowers already have that watercolor look.  It's just like that on the paper!  To add an extra little touch of color and texture I machine stitched around the big flowers with matching threade.  I used some of the shiny gold die cuts from the Paper Piece pack for my title and tucked in a few matching gold die cut hearts.  Those are Puffy Heart Stickers on my photo....yes!  They come in every color....woo hoo!


I used a few of the Fundamentals word and phrase stickers here as well as more puffy hearts and stickers.  I also added some tangled thread...one of my favorite little things to add to my layouts.


I just love the metallic shine from that gold!  I did add some Heidi Swapp Gold Color Shine...I love how it looks on the bright colors.  And I'm obsessing over the Puffy Heart Stickers again! :D


I did add some adhesive foam under my photo to give it some lift.  I added my journaling underneatht the photo and the date.


I didn't want to leave the bottom of the layout stark white, so I added a strip of the floral paper and stitched through it.  I added a few die cuts, heart stickers and another puffy heart sticker.  To finish that off, I machine stitched through it.


If you love bright colors, fun abstract patterns, gorgeous shiny gold and beautiful flowers, then you need the Make Your Mark collection.  Be sure to check out the Bella Blog for even more inspiration!

Thanks for stopping by, and have a wonderful day :)

Wednesday, February 22, 2017

Sweet Legs / Hip Kit Club

Hello again!  I'm back today to share another layout for Hip Kit Club using the 2017 January Hip Kits.  This is the fourth page I created using these kits, and I decided to start this one with some of the Heidi Swapp metallic frames from the Main Kit.  I hadn't used them yet, so I grabbed three and arranged them on some of the light aqua cardstock.  I used a small black & white photo of my little Paige from a few years ago.  I love her little short chunky legs...haha!  I added a few Project Life cards under it for layering and then added it right on top of the frames.  They give fabulous dimension since they're thick.  I did some white gesso smudging on the background and then added some of the Heidi Swapp Teal Texture Paste from the Color Kit and some blue & aqua Shimmerz on top of that.  I love the messy watercolor splotches this created. I also added in some Gold Color Shine splatters.


I used lots of different embellishments here...I combined some of the DIY Fabric Thickers with a sticker from the Hazelwood One Canoe Two sticker sheet for the title.  I used some of the watercolor and a gelato to color the Thickers.  I love the blue monochromatic look on this page...I tried to stick with all shades blue with a touch of lighter teal green.  I used more of the One Canoe Two stickers (the camera) and rub-ons as well as the exclusive wood veneer and die cuts.  I love mixing and matching different things together.


I love how these frames look.  I did do some machine stitching through each one with some light blue thread.  Here you can see more embellishments.  I added more wood veneer, more stickers and a puffy sticker from the Pink Paislee Moonstruck collection.  My journaling fit perfectly in the space to the right.


I added some darker blue tangled thread here for added texture and color, and I tucked in another butterfly.  I just love the metallic shine on these frames!


This is such a great way to get dimension.  Using a few thick elements on your page make it easy to get that shadowing effect.  I didn't have to use any foam under the photo since the frames acted as a dimensional piece.  I just glued it to them.  I added the wood veneer heart on top of the frame, and that automatically gave it height.  Not hart do to...just takes a little planning.


Here's one more close-up of the top right area...just because I love it so much :)  I love those butterfly rub-ons...so soft and subtle.


Here's my process video if you'd like to watch how I put this project together :)  I hope you enjoy and get some fun ideas!


 Thanks so much for stopping by!  Have a great day!


Tuesday, February 21, 2017

No One Will Ever Be / Paige Evans Design Team

Happy Tuesday, friends!  I hope you had a wonderful weekend :)  I'm excited to share my newest layout for the Paige Evans Design Team...woo hoo!  The theme this week is Stamping.  Did you know there is a cute little Acrylic Stamp set in the new Oh My Heart collection?  I used three of them on this layout...the tiny hearts inside some of my letters, the three bullet dots and the three lines for my journaling.  I'll talk more about those later.

I used Paper 01 as my background paper.  That teal color is just beautiful, and I thought it was a great contrast to all the other colors.  I used most of Paper 10 and some of the 6x6 Paper Pad papers to cut all those fun letters on my Cameo.  I just cut a bunch of 2x2 squares, stuck them to my cutting mat and then cut one letter per square.  I found this awesome quote on Pinterest...it fits this picture of me and my sister perfectly...haha!  Yeah, we're just a pair of goofs!


I added some white gesso first to my background paper...I just used my fingers to smudge it until it looked faded.  Then I added some Shimmerz Paints in blue, aqua and pink to create those watercolor areas.  I arranged the quote like I wanted it and decided where my photo was going to go.  After sticking down each letter, I machine stitched through each one with some light pink thread.  I did minimal embellishing since the quote itself was quite colorful and busy.  I used some of the Sticker Book stickers and some Chipboard Stickers.


I used some tissue paper from my stash as well as a few pieces of 6x6 papers to layer under my photo.  I used a few strips of the washi tapes from the Sticker Book above and below the photo as well.  I can't get enough of Paper 06...that gorgeous floral paper!  I fussy cut a few flowers from it and layered those in here, too.


Here you can see the fun stamps I mentioned earlier.  These are perfect for lists...and you could totally use these in a planner or on a calendar or even for art journaling.  I love how it allows you to break up your journaling and makes it easier to read.  Instead of a long paragraph, you can break it up and make it more of a list.  I just wrote down some funny memories about me and my sister here...and it worked out great!


Here you can see the dimension...I added some adhesive foam under my photo and it gives some lift.  I love the washi tapes from the Sticker Book!  They appear to be transparent before peeling them up, but they actually aren't.  You can see this pink scalloped piece looks great on the teal background paper.  I wish I had a ton more of that washi paper!


Here's one more look at the quote...and the cute little heart stamps in the centers of the letters.  It comes in a vertical row of three hearts, actually, but I just added ink to one and used it as the center point for all the big letters.  Such a cute detail!


Here's my process video for this layout...I hope you enjoy!  Thanks for watching!


Thanks for stopping by, friends, and have a great day!


Saturday, February 18, 2017

Love Your Face / Simple Stories

Happy Saturday, friends!  The weekend is here...yay!  Today I wanted to share one of my newest layouts for Simple Stories.  I used the beautiful new Love & Adore collection.  I think it's probably one of my favorite lines in a while...the colors, the patterns...all of it :)  As soon as I saw the Sealed With a Kiss paper featuring all those big XOXOs, I knew I had to cut some of them out and create a design with them.  I used the Crazy For You paper as my background paper.  I love that deep red/pink color, and the other colors just pop right off of it.

I decided to create three rows with the XOXOs and place my three photos in each row.  I used a lot of white gesso on my background first and then added a lot of Heidi Swapp Color Shine and Shimmerz in yellows, blues and pinks.  I also added some black splatters.


The embellishing came together pretty quickly and easily for me after I had the XOXOs figured out.  I  machine stitched through each row with black thread and used lots of die cuts, stickers and chipboard around the photos.  I used a sticker from the 4x6 Stickers and a die cut to create my title.  I thought it was perfect for these sweet and silly pictures of my little goosie!


Around each photo, I added some heart die cuts & stickers as well as some flowers and tangled thread.  I added tissue paper and foam adhesive under them to give them some dimension.


I love the black and white scripty word chipboard pieces...they were so perfect for this layout.  I think the black and white really pops against all the pinks, yellows and blues.


I think my favorite thing about the Simple Stories chipboard is that it isn't super thick.  It adds depth to the layout without being super bulky.


I hope this gives you some inspiration...I truly love this collection and think it is just adorable!  I do have a process video for this layout if you'd like to check it out...


Thanks so much for stopping by today!  Have a wonderful weekend!


Thursday, February 16, 2017

Maho Bay / A Flair For Buttons

Hey there!  I'm back today to share my newest layout for A Flair For Buttons.  I was in the mood to scrap something bright and tropical, so I pulled out this amazing photo of the beach in Maho Bay, St. Maarten.  We went there in December 2015, and this beach is the coolest!  The airport is on the other side of the shore, so the planes come in really low.  It was such a neat experience!

I used the new Amy Tangerine On A Whim collection for this and paired it with two flair from the Tropical Flair Set.  They were a perfect match!  I created my large title in my Silhouette software using a font called Beyond the Mountains. I welded the letters together and then did an offset to create an outline.  What this does is it cuts the outlines of the letters instead of the middle of them.  This allows me to back the open areas with patterned paper.  I used a sandy colored cardstock as my background.  I smudged a lot of white gesso down in the center of the paper and then came in with lots of blue Shimmerz as well as some gold Color Shine.  With all the bright colors in the papers, I wanted to really have the look of sand and water on the background.


I've had this flip flop flair for so long, and this was just the layout for it.  The only paper not from On a Whim here is this blue paper, which is from Michael's.  I needed that pop of bright blue, and I love how it matches.  I did add some foam behind my title to give it some depth, and I added some tangled thread in here as well.


Here's the other flair.  I overlapped it onto the edge of the photo along with some tangled thread.  That is a cute pineapple die cut layered in there, which is perfect for my tropical photo.


Those pretty flowers are from the clear sticker sheet.  I stuck them to white cardstock and them fussy cut them out so I could place them here.  Plus, since they're clear stickers, adding them to white keeps their true colors without blending into whatever color it's stuck on.  I love the shadows created by the dimension!


So I thought gold was the perfect addition here...these gold clear stickers were perfect!  Here you can also see the gold Color Shine on the background.  I used it with some plastic packaging and also added splatters.


I added more gold at the top here...I can't get enough of the metallic shine!


Here's the Tropical Set from the store:


Thanks so much for stopping by today!  Be sure to visit the A Flair for Buttons Etsy Store and check out all the amazing flair!