Tuesday, May 31, 2016

She's Cute & She Gnomes It / Simple Stories

Hello again!  I'm back today to share my second layout for the month over at Simple Stories.  Last week some of the Creative Team paired up with Petaloo for a Product Swap.  I used the new Bloom & Grow collection for this page, and I added in some beautiful flowers from Petaloo as well.

My favorite part about this collection is the fun little gnomes!  The colors and embellishments remind me of gardening and planting flowers.  I don't have any gardening-type photos, so I settled on these cute photos of my daughter on the 4-wheeler.  She does love playing in the dirt and doesn't mind getting dirty at all.  I just had to use the gnome stickers, so I layered them around the photos and the 3x4 card on the left.  I searched Pinterest and came up with the fun title...haha!


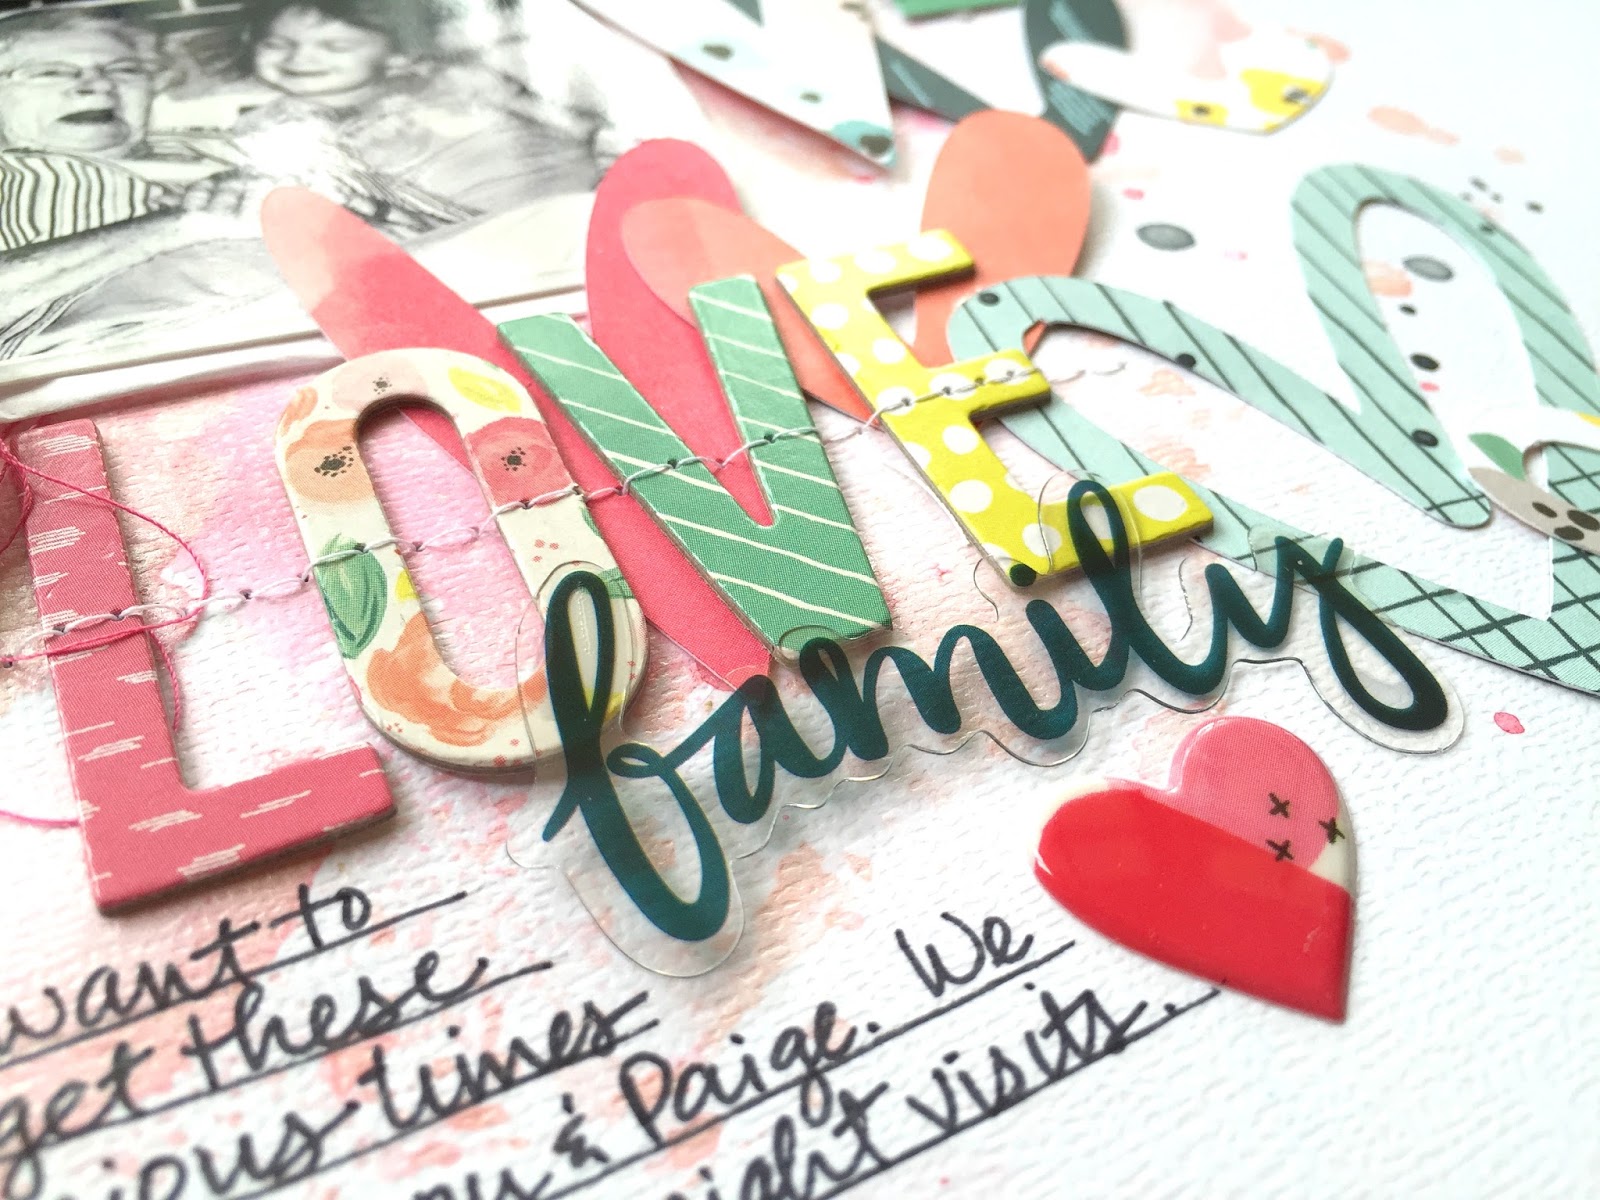
I ran some of the green dotted patterned paper through my Cameo to cut a few leafy pieces since this is an outdoorsy layout.  I added another little gnome down by the journaling.  I combined some of the Snap! alpha stickers with the cardstock stickers to create the title.  You can also see the background inks here.  I used lots of Shimmerz to create the watercolor look.


I love this phrase!  So perfect for the photos :)  I used pop dots behind this little gnome to create some depth, and it made it really easy to layer in some of the Petaloo stems and flowers.


More cute gnomes here!  I love the look of the Petaloo flowers and greenery.  They were the perfect touch for this collection, I think!


I don't usually use a lot of brown on my pages, but this collection just called for it!  I used some Hot Fudge Coloringz from Shimmerz because it reminded me of dirt!  So perfect for this layout using all of nature's colors!


Although this layout uses colors I rarely use, I had lots of fun stepping outside of my comfort zone.  I'm surprised I even had brown thread in my stash...haha.  I love the touches of golden yellow and red in this mix.  I love how the collection is perfect for outdoor photos...photos in the grass, in the garden, in the flower bed...so many possibilities!

Thanks for stopping by, and I'll see you soon!

Monday, May 30, 2016

Cheers From Paradise / The Cut Shoppe

Hey friends!  It's Monday again...that weekend sure went by fast!  I have a very bright and summery layout for The Cut Shoppe to share using the Happy Clouds and Kitschy Cursive cut files.  One of the great things about cut files is they never go out of style!  These have been in the store for a while now, and they are a few of my favorites.


I have really been inspired lately by my fellow Design Team member Irit Landgraf.  She's a mixed media whiz, and watching her create her beautiful backgrounds made me want to do it, too.  I used a few different shades of blue acrylic paints for this.  I used some white gesso first, and then I used a wide flat brush to just brush the paint right onto the paper.  I used a baby wipe to do a little smudging although acrylic paint dries pretty quickly and really doesn't blend.  I wanted to create somewhat of a sky, and I layered some of the clouds on top of it.  I even used the centers that were cut out of the outlines.  I love how they turned out over the background!


I left my clouds white since they contrasted so nicely against the blue.  I used the You Are Here collection from Simple Stories for this since my picture is a tropical image.  This collection was perfect for it!  I added lots of fun stickers, die cuts, chipboard pieces and wood veneer.


I machine stitched through a few of the clouds and added a few clear MAMBI stickers.  I think I could used these clouds on almost every beach layout I make.  They are so cute!


I created the word "cheers" using the Kitschy Cursive alpha.  It's so fun to create words and welding them together.  You can make any word you want!  I combined some Studio Calico wood veneer alphas with some VERY OLD Thickers here.  I don't even know how old they are, but I love the pretty pink color and fun font :)


Here's one more close up of some of the background papers and embellishments.  I also added some tangled pink thread.


Here's my process video if you'd like to see how this layout came together.  I hope you enjoy and find some cool ideas to try!


Thanks so much for stopping by, and have a wonderful weekend!


Sunday, May 29, 2016

Silly Shenanigans / Shimmerz

Happy Sunday, friends!  I have a new layout to share for Shimmerz today using five different Shimmerz products.  I love mixing and matching all the different types of watercolors on my layouts, and for this one, I used Aqua Huez, Creameez, Shimmerz, Inklingz and Spritz.

I began with selecting the papers I wanted to use.  I pulled an old Recollections paper pad from Michael's I bought over a year ago.  I challenged myself to use up some this stash, so that's what I did.  I created the word "shenanigans" in my Silhouette software and backed it with papers from the pad.  Those fun letters are from The Cut Shoppe.  I created a curvy design and then welded them together.  Since my pictures are of Paige being extra silly, this title seemed fitting.

I used some gesso on the white cardstock before adding a mixture of green watercolors.  I used the plastic packaging technique and some bubble wrap stamping.  (I did a Shimmerz Shortz on that technique last week).  I used a blend of Aqua Huez Green With Envy, Creameez Lettuce Get Together & Shimmerz Jilted Jade.  I used Inklingz Good as Gold on the bubble wrap.  You can see how I did all of that in my process video down below.


I used some Spritz Caribbean Sunset and a stamp to create these hearts.   I just sprayed the Spritz onto some plastic and dipped the heart into it and stamped it on white cardstock.  Once they dried, I fussy cut them out and used them as embellishments.  Since I only had the paper pad for this layout, I needed to create my own embellishments.  This is a great way to use your Shimmerz to do that!


I did pull a few gold stickers from a MAMBI sticker book and a few flair buttons from my stash.  I love how the hearts look layered together like this.  They were so easy to make!  You can also see all the different shades of green and gold here.


I wanted to try and use all the colors from my papers on my background.  I love how the greens and gold look together!  I decided to curve my journaling to match the curvy title.


I punched these small hearts out of patterned paper to create this little heart strip.  Again, that's another idea for making your own embellishments.


Here's one more close up of all that pretty Shimmerz goodness!  Don't you just love the variety of colors and finishes?  There really is something for everyone's taste.


Here's my process video.  I will share with you how I created this layout from start to finish, so I hope you check it out and get some fun ideas!


Thanks so much for stopping by, and have a great day!


Products Used:
Aqua Huez--Green With Envy
Creameez--Lettuce Get Together
Shimmerz--Jilted Jade
Inklingz--Good as Gold
Spritz--Caribbean Sunset


Friday, May 27, 2016

Love Family / Pink Paislee Guest Designer

It's Friday...woo hoo!  And a three-day weekend on top of that!  I wanted to share my final projects for my Guest Designer spot over at Pink Paislee earlier this month.  I had so much fun creating these projects using Paige Evans' Fancy Free collection.  I was so honored to be a guest over there!

I decided to pull in some of the navy blue and lime green colors for this page.  I did a little bit of watercoloring on the background in that pretty light pink-blush color.  I ran several papers through my Cameo cutting all different sizes of these cute wonky hearts.  I scattered them around the page to frame my two photos and then added a few embellishments.  I adore these pictures of my grandmother and my daughter.  They were giggling about something, and it was so cute.


I love this color scheme, and I love how all these hearts overlap each other.   This is a great way to get lots of color and pattern on your layout...cut (or punch) small shapes like this.  This way you get lots of everything going on in small doses.  I added some pink tangled thread for an extra pop of pink.


I added one of the acetate die cuts above the photo and one of the hearts beside it.  Those acetate pieces look so bright and bold on top of white cardstock!  I also added one of the stitched die cut stickers in between the two photos.


I just had to use those colorful Thickers!  They are so pretty, and I love all the different colors.  I added the "family" acetate piece, and I like that it's dark.  It gives a great contrast to all those bright colors surrounding it.  I also used a puffy heart sticker.


Here's one more close-up of those cute little hearts :)


I also jazzed up this wooden white letter M.  I added some clear gesso to it and then used my Shimmerz watercolors to paint it.  It was very easy, fast and fun!  I embellished with lots of Fancy Free goodies--fussy cut flowers, buttons, acetate pieces, die cuts, puffy stickers, Thickers...I love how it turned out!  It's the perfect addiction to my scrap room.


Another huge thank you to Paige for inviting me to be the May Guest Designer.  I had loads of fun, and I feel so fortunate to have been able to create with her gorgeous collection!

Have a wonderful weekend, and thanks for stopping by!

Thursday, May 26, 2016

Love Riding Horses / Hip Kit Club

Happy Thursday, friends!  Today I'm sharing a layout for Hip Kit Club featuring the 2016 May Hip Kits.  I know I keep repeating myself, but these papers and embellishments are just so beautiful!  I can't get enough of these colors, florals, clouds....all of it!  I used one of the papers designed by Kim Watson as my background paper, and I did just a bit of Shimmerz work on the background.  I used the yellow No Yoking Coloringz from the April Color Kit, and I also used the Dazzlerz Spun Sugar and Vibez Jeni B Bleu from this month's Color Kit.  The clouds were created using this month's exclusive stencil, and they turned out so cute, I think!

I cut a few big floral chunks from the Illustrated Faith Bella Blvd patterned paper and positioned them so they're peeking from behind my photos.  Last week was Furry Friends / Pet Week over at Hip Kit, so I scrapped these cute pictures of my daughter riding horses at school.


Here's a close-up of those clouds.  I sprayed the Shimmerz right over the stencil and then I flipped it over and stamped it down.  I fussy cut them out, and I love how they look.  I also did the same with the Dazzlerz over the stencil and cut those out.  They're so shiny and shimmery!  All these cute puffy stickers are exclusives from Kim Watson.


I used some pink Shimmerz from my stash to color this Bella Blvd chipboard piece, and I paired with the Bella alpha sticker sheet.  Mixing up fonts is a great way to add interest to a title.  You can also see the pretty floral pieces from Bella that I added.

sf

This Simple Stories frame fit this photo so nicely, and I love the yellow stripes.  I added a few exclusive pieces to it and a little bit of tangled thread for a pop of darker pink.


I wish I had several copies of all of these papers...they truly are beautiful!  I could use this floral paper on every layout for the rest of forever and be happy...haha!
 
Here's my process video if you'd like to check that out.  I appreciate you watching, and I hope you get some inspiration from it.


Thanks for stopping by today, and have a great day!

Wednesday, May 25, 2016

Hello My Name is Fabulous / My Mind's Eye

Hello again, friends!  I'm back today to share a new layout for My Mind's Eye.  Have you ever tried using the Ready to Frame Art Prints on any of your projects?  I saw those big pink glasses on one, and I was immediately inspired to scrap these cute photos of Paige in the tub.  She put on these pink glasses and started making silly smiles, so naturally I took pictures...haha!  I loved how it looked in color AND black & white, so I used one of each.  Our house was built in the 50s...hence that green tile tub! :D  The color was perfect for this Hello Gorgeous collection!

I started with some of the MME Glimmer cardstock in Polar Bear.  I welded these pie chart hearts from The Cut Shoppe together to create one big cut file design and cut it in Canvas Cardstock in Snowbound.  I used some Shimmerz watercolors for the subtle background and then layered everything on top of that.


This "fabulous" is also from The Cut Shoppe.  I cut it in white also and used Shimmerz to give it some light color.  This name tag was perfect for this, and it's one of the Journal Cards.  I added some of the chipboard pieces here as well as one of the Mixed Bag die cuts.  Aren't those glasses adorable?


I fussy cut those big glasses from one of the Art Prints and added vellum behind the lenses.  I love how it turned out!  And they could not be more perfect for these photos!  I love when embellishments match like that!  I added some white tangled thread as well for a bit of added interest and texture.


I also added a little pop of color with a floral die cut.


 Thank you so much for stopping by today!  See you soon!

Tuesday, May 24, 2016

Happy Mother's Day / Simple Stories + Petaloo

Hey there, and Happy Tuesday!  I have a new layout to share today for Simple Stories.  This week, some of the team members are teaming up with Petaloo for a Product Swap.  I used a few of their different pretty floral products on my layout here.  I used the new Sunshine & Happiness collection from Simple Stories, and let me tell you, it is GORGEOUS!  Probably one of my favorite Simple Stories collections ever.

I cut a strip of white cardstock to add to the center of this pretty floral paper.  I had a strip of cute photos from Mother's Day 2012, and all the flowers in the background were perfect for this layout.  I fussy cut a lot of big flowers from another patterned paper and layered them behind my photo strip.  I added some white gesso to my background.  You can see how some of the flower paper is kind of faded.  This allowed my watercolors to blend and smooth easily.  I used lots of Shimmerz sprays to create all that yellow, orange and pink watercolor.  I layered in some of the Petaloo flowers under my photo strip.


Aren't these colors just delicious?!  These big flowers were easy to fussy cut, and they look great layered up like this.  I added some of the bright pink Petaloo flowers, and I love how they look peeking from behind the pictures.  I also added some light blue tangled thread for added color & texture.


Here you can see the watercolor and the machine stitching.  I love this pretty pop of light blue among all the bright warm colors.  Again, I tucked in more Petaloo flowers and added a fun stem right on top.  The green pulls the natural greens from the photos.


I used some stickers here to create this cute little cloud & sun at the top of the page.  There are always so many fun little sticker elements in the Simple Stories collections.  They're perfect for embellishing like this.


I combined one of the die cuts from the Bits & Pieces pack with some of the Snap Light Alphas to create my title.  I have been waiting for the perfect collection to scrap these photos, and this was definitely it!


Make sure you check the Simple Stories Blog each day this week to see more inspiration from the team using the new collections and Petaloo flowers!

Thanks so much for stopping by, and have a great day!


Friday, May 20, 2016

Love You / Pink Paislee Guest Designer

It's Friday...yay!  Thank goodness for Fridays, right?!  Today I'm sharing another layout and a card I created for my Guest Design spot over at Pink Paislee last week.  I'm still so thrilled that I got to work with Paige Evans' Fancy Free collection.  It just makes me so happy to look at all those colors!

I really loved the beautiful geometric heart stitching template included in the collection, and I decided to use it for a background.  I used it as a guide to trace all the lines in pencil on white cardstock and then used different colored threads to stitch.  I love how it turned out!  I used a little bit of my Shimmerz sprays to create some watercolor effects and then started on my photo layers and fussy cutting those pretty flowers.


Did you know that gelatos make it super easy to give a little bit of color to these silver Thickers?  I used a pink one here and used my finger to smudge it.  I fussy cut lots of those flowers and leaves and used them in three different areas of the page.  I also used a few of the acetate ephemera pieces, including that frame under my photo.


There is an entire sheet of these fun and colorful circles with different sayings on them.  I cut this yellow one and layered more flowers under it as well as the acetate piece.  I love how this looks with all the stitching and watercolor.


Another angle of that top area...those Thickers are so sparkly!


I created a little cluster at the top with some ephemera, a button and some tangled thread.  I love that Paige included buttons in her collection.  I've heard her say that buttons are one of her favorite embellishments!


These flowers...sooooo pretty.  I love the pink and coral colors together.  They were the perfect layering pieces behind my photo.  I love all the blue from the pool water...such a pretty contrast.


Here's one ore close up of the bottom cluster.  More ephemera, buttons and thread.  What would I do without thread?  Thank goodness it's cheap...haha!


I also created a card.  I used a heart cut file from The Cut Shoppe and backed it with patterned papers.  I used a bit of Shimmerz on the background and then embellished with a few buttons and a layered die cut sticker.


Thanks so much for visiting me...I hope you have a fabulous Friday, friends!