Hello again, friends! I hope you're having a relaxing weekend so far. I'm the Guest Designer this month over at Maya Road, and I created this layout using some really fun products. I love starting with plain white cardstock and building a layout from that, so I decided to start my design with some of the Ken Oliver Vintage Trim.
It’s a very sheer ribbon, and it’s made to be colored if you want. I
used yellow, blue and green ink sprays and went to town coloring the
trim. I even splattered on some gold Color Shine, and the ribbon strips
turned out so pretty!
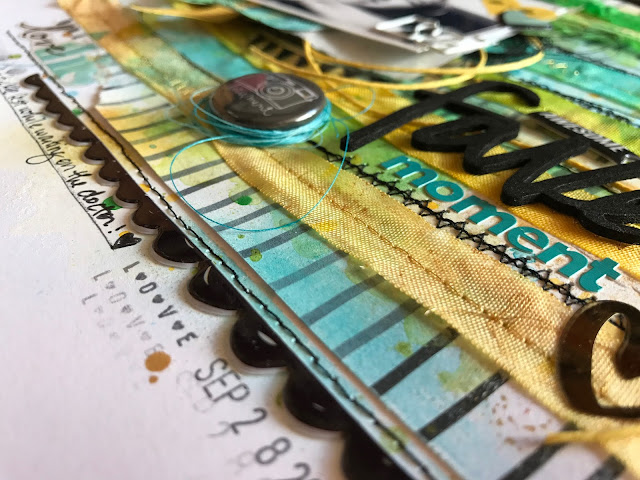
I created a striped design with some black and white striped paper
strips and the ribbon. I cut the ribbon into strips and then sprayed each one with some blue, green and yellow Shimmerz sprays. I added in some Heidi Swapp Gold Color Shine as well. Once they dried, I lightly glued them down and then machine stitched through them. I did go over the background with white gesso first before adding lots of watercolor. I machine stitched on the background with black thread.
I used the Banner Steel Die from Maya Road to create those cute
little pieces under the photo. I cut them on white cardstock and then
watercolored and stamped on them. I tucked in a cute little clear banner sticker to add more pops of black.
I also layered in some of the Ken Oliver Yellow Lemon Waxed Hemp for an extra pop of color and texture. I embellished with lots of
stickers from MAMBI, Crate Paper and American Crafts, and that cute camera paper clip is from Evalicious.
This cute flair button is from A Flair For Buttons, and I added a black scalloped puffy sticker from Crate Paper at the bottom and top.
Here are a few more closer looks at all the details.
I hope this gives you some ideas to try with ribbon...this was a lot of fun to color and customize. Thanks so much for stopping by, and stop back in soon to see another project I created for my Guest Design spot.
Have a great day!


LOVE THIS!!
ReplyDelete