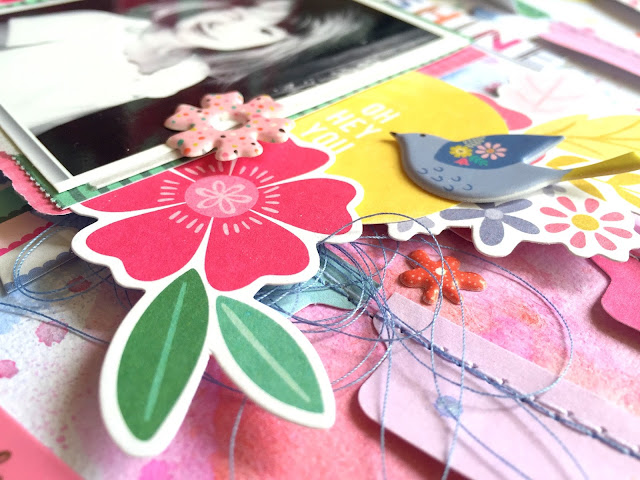
I used lots of papers from the Oh My Heart & Take Me Away 6x6 Paper Pads and the Fancy Free 12x12 Paper Pad. I used white cardstock as my background, and I added some Shimmerz Paints using some plastic packaging. I overlapped the banners and machine stitched through them all. I bent up the edges of the tabs to make them look more realistic. I went light on the embellishing since the tabs created a pretty busy background design.
I used pink, coral, golden yellow and periwinkle inks on the background to pull from the colors in the papers. I just wanted a little bit of messy color behind everything. I tucked in some floral die cuts from the Oh My Heart Ephemera Die Cut pack, some Oh My Heart Puffy Stickers, and a fussy cut circle from the Fancy Free 12x12 Paper Pad. I also added in a few Oh My Heart Chipboard Stickers.
These tabs made it really easy to create dimension here. You could also create banners with a triangle punch or a circle punch. Just cut the circles in half and you have a banner :) I wrote a line of journaling above one of the bottom banners.
For my title, I fussy cut "Sunshine" from the Oh My Heart Gold Foil Specialty Paper and paired it with some of the small alphas from the Oh My Heart Sticker Book. I also used a few papers from the Oh My Heart 6x6 Paper Pad as layers behind the photo.
Here's another look at the dimension and shadowing effects. I added in a sticker below the photo...it's a row of tea cups, but I used it on its side.
Adding in layers is a great technique to create depth and dimension. I like doing this around my photos, especially when the photos are black & white.
I just couldn't stop taking pictures of the banners :)
I wish I had a never-ending supply of these beautiful flower die cuts :)
I hope this inspires you to try something new! Even if it's something small, like trying a new punch. This was lots of fun to create :) Check out my process video if you'd like:
Thanks so much for stopping by, and have a great day!


WHAT a page!!!! Super spectacular!! :o)
ReplyDelete