Hey there, friends! Happy Thanksgiving to all of you who celebrate it! Before today's festivities begin, I wanted to hop on and share some fun Christmas Chickaniddy projects with you today! This month, the Chickaniddy Craft Team is showing you fun holiday ideas for your home. Honestly, I'm not much of a home decor kind of crafter...but I did have fun making these cute little Christmas blocks. They will go perfectly on the mantle :) You can see these up on the Chickaniddy Blog HERE.
This is a fun and easy thing to do here...these are just small wooden blocks that I altered! They took no time at all. Didn't they turn out cute? I think so! The Jolly Good collection is so much fun!
Supplies Used: Jolly Good: JG140S12 Happy New Year paper, JG14EB03 Journal Tags, JG140S05 Holly Jolly paper, JG14ST01 Clear Stamps, JG14EB01 Sticker Sheet, JG14EB09 Enamel Stars; other: silver thread, Stampabilities ink, Signo Uniball White pen, wooden blocks.
1. I pulled out the 12x12 Sticker Sheet and chose the images I wanted. I loved the little Santa, the man with the tall stack of gifts and the gorgeous flower.
2. Next, chose the patterned papers I thought complimented the stickers best. I simply traced the block onto the paper, cut it out, and glued it down. I used some sandpaper around the edges to smooth them out. I also used pop dots behind the stickers to give them some dimension.
3. I also used the stamps in this collection for my sentiment on this block. I inked up the "December" stamp with some green ink and then traced around it with a white gel pen.
4. Lastly, I added some "tinsel" behind the stickers. It's just simple silver thread, but I love the tinsel effect! Very easy and cute!
I hope this inspires you to turn something ordinary into a festive little holiday decor piece! You could do this with any theme and brighten up your shelves or tables throughout the year!
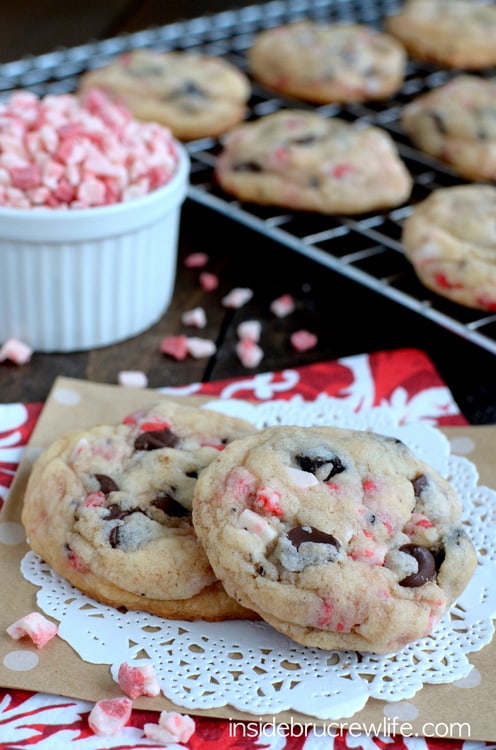
The lovely design team has been sharing their favorite holiday recipes with you each day, and honestly, I'm not a big baker at all. I do surf Pinterest a lot for fun things to make, and I stumbled across these delicious cookies. I found this at insidebrucrewlife.com, so you can go there to find even more fun treats to make!
Ingredients:
1 box white cake mix (15.25 oz)
1 stick of butter, melted (8 tbsp)
1 egg
1/2 tsp peppermint extract
1/2 tsp vanilla extract
4 oz. cream cheese, softened
1 cup Oreo cookie chunks
1 cup Andes Peppermint Crunch pieces
1/2 cup dark chocolate chips
Instructions:
1. Combine the cake mix, melted butter, egg, and extracts. Beat until a soft dough forms. Add the cream cheese and beat in gently until combined. Stir in the peppermint crunch pieces and chocolate chips first. Then gently stir in the cookie pieces by hand being careful not to break up the cookie more. Refrigerate dough for at least 30 minutes.
2. Roll the dough into 36 balls. Bake on a cookie sheet at 350 degrees for 9 minutes. Do not over bake. The cookies will be very soft and look undone. Let them sit on the hot cookie sheet for 2 minutes, then gently remove them with a spatula to a piece of wax paper on the counter.
3. Very gently, tap the tops of the cookies with the bottom of the spatula to even out the tops. Let them sit until completely cool. Store in a sealed container. Makes 36 cookies.


.jpg)
These are so cute Missy! They would definitely look awesome on the mantle for Christmas!!
ReplyDeleteThese are super cute!
ReplyDelete