Happy Weekend, everybody! I'm back today to share another new layout for Hip Kit Club featuring the 2021 January Hip Kits. I went all in with purple for this page, and I love how it turned out. I used light purple cardstock (from Cardstock Kit) for the background, and I did a lot of work on it first. I used white gesso first...you can see it all over the place...haha. I used the stencil from the Color Kit with some modeling paste next...that's where all that awesome bumpy texture came from. Next, I used the Shimmerz from the Color Kit to add lots of purples and blues. Once that was all done, I began adding everything else :)
I started the page with this Dream Big cut file and went from there. I cut it on white cardstock and then backed BIG with some patterned papers & Pocket Life cards. I painted "dream" using the purple Shimmerz. It's so glittery and shimmery! My photo fit perfectly tucked into the top of the cut file, so it was a matter of embellishing all around that. As I was flipping through the Pocket Life cards, I noticed the cute rainbow...I love how it worked on the right side of the photo, like it was an extension of the pool side. It just worked, so that's where I started on the embellishing.
I cut the rainbow out and used that as my color scheme for everything else. I layered some more cards behind the photo as well as some white tissue paper and adhesive foam. I sorted through all the floral die cuts, chipboard stickers, puffy stickers...anything that matched.
I created an ombre effect here by only painting the lower portion of the title word. It was actually kind of hard to read once it was on top of the photo, so I tucked in some tissue paper under it to give it some solid white space. This made is more visible.
Clusters for the win! Lots of flowers here...I love the layering and dimension. I also added some thread here for added color & texture.
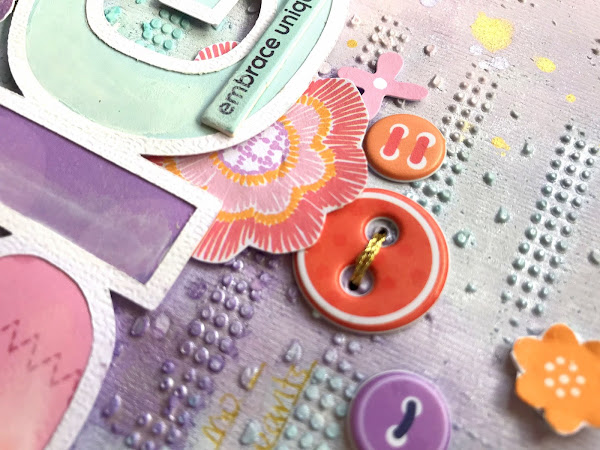
Here's a closer look at the background texture. I love how rough and bumpy it is. I continued the flowers and buttons down here and added a few chipboard stickers to top of the cut file.
I also fussy cut a few of the speech bubbles from an exclusive patterned paper to use as embellishments in the clusters.
Here are a few more close-ups of all the pretty things!
Oh, I forgot to mention that I did use some metallic gold embroidery thread on the larger button stickers to give them a finished look.
I hope this inspires you in some way today. I had a lot of fun making it, and I love how it turned out. Color & texture are my favorite things!
Here's my process video if you're interested:
Thanks so much for stopping by!


No comments:
Post a Comment