Wednesday, August 14, 2019

Fabulous Summer Vibes / Hip Kit Club

Hello again, friends!  I'm back today to share a new layout for Hip Kit Club.  I used the 2019 July Hip Kits to create this fun tropical page.  I used one of this month's exclusive cut files, which is actually a background cut file.  I cut it on white cardstock and then cut it apart to create separate flowers and leaves to scatter around the page.

I used a lot of white gesso here...all of the flowers and leaves were coated as well as the light purple cardstock background.  I used the Lindy's Stamp Gang sprays from the Color Kit to paint all of the flowers and leaves.  I also pulled some matching colors of gelatos to add some shading to them.  I used the stencil from the Color Kit along with the same sprays on the background.


I just love these bright tropical colors!  I scattered all the flowers and leaves in a vertical design, overlapping one another.


I went small and simple with the title.  I combined a Pinkfresh Studio die cut with an exclusive die cut, which I popped up with some adhesive foam.  I also used a few of the small Pinkfresh Studio sentiment stickers in a few places.


I used this cute dimensional sticker from One Canoe Two here.  I also fussy cut this piece from a Pocket Life card to layer in.  This whole layout was actually inspired by this multi-colored circle Pocket Life card.  I've been wanting to use it, and it matched my daughter's swim suit, so I made it a big element here.


I layered a part of of an exclusive cut file here and layered a Pinkfresh Studio puffy sticker as well as some exclusive die cuts.  I love that little camera!  All those metallic dots are from the Shimmerz Miner Miner 49er Inklingz from a previous Color Kit.


To create this green color, I mixed the blue and yellow sprays from the Color Kit.  It turned out perfectly for these palm fronds!


I love this dimension...made possible with adhesive foam :)


asdf

And a few more close-ups of all the beautiful colors & details :)


I hope this inspires you in some way.  It was certainly fun to make!  I never get tired of scrapping pool photos :)

Here's my process video:


Thanks so much for stopping by!  See you soon!


Monday, August 12, 2019

Back to School / Pinkfresh Studio

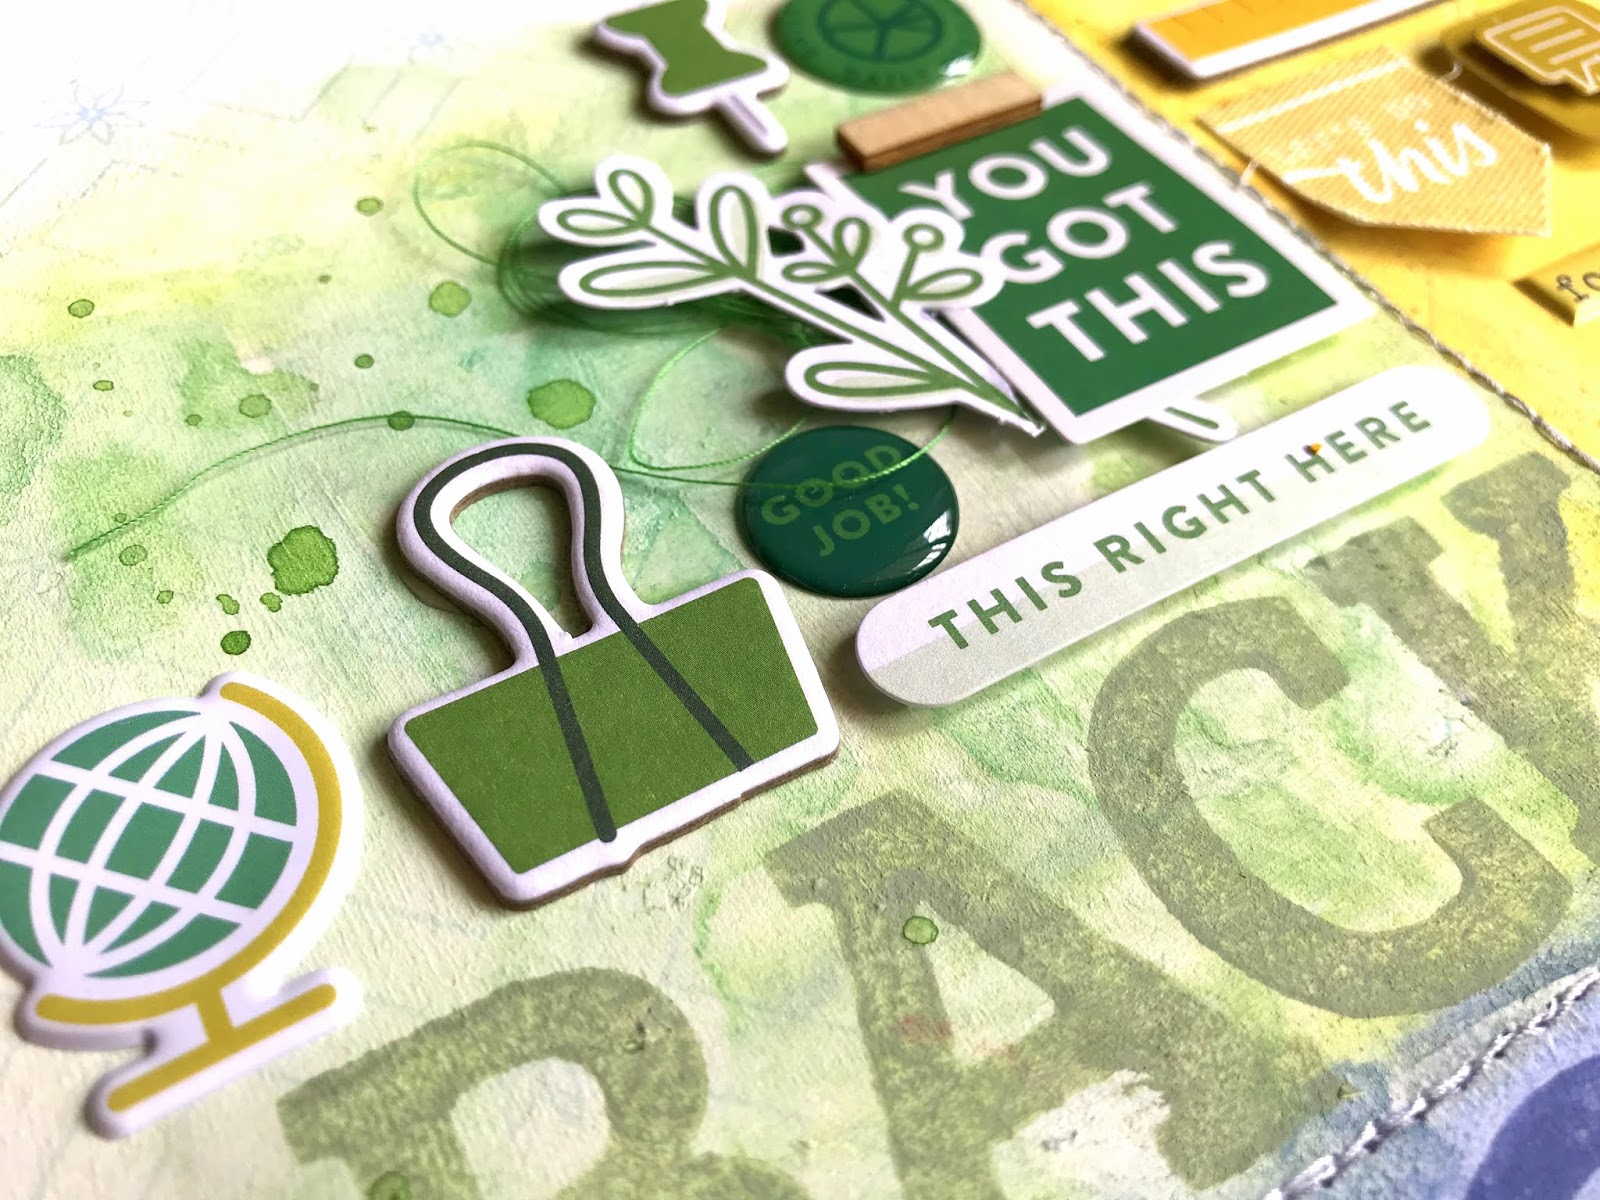
Happy Monday!  Today is the first day of school, so I thought it was fitting to create a Back to School layout for Pinkfresh Studio.  I used the new Office Hours collection, which is perfect for school related pages.  I went with a grid design, which reminds me of school.  I divided the background paper into four big quadrants and went with primary colors, which again, reminds me of school.  I used lots of fun Office Hours embellishments around the page, creating a tone-on-tone effect.


I began by coating a lot of the background paper with clear gesso to prep it for some watercolor.  Once I created the four squares, I used some white gesso to fade out some of the pattern in the center of the page.  I used Distress Oxides first to get a base color down, and then I came in with the Pinkfresh Studio Liquid Watercolors to add some more color.  I love mixing and matching mixed media to get different looks.  I went through all the Office Hours embellishments...chipboard, die cuts, enamel shapes, puffy stickers, fabric die cuts...and chose pieces in yellow, blue, green and red.


I placed all the red pieces in the red section, all the yellow pieces in the yellow section, and so on.  I popped my photo up using some adhesive foam.  I love this big binder clip piece!  Perfect for the edge of the photo.  This photo is from 2016...and it's a challenge to get both of my girls to stand still together, let alone pose on the first day of school. They are ready to get in the car and GO...haha.


I love these adorable pencils!  I was so happy to see so many pieces that were perfect for a school layout.  I popped up some of these pieces with adhesive foam and added matching colors of tangled thread.


I created a smaller secondary title in the blue area using the matching small puffy alpha stickers.  You can also see here that I machine stitched using grey thread to make the grid lines a bit more crisp and to add more texture.


I love how the main title turned out!  I used the Adore Alpha Stamp Set from Pinkfresh with the Distress Oxides.  I love how the tone-on-tone effect looks here.  I did overlap the photo onto the red letters, but it's still easy to see what the title says.


I chose to place the photo in the lower right section since the girls are looking toward the left.  I like to have faces looking in towards the middle of the photo if I can design it that way.


Here are a few more close-ups of all the fun details!


I really love how this turned out!  I hope it inspires you to create a fun back to school page using this collection...it really is great, and the colors are perfect for school!  I hope you'll check out my process video here to see how I made this from start to finish.


Thanks so much for stopping by, and have a great day!

Wednesday, August 7, 2019

Hello Summer / Hip Kit Club

Hey, friends!  I'm back to share another new layout for Hip Kit Club.  I used the 2019 July Hip Kits to create a fun summer page.  I used lots of the adorable exclusive die cuts as well as some papers from Pinkfresh Studio.  I began by combining a Pinkfresh patterned paper with some of the yellow cardstock.  I coated a lot of it with white gesso and then used a mix of the Lindy's Stamp Gang sprays from the Color Kit to add splashes of watercolor.


I wanted to layer in lots of the cute die cuts around the photos, so I picked those out and played around with placement before gluing any of them down. I also thought this Hello Summer banner was perfect under the photos.  I popped it up using some adhesive foam.  I also used some of the Carta Bella brads in a few places.  I added "Exuma" using the metallic gold Thickers, but I toned down the shine first using some white gesso.


I added dimension to some of these die cuts as well.  I tucked some of them under the torn patterned paper.  I also fussy cut some of the black & white florals from a Pinkfresh Studio paper to use as embellishments.  I mixed and matched some orange & pink thread here for some added texture.


I added some of the Lindy's spray here...I dipped my palette knife into some of the blue spray and scraped it across the paper and then added splatters.


I decided to add some purple to the mix, so I blended some of the blue & pink sprays from the Color Kit.  I love how it turned out!  I also added some blue and purple stitching to the background for added texture.  I fussy cut "vacay" from a Pocket Life card here and added more exclusive die cuts.


Here are a few more detail close-ups...


I did trim off the white borders around a lot of the die cuts.  Not perfect, but that's okay :)


I hope this inspires you to create something beachy or tropical using your July Kits!  I loved making this one...these are my favorite kinds of pages to make!  Here's my process video if you're interested...


Thank you so much for stopping by!  Have a wonderful day :)


Sunday, August 4, 2019

Beautiful Day / Pinkfresh Studio

Hey, friends!  I wanted to share the new August Challenge going on over on the Pinkfresh Studio blog.  You can join in and play along if you'd like!  The challenge is to create a project using this color scheme along with some stitching.  (Hint...these colors coordinate beautifully with the new Just a Little Lovely collection!)


Here's the layout I created.  I began by punching different sized circles from one of the Just a Little Lovely patterned papers...it has a soft watercolor effect on it using all these colors.  I wanted to create my own background using the Liquid Watercolors, so I pulled out some smooth white cardstock.  I coated it in clear gesso first, and then used the watercolors to create four color areas...green, blue, pink and yellow.  I wanted to create a tone-on-tone effect, so I placed the green circles on the green section and so on.


Before I glued down the circles, I went a little crazy with my sewing machine...haha.  I love texture, so I used white thread and just sewed back and forth using a straight stitch all over the background.  I love how it turned out!  It just adds lots of texture and fun interest behind the photos and circles.  I then attached the circles.  Some of them I popped up with adhesive foam.  I used some Die Cut Ephemera, Wood Veneer Stickers, Buttons...all goodies from this collection to embellish.


I love mixing and matching fonts for my titles, and this die cut worked really well.  I popped it up off the page as well and then added the white Puffy Stickers.


I did go back and add splatters of each color in the coordinating spots, and I added some matching colors of tangled thread for added color and texture.


I used black and white photos to allow all the soft colors to really pop, and at the same time to allow the photos to pop.  Side note...I didn't have any green thread to match this area, so I used the Liquid Watercolors to color some white thread.  Worked like a charm!


These colors....sooooo pretty!


More shots of all the details...


Here I dismantled a dimensional sticker to make it work for this area.  I just pulled it apart and cut it.  Don't be afraid to cut things up to suit your page :)


One more just because :)


I hope this inspires you to join our challenge this month!  You can read all about it HERE.

I do have a video here if you'd like to watch me make this layout:


Thanks so much for stopping by, and have a great week!

Friday, August 2, 2019

Summer Magic / Paige Evans DT

Happy Friday, friends!  I'm here today with my first layout for the Paige Evans Design Team using Paige’s new Truly Grateful collection…woo hoo! It’s completely gorgeous and it has so many possibilities. I decided to scrap a pool photo and make a summer page. I used Paige’s Fish Background cut file as well as her Polka Dots stencil.


I was instantly inspired by those cute fish so I began by cutting the design on my Silhouette Cameo 3 using textured white cardstock. I used papers from the 6x8 Paper Pad and a few loose sheets to back all the fish. I created the textured background on smooth white cardstock. I coated the entire sheet with clear gesso first. I wanted to create some fishy “bubbles,” and the Polka Dots stencil was perfect for that. I scraped modeling paste over it and let it dry. Then I sprayed a few different shades of blue inks over the entire page. I spritzed it all with water and let the colors run and blend together. To make the bubbles pop even more, I smudged white acrylic paint over them using a foam blending tool. I popped the entire cut file up off the page by adding adhesive foam under it.


I mixed and matched a simple title using the Epoxy Stickers. I wanted something small and white to mix with it, so I pulled out the Pick-Me-Up Mini Foam Thickers. I also fussy cut a few small suns out from Paper 14 and tucked them in around the layout.


I went light on extra embellishments since the fish were plenty beautiful on their own. I added one Sticker below the photo. I also tucked in coordinating colors of thread in a few places for even more texture. For a final detail, I added some sequins from the Mixed Embellishments.


I was so pleased with how the texture turned out here.  I think popping the fish up off the page really makes a big difference.  Another way to add dimension is to overlap things over the edges of the photo, like the fish tail here.


I had a bit of trouble with my journaling.  I didn't really have any smooth area to write...the struggles of a mixed media background (haha).  This spot here was smooth, so I tried using my white jelly pen.  It didn't show up very well, so I used a pink pen instead.


I fussy cut this sentiment from one of the Truly Grateful 2x2 Paper Pads.  I didn't want to use a bunch of die cuts or anything big since the fish were plenty big.  I didn't want to cover up the blue water, either.  So this was perfect since it was small.


I hope this inspires you to get your hands on the Truly Grateful collection! It’s so beautiful and I really loved making a summer layout with it. I have a process video here if you’d like to see all the details of this layout.


Thanks so much for stopping by, and have a great weekend!


Thursday, August 1, 2019

New August Missy Color Kit / Shimmerz Paints

Hey there, friends!  I'm here today to share the new Shimmerz Paints August Color Kitz with you...yay!  First up is the Missy Whidden Color Kit, and it's very tropical.  The Missy Kit is $18.95 and includes the following:

  • Spritz Plum Pudding
  • Shimmerz Rita on the Rocks (NEW)
  • Inklingz Beets Me
  • Creameez Pining For You
  • 3 exclusive Dotz
  • Paige Evans Hibiscus cut file


Here's the layout I created.  I wanted to back the cut file, but I wanted to use painted paper instead of patterned papers.  So I coated a textured sheet of white cardstock with gesso.  I lightly traced the shapes of the cut file and then painted those areas using all the colors listed.  I did want to add in a bit of darker pink and some yellow, so I pulled in two outside colors--Coloringz Pink Stilettos and Vibez Mustard Seed.  Once the paint was dry, I cut the shapes out and backed the cut file with them.


These colors are so gorgeous!  They are all shimmery, and they blend so beautifully together.  Once the cut file was backed, I used a small brush and added some detail in a few places.  I wanted dimension, so I added adhesive foam behind the cut file to raise it up off the page.


I pulled out a few pieces from various collections to embellish with.  I have some pieces from Altenew, Hip Kit Club...some stickers from MAMBI and sequins from SpiegelMom Scraps.  Here is where I used on of the Dotz.


Look at this gorgeous hibiscus Dotz!  My favorite.  I layered it here in between some leaves.  I added in a Heidi Swapp vellum piece here because it matched so well.


I decided to use a soft purple cardstock as the background.  I wanted to jazz it up, so I smudged a lot of white gesso down behind where the cut file and photo were going to go.  I used the Inklingz Beets Me with a bit of the Pink Stilettos to create a big watercolor area.  I used the packaging technique, a brush and my hands.  I used some of the stickers from the new Heidi Swapp Sticker Book for my title and mixed them with some older white puffy stickers from my stash.


Towards the end of the process, I decided to throw in another color...light blue.  These are clear stickers from Altenew.  I stuck them to white cardstock first and then cut them out.  I love the addition of this color!


A few more shots of the all the details...


This was so much fun to make...seriously!  It's awesome to just start with white cardstock and paints and make your own layout from scratch.  You can see how this came together with lots more details here in my process video:


Here's a look at the August Edition Color Kit.  The prices is $15.95, and it includes:

  • Coloringz Heidi Ho Blue
  • Vibez Hermit the Frog
  • Shimmerz Pink
  • Inklingz Sunkissed
  • SpiegelMom Scraps sequins
  • Shimmerz ice cream cut file


You can purchase these kitz HERE in the Shimmerz Store.  Quantities are limited, so get over there and get yours!

Thank you so much for stopping by, and have a great day!!