Happy Friday, friends! I have a new layout to share for A Flair For Buttons using some awesome flair from three different sets. I used the Black Marquee, Love You and Travel Phrases 2 sets. I love scrapping photos of our trips to Las Vegas, and this page was so fun to create! I used lots of watercolors and gold Heidi Swapp Color Shine, some random washi tapes, lots of MAMBI stickers and a few Project Life cards and a random piece of cardstock. I also added in a few cloud cut file die cuts I had sitting around on my desk from The Cut Shoppe. I had fun mixing and matching different things together on this. I used the packaging technique with the watercolor & spray on the background and added in some washi tape strips after I decided how I wanted to arrange the pictures. I was so excited when I realized how awesome these three flair looked here. I thing the Marquee collection is so perfect for a Vegas page!
We visited Freemont Street on our most recent trip to Vegas, and that's where a lot of the older casinos are, like Binions and the Golden Nugget. These are pictures from Binions. We just had to pose in front of the million dollars...haha! I decided to line up all three flair instead of scattering them around the page. I love how they look on top of the blue watercolor, and all the gold really contrasts nicely.
I cut "vegas" on my Cameo in a font called Shoreline and painted it red with some Shimmerz Coloringz. I absolutely LOVE this Thickers font! It's so Vegas! I stitched through the letters to make sure they were stuck for good. I also added some blue stitching here and up top by the photos.
To create those subtle numbers, I used some Elle's Studio stamps and some Heidi Swapp gold texture paste. I just pressed the stamp into the paste and stamped it down. I love the result...such a great effect and awesome texture! I felt like I needed numbers on a page about a Vegas Jackpot..haha! I also love how the clouds look...they don't really serve a specific purpose, but I love the detail with all the photos and fun gold.
Here you can see the blue stitching. I also added some tangled thread and some gold round flat sequins from Spiegelmom Scraps.
Here are a few more fun close-ups of all the detail.
Happy Tuesday, friends! Today I'm sharing a layout I created for My Mind's Eye using the Hooray collection. It's a great line for documenting celebrations, so I scrapped this fun photo of me and my daughter on her 9th birthday. It's a grainy phone photo, and it was kind of in a low light setting, but I absolutely love it. Sometimes you have to just get pictures when you can and not worry about the lighting :)
I wanted a festive look, so I used a few of the patterned papers to cut a fun Just Nick design on my Cameo. These are Scribble Circles, and they make excellent layering pieces. I used white cardstock as my base, and I used a few of my favorite Shimmerz Paints sprays to create the messy watercolor look. I used a large circle chipboard piece as a background layer as well. I used a few 3x4 Journal Cards and some 6x6 Paper Pad papers behind my photo and then embellished with more chipboard circles and a few circles from the Sticker Sheet. I also added in a few of the gold Acrylic Shapes from the Yes, Please collection.
Here's a closer look at all the layers. These are all my favorite colors...I can never get enough of them! I also used a few of the Puffy Stickers. They are just adorable! I cut up a sticker to create my title. That shiny 9 is from the Mixed Bag.
To create this banner, I used the triangle stickers from the Sticker Sheet. I stuck them to some cardstock and cut them out, taped them down and stitched through them. Check out that acrylic heart...swoon!
I love how the splatters and circle embellishments look like confetti. Such a great way to celebrate a birthday page! Some of the pieces are rose gold, which are even more gorgeous.
I added in some yellow thread for extra texture and color underneath all those layers. Aren't these colors so pretty?! I love the acrylic shapes...gosh they reflect the light so perfectly!
Thank you so much for stopping by today...and have a great day!
Hey there, friends! I'm back today to share another layout for Hip Kit Club using the beautiful 2016 October Hip Kits. I decided to do something really different than my usual. I had my photo ready to go, and as I looked at it, I was inspired by the denim color in our jeans. My sister and I were in the dressing room trying them on, and it's one of my favorite pictures. Before I did anything, I grabbed a few of the Project Life cards and played around with them and actually decided on my design right then. Then I pulled out a sheet of the dark navy blue cardstock from the Cardstock Kit and decided to use it as a background. I cut Zinia's wonky rectangle/square cut file from one of the Pink Paislee patterned papers and used it as a base design. I used some white gesso on the background over the cut file and a little bit on the two PL cards beside the photo. I used some Shimmerz and some Prima Oil Pastels to add some color.
I have to say, I really love how this page turned out. I wanted to jazz up the bottom areas of the PL cards, so I smudged some Jeni B Bleu Shimmerz on there. I also did some machine stitching on them. I used several embellishments from We R Memory Keepers here...a floral & circle die cut and a cute puffy sticker. I also added in some gold rub-ons and glittery enamel dots. That cute clear sticker & arrow are from Simple Stories.
I love this wood veneer from WRMK. I love the green and blue together, and I think it matches everything else very well. I added in some coral thread and some small coral flower stickers. The gold splatters are from the Shimmez Glorious Day Vibez from the Color Kit. It looks like a mustard yellow in the bottle, but when it dries, it's sparkly gold!
Here you can see all the dimension. I layered up some tissue paper, foam adhesive, PL cards, Dear Lizzy die cuts and a Pink Paislee leaf Thicker here. I also added a WRMK wood veneer frame behind it all...the dimension is so awesome!
I did use my edge distresser to ruffle up the edges of the cards a little bit. Here you can also see that I did a little bit of straight machine stitching on the background in a pink color.
Since this layout was all about shopping, that's what my title is :) And as soon as I saw those Dear Lizzy numbered tags, I knew I had to use this one here! It totally reminds me of one of those tags you hang on the dressing room door when you're in there trying clothes on. It also reminds me of clothing price tags. I added a little bit of thread to it and just added it to the O. That couldn't have worked out any better :) I also added a post-it note type sticker from Simple Stories for the date and did a little bit of journaling with a white gel pen.
Finally, here you can see where I used the Prima Oil Pastels on top of the white gesso. I just added a small bit of pink. I didn't want to go overboard, and I really loved the navy background, so I didn't want to take away from that. Sometimes less is better, I think.
Here's my process video for this...I had a blast making it! I hope you enjoy and get some fun ideas to try!
Happy Friday, friends! Woo hoo...bring on the weekend! I have another layout for my Using Older Supplies series I'm doing on my YouTube channel. For this page, I pulled out some Echo Park Here & Now to start and wound up adding in some Crate Paper Poolside. It was lots of fun to play with some of my hoarded stash and mix collections. I was in the mood to scrap a pool photo, and this collection was the perfect one to use for it.
I love this background paper. It reminds me of a pool and has those awesome circular ripples in it. Plus it matches my photo perfectly :) I added a big chunk of the dotted paper over the blue and then smudged some white gesso over a lot of it. I wanted to fade out some of the circles. I came in with some pink and yellow Kuretake watercolors on the background. I fussy cut those beautiful white flowers from patterned paper and used them as layers. As I was digging through the papers, I found that circle die cut in the mix...apparently I had already cut it a long time ago and didn't use it. I layered up some papers behind my photo and began embellishing.
This is pretty straight-forward. You can see all the paper layers, tangled thread and watercolor here. I also added a flair button right on top of my photo. Since there was a lot of open space there I didn't think it took away from the photo.
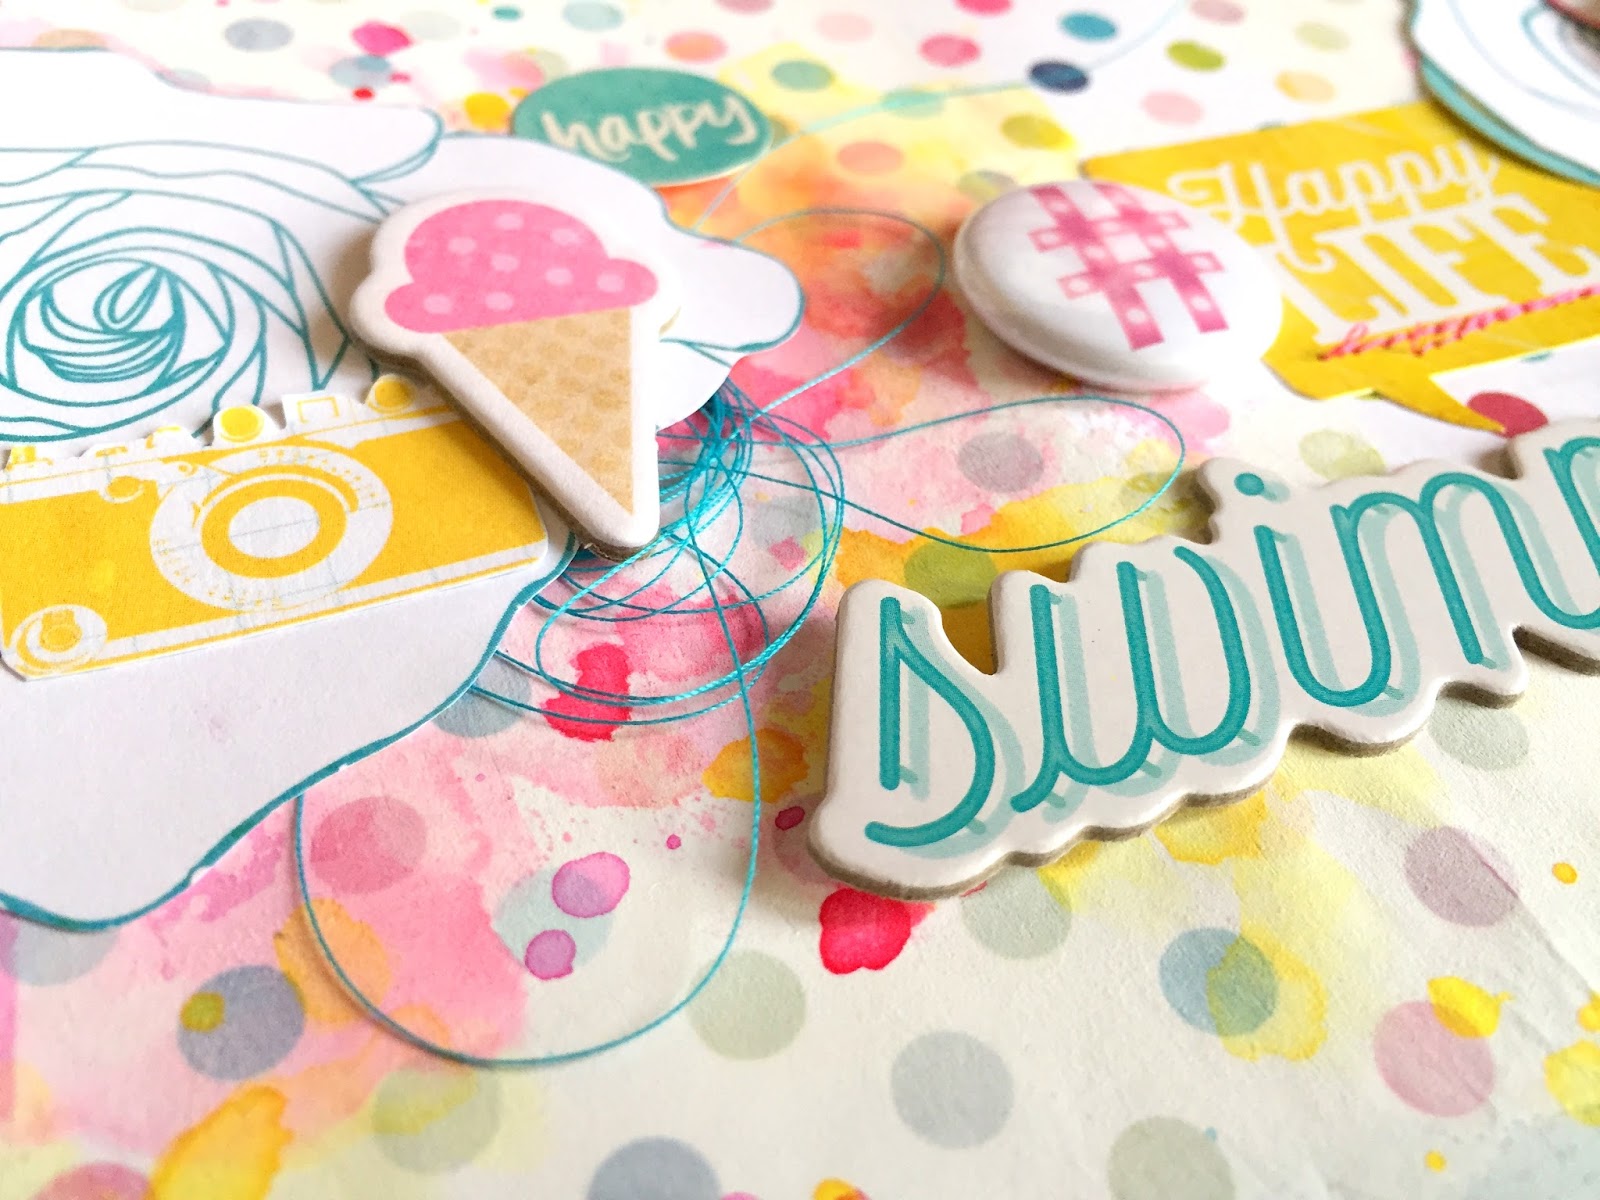
I added a cute sun sticker from Crate Paper under the flair as well as some tangled pink thread. That helps break up the blues and adds some fun texture. I added another EP sticker to the left and stitched through it. The "swimming" chipboard sticker is from CP Poolside, and it was the perfect match for this page.
I added another flair button from A Flair For Buttons and also a cute ice cream cone chipboard sticker. That one is actually from EP Summer Bliss. I liked how it looked and the color was perfect, so I used it :) I fussy cut that little camera from patterned paper.
Here's another close-up of the top of the photo...lots of detail and texture.
Finally, for the bottom area, I added my journaling and more stickers. Instead of using my date stamp, I decided to use up some of the EP alpha stickers. I felt like I need to add more yellow and pink down there, so I added a border sticker and half of a flower sticker. The stitching finished it off.
Here's my video for this layout...I hope you enjoy! Hopefully you'll get some fun ideas to try.
Thanks so much for stopping by, and have a wonderful weekend!
Happy Wednesday, friends! I'm back today to share my newest layout for Bella Blvd. This week, we are showcasing Everyday Heroes on the blog, and I created a layout about my daughters' teacher, Kayla. She is simply amazing, and we love everything she has done and continues to do for our girls. She is a special education teacher and works with children with all kinds of disabilities. Both my girls are autistic and nonverbal, and she has worked wonders with them for a few years now. Both my girls love and adore her, and we are forever thankful for her!
I used the Oh My Stars collection for this. I started with white cardstock and a beautiful quote I found on Pinterest. I arranged it in a vertical fashion, cut it out on my Cameo and then backed it in a rainbow color scheme using papers and some Washi Stickers. I used the new Illustrated Faith Watercolors behind my photo cluster & embellishments and layered up a few papers and a few Gift Tags. I used lots of star die cuts, Washi Stickers, Tabbies, Designer Clips and even a few stickers from the Star Student collection.
**I have no idea why the photo of this layout is blurry. I have edited and re-edited several times and it keeps going blurry when I upload it to Blogger.**
I love all the details in this collection because everything is so versatile. And there are SO many colors! I went with all the colors and scattered different embellishments in different colors all around the photo. I stitched through all those fun die cut hearts in different colored thread, and I also stitched through some of the stickers and washi. The white circle die cut is something I've had sitting on my desk for a while, so I just added it into the mix.
Layering is such a great way to add dimension and color. The Gift Tags are awesome for tucking into those layers. These Bella Tags come with some white string to add to the tops. The fun Tabbies are perfect for adding to the sides of your photos for something extra.
I just love this quote, and I love how it looks with all the beautiful papers behind the words. I did some white stitching through some of the words for a little something extra. I decided to add some blue watercolor to the left side under the black & white stars.
Here's another look at the backed die cut. Doing something like this actually helps your layout come together quicker because you can't move it. You're forced to work around it which gives you some limits to work with. Sometimes I like that it narrows it down for me.
Okay, one last close-up...here are some of the Washi Stickers mixed with some stickers from the Star Student Trinkets sheet. I couldn't resist adding them in on a page about a teacher :) I also threw in a few She Blooms Enamel Hearts.
So who are your Everyday Heroes? I hope this inspires you to think about those closest to you and scrap about why they're heroic. All week long on the Bella Blog you can see who the other DT members view as their heroes.
Hey, friends! I hope you're all having a great weekend. Today I'm back to share another layout for Hip Kit Club using the 2016 October Hip Kits. My assignment this week was to create a Halloween layout using cut files. This was definitely a challenge! I think this is the first Halloween page I've ever made without any orange. I started with this cute photo of my little girl in her Hulk costume from a few years ago. Based on what's included in the kits, I decided to go with a green and blue color scheme with a bit of black and gold. I used one of DT Member Zinia's cut files and cut it on the black & white Dear Lizzy papers. I wound up cutting it into separate rectangles and layering them on the background. I punched circles out of another Dear Lizzy paper and incorporated them into the background design as well. All of these papers are in Main Kit & Paper Kit. I decided to go with blue on the background, and I pulled out the Prima Oil Pastels from the August Color Kit and created some pretty navy blue smudges.
I pulled out all the blue & green elements from the Dear Lizzy Saturday ephemera pack and layered a few of them behind the photo as well as some patterned papers. I created my title using some of the Simple Stories Posh alphas and the Jen Hadfield Rose Gold Puffy Thickers. I love how the journaling looks underneath the title. I added in a small Simple Stories chipboard heart and a WRMK wood veneer. I really do like this darker color scheme!
I love how this cut file looks on this black-dotted paper. I added details here with the chipboard arrow from SS, a few WRMK stickers, some glittery gold enamel dots and some green machine stitching.
Here's a closer look at all those layers. Layering is a great way to add dimension, interest, texture, color...you name it! I added in some blue and green tangled thread (surprise...haha).
I did the same things above the photo...stickers, chipboard, enamel dots, stitching..and here you can see some of the gold rub-ons, too.
Although this was a challenge, it was fun to put together. I'm happy with the results, and I think it showcases my sweet picture pretty well :) Here's my process video if you're interested.
Thank you all for stopping by, and I'll see you soon!
It's Friday...yay! I thought I'd share another layout for Simple Stories using the Happy Haunting Simple Set. It's a small collection with just a few patterned papers and a sticker sheet, so I pulled out some light kraft cardstock from my stash to use as a background. I used a fun grid stencil and some ink sprays from Shimmerz and Heidi Swapp to create a messy base to layer my photos on. I used some of the patterned papers and some tissue paper behind the photo and decided to center it. I used my Cameo and a fun cut file from The Cut Shoppe to created the row of pumpkins. I wanted them to be subtle and not overpower the photo, so I didn't back them with paper or anything.
Since I used gold on the background, I machine stitched with gold through the pumpkins. I fussy cut "happy haunting" from patterned paper and added foam and thread under it and used it as a small secondary title. I centered my journaling right under that.
For more pops of black, I added more thread under the photo. All in all, this is a pretty simple layout. The photo is pretty busy, so I didn't want to make the layout itself even busier. I love how the gold turned out on the background.
Here's a look at the other side of the page...more of the same thing. I love how dimensional the pumpkin stems are.
For my main title, I used some of the Snap Bold alphas in black and just wrote "all the" with a black Sharpie. I wanted a small title, and I love how it turned out.
Thanks for stopping by today...and have a wonderful weekend!