Happy Tuesday, friends! I have another layout for Citrus Twist Kits to share today. I used the April Main "Santorini" Kit for this. I had a completely different idea for this before I started it, and I'm okay with that. Ideas change as you go, and that is part of the process. I started by cutting a lot of those fun flowers out on different patterned papers. My original idea was to use a lot of them scattered around the background. It just didn't look like I thought it would, so I only wound up using a few of them. I used a cut file from The Cut Shoppe.
I used the excess papers from the flower cuts as layers behind my photo. I did some mixed media work on the background and also added a bit of stamping using a silver ink pad and one of the small dotted stamps from the kit.
I used gesso on my background and then came in with pink and blue in sprays. I also pulled out a small circle stencil to use with the pink to jazz things up.
I think my favorite item in the kit this month is this pack of bright yellow Pinkfresh Studio alpha stickers! The font, the color...so awesome. And they look extra awesome mixed with all this light blue. I added a few of the exclusive cut apart pieces here above and below the title, which I also stitched through.
This cute bird is from Basic Grey, and that beautiful blue paper is a CTK exclusive this month. I added in one of the Pinkfresh Studio wood veneer squares here and also a Basic Grey die cut. It's actually a big star, but I punched the "Happy Day" out with a small circle punch.
I added another wood veneer square and a rubber charm from the Amy Tangerine Rubber Charms pack. I also added lots of tangled thread.
Here is the process video if you'd like to see how this layout came together. I hope you enjoy!
Thanks so much for stopping by, and don't forget to check out Citrus Twist Kits!
Happy Weekend, friends! Today I wanted to share my latest layout for Bella Blvd. I searched Pinterest for some inspiration for my project and I came across this amazing watercolor butterfly art. I was instantly drawn to the colors and the artsy look of it. I knew right away that I wanted to recreate this piece with my watercolors and some lovely Bella products.
I started with white cardstock and a digital butterfly image I've had in my Silhouette library for a long time. It's from the Silhouette Store, and I enlarged it and cut it out. I went through a few different Bella collections and chose papers that created a pastel rainbow. These papers are from Sweet Baby Girl, Sweet Sweet Spring, Cute Baby Boy, She Blooms Illustrated Faith & Whatever is Lovely Illustrated Faith. I wanted lots of color behind the butterfly, so I cut the papers in strips and adhered them to the back of the cardstock. Then I coated the whole thing with some white gesso and then used lots of watercolor to replicate the Pinterest image.
I went around the entire butterfly and machine stitched...very slowly and carefully...haha! Then I began embellishing. I pulled bits and pieces from all the collections. I added enamel dots to the flowers, and the big flower and the photo have pop dots under them for dimenstion. I mixed and matched the alphas for my title.
I love how the watercolor turned out...just the right amount of each color on each area of the layout. These chipboard pieces are from She Blooms. I seriously can't get enough of that beautiful collection.
This sun is just adorable, and I couldn't resist creating a little sky at the top with some clouds. I added some blue thread here to echo the sky, and again, I added pop dots. I love the shadowing it creates!
One of my favorite things about Bella is the explosion of color in the products. This close up represents all my favorite colors...everything just looks so Springy and fresh and bright!
Thanks so much for stopping by today...have a great weekend, friends!
Hooray for Friday....yay! Today I am sharing another layout I created for my Guest Design spot over at Scrapbook Circle. The April Main "One Fine Day" Kit contained the Elle's Studio Bits & Pieces, and I was challenged to use them in a non-traditional way. I accepted that challenge, and I decided to create a fun banner with them.
I laid them all out and chose several of them to create a big banner stretching across the page. I used all the tags and turned them upside down. I filled in the other areas with labels, tabs and other fun pieces. Once I had them arranged, I taped them to a scrap piece of white cardstock. Then I ran it through my sewing machine. Next I cut around all the edges so the entire banner moved around as one piece. None of the pieces were moving, and I could place it anywhere on my layout.
I used a lot of white gesso, colored texture paste and watercolors on my background. I wanted lots of aqua coming from behind the photo, and I used contrasting colors as layers behind my photo. The "together" chipboard piece was white, so I used pink and yellow acrylic paint to color it...I love how it turned out! I used pop dots under the banner and that allowed me to raise the title up as well.
Here you can see the awesome dimension from the banner...whoever invented pop dots is a genius! I added some Pinkfresh Studio stickers, Dear Lizzy stickers and more Elle's Studio pieces on top of the banner here...as well as some tangled thread.
Here's another angle of the banner. I stapled this Elle's Studio heart here. I love soft pink and grey together. All of the colors in this collection look gorgeous together.
This lovely chipboard piece from Bella Blvd was so fun to play with! You can leave them white or paint them.
Here's one last close-up of the photo area. I created lots of layers, including some tissue paper from my stash. I layered this cute sparkly bow and one of the wood veneer pieces.
It was lots of fun using the die cuts in a different way. Sometimes you get the greatest results when you are challenged to do something you wouldn't ordinarily do. I love that about scrapbooking!
Hey there! It's Thursday, and that means I have another layout for Hip Kit Club to share :) I used the 2016 March Hip Kits to create this, and I used lots of Pinkfresh Studios and Basic Grey goodies. I seriously love all of these amazing colors...they are just so pretty together. I had been eyeing that beautiful Project Life card with "Oh Lucky Me" on it, and I finally punched it with a circle and used it. All those strips were cut from a Pinkfresh paper, and those gorgeous flowers are from the Basic Grey pack. I went over the background and strips with white gesso before adding in some Shimmerz Paints. I used some from the Color Kit and some from my stash.
These die cut letters are also from Basic Grey, and I used a pink gelato to color them. I love how they look over the watercolor background, and they contrast so nicely with the all the blue elements. I punched a few hearts from one of the 4x6 PL cards, and I created some watercolor leaves with the green Shimmerz, the PFS stamp and a leaf punch from my stash.
I wanted some yellow around the photo and layers, so I did a very tight stitch around it to make a frame. It's not perfectly straight, but I love how it turned out. These hearts are a mixture of PL cards punched, Elle's Studio die cuts, PFS die cuts and one PFS wood veneer. Mixing and matching is so much fun! I also used a PL card and some of the exclusive Hip Kit paper for my layers here.
A flower explosion happened here! These colors are my absolute favorite. I added some yellow thread for extra texture and pops of yellow, and I added some of the PFS puffy sequins to the center as well as a few enamel dots.
Here's a closer look at the PFS banner die cut. I used some Shimmerz to color in the banner to make it pop a little more.
Here's my process video if you'd like to see how I created this layout.
Thanks for watching and for stopping by! Have a great day!
Happy Tuesday, friends! I'm back with you today to share a layout I made for my Shimmerz Shortz video last week. If you don't know about those, I make a short weekly video for Shimmerz every Thursday showing tips, techniques and ideas for using the Shimmerz products. Sometimes I showcase new products or colors. This video showed how you can use any of your Shimmerz products and a stamp to create fun and unique fussy-cut die cuts.
Here's the video:
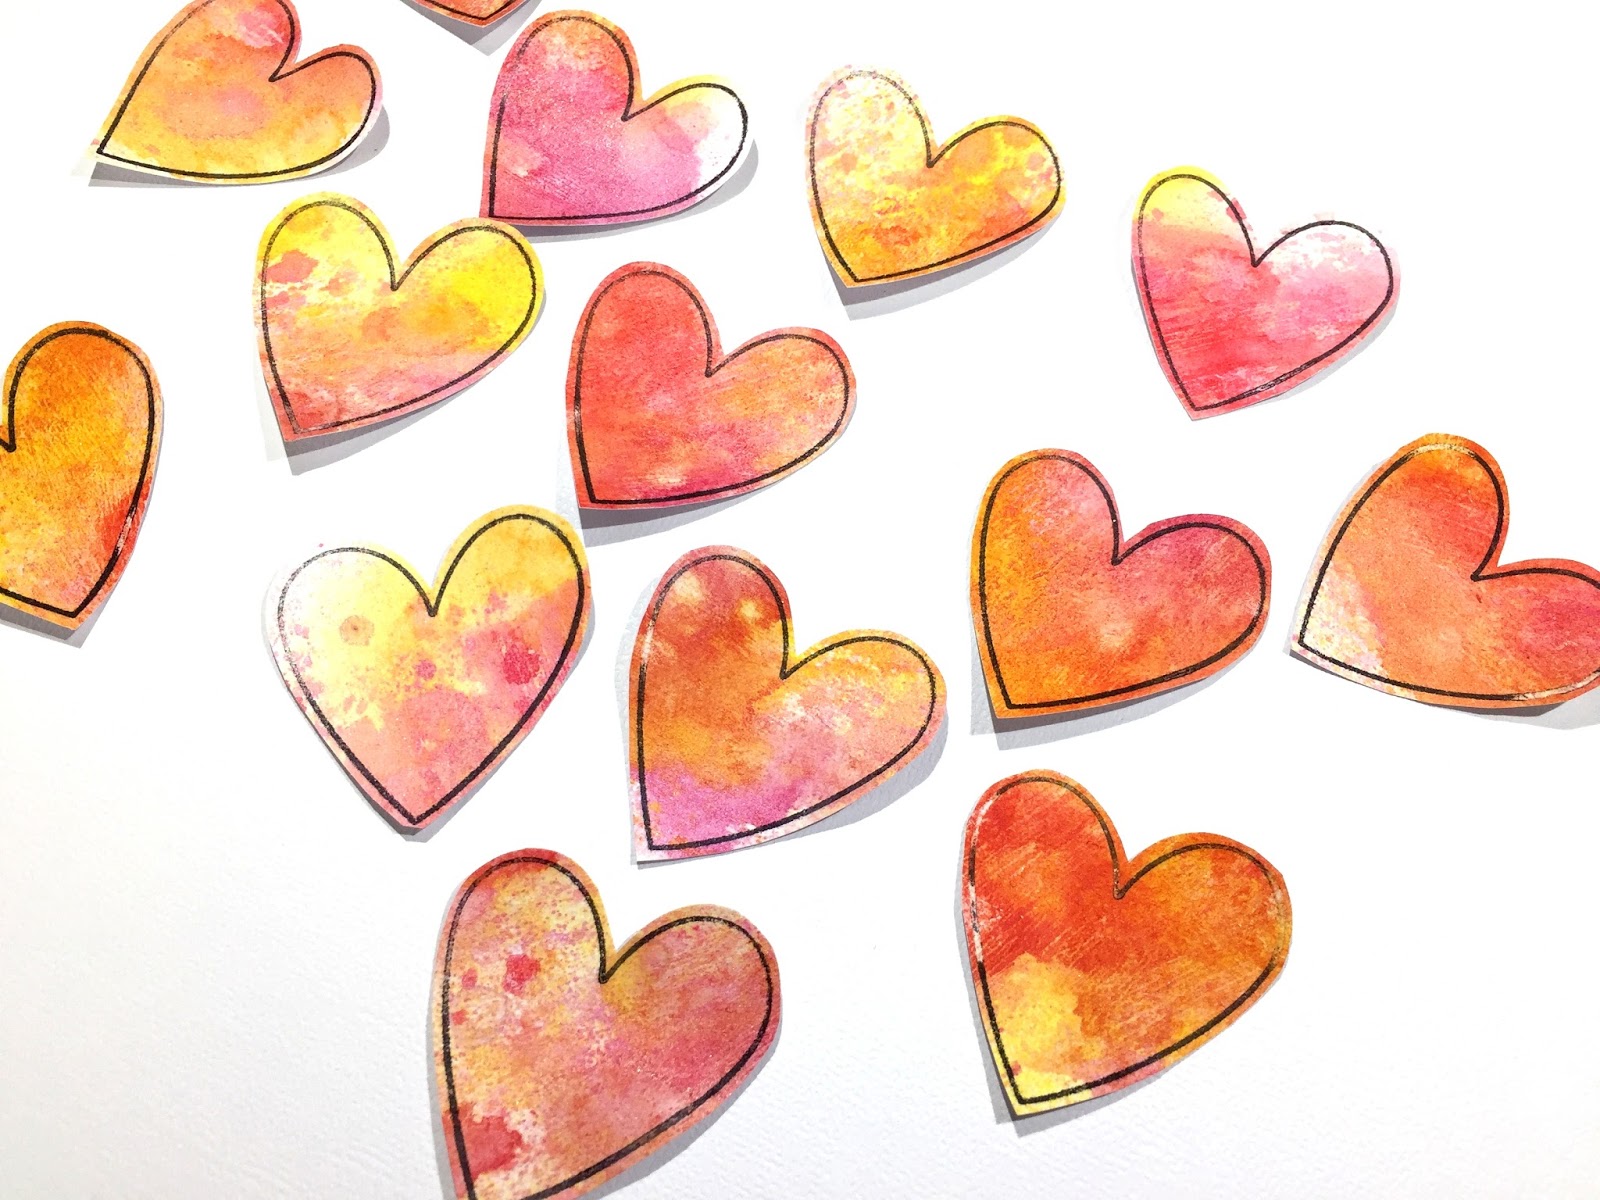
Here is the quick layout I put together using all the hearts I created. I used a scrap piece of white cardstock and coated it the gesso. Then I used a lot of Shimmerz Coloringz, Vibez & Spritz in different shades of pinks & oranges to create a bunch of color. I used the plastic packing technique, I splattered, I sprayed...I created a collage of watercolor. Once it dried, I used a basic heart stamp and some Archival Ink and stamped a bunch of hearts. I fussy cut them all out and then created this fun layout!
Here are the hearts after I fussy cut them. Each one is different, and I love the watercolor look on them! You could do this with any color scheme. Just make sure all the color you use blend well together. For instance, don't use reds and greens together...if those colors blend, you will get a yucky brown. You can use colors like that if you let each one dry and just be very careful about the blending.
I used the same colors to create my messy little area behind my photo. I sprayed some of the ink on to plastic packaging and smudged it down. I also just splattered the ink. I love how this turned out!
I got all the hearts adhered and then ran them through my sewing machine. I used a few bits and pieces lying on my desk...this "love" piece is from The Cut Shoppe, and the stickers are from Cocoa Vanilla.
I used a CV paper behind my photo and around the edge of the layout, and I use a flair button from A Flair For Buttons.
I added some tangled thread as well as a scripty stamp on the background.
Happy Sunday! I'm back again to share my layout for the Product Swap between A Flair For Buttons & The Cut Shoppe. Both Design Teams created projects for both blogs using the same set of Hello Spring Flair Buttons & Spring Cut Files from The Cut Shoppe. If you visited each blog since Friday and left a comment, you could be the winner of a few new flair button sets or some new cut file sets! The winners will be chosen tomorrow, so go leave your comments if you haven't.
Also, be sure to check out the discount codes for both stores...you don't want to miss the chance to get some awesome flair & cut files for less money than usual!
Here is the layout I created. I used the I'll Fly Away cut files (those gorgeous butterflies) and the Hello Spring Flair Set. I used my Cameo sketch pens to draw out the butterflies instead of using the blade to cut them. I coated my light yellow cardstock with white gesso and let it dry fully before running it through my Cameo. I used my Shimmerz watercolor paints and my water brush to color in the butterflies. I mixed and matched colors here and there to get some variation. It did take some time, but it was so much fun! Sometimes I just feel like coloring, and this did the trick!
I used Dear Lizzy papers, stickers and die cuts for this as well as some washi tape from my stash.
This butterfly flair is my favorite! I added it here for the pop of pink, and I added some thread and some leaves behind it. All the papers under my photo are Dear Lizzy.
Here's a look at the watercolor...it's just so yummy! I think I could watercolor all day. It didn't all stay inside the lines of the butterflies, but I like it that way. Watercolor is supposed to be messy, so it's just how I pictured it here.
Here's another flair button...again, the perfect colors for Spring. I used some Documentary and Happy Place together here...I added that blue piece behind them to give them a solid base to sit on. The butterflies were quite busy, and anything I place right on top of them got lost. This blue piece helps them to stand out and separates them from the background.
Here's another flair...this photo was from March, so it's definitely a Spring moment. I added yellow thread for extra color...and I added a lot of yellow and pink thread under the title die cut. That cute hombre washi tape is from Michael's.
I do have a process video of this page coming together...so here it is!
I was instantly drawn to this beautiful blue wood grain paper from Webster's Pages. It's so different and unique, and it made the perfect background. You can probably guess what I did to it...haha :D Yep...I added white gesso and lots of fun watercolor. I was inspired by the Simple Stories paper with all the pretty circles, and so I fussy cut a lot of them out. I also used a circle punch on the Fancy Pants corrugated paper. I wanted a random look with the circles, and after they were adhered, I machine stitched through some of them.
This awesome acrylic "lucky" piece is in the Main Kit, and it's perfect for a title. I added in lots of little goodies in this area...Simple Stories Brads, Elle's Studio die cuts, Pinkfresh Studio stickers and washi tape, and that pretty little polka dotted bow. I also punched a few circles from some of the Pinkfresh 6x6 Paper pad.
I did more of the same on the other side of the page. This mint colored corrugated paper is so fun! It gives awesome texture, and I was able to punch it easily.
I used the packaging from the Elle's Studio Bits & Pieces as a layer here. That pink color and the stripes were just too pretty to toss! I also scattered some of the Pinkfresh puffy sequin stickers around the page.
Here's one more close-up of the journaling area. I fussy cut a few circles from the Dear Lizzy 6x6 Paper Pad, and also a few words from the back of the Simple Stories circle paper. Those words make excellent accent pieces!
I have a process video for this layout if you're interested...it's how the layout was made from start to finish. I hope you enjoy!
Thanks so much for visiting me today! Be sure to check out Scrapbook Circle, and stay tuned for a few more projects from me this month :)