Wednesday, March 18, 2015

Love Her! / Chickaniddy Crafts

Hey there, friends!  I hope you're doing well today :)  I've got a new layout up for Chickaniddy Crafts today.  This month, the Crafts Team is featuring lots of crafty trends we all know and love.  We will be sharing a new trend each day this month, so keep checking back and see what each day has in store!

One of the trends I'm playing with is Mixed Media.  If you follow me, you know I absolutely love playing with inks, paints, modeling paste, gesso...anything wet and messy!  With Spring coming soon, I decided to create a super bright and bold layout.  I love creating my own backgrounds.  To do this, I used a stencil, modeling paste, a stamp, distress inks and water.  It looks complicated, but really it isn't.

Supplies Used: Twirly Girly--Sentiments Mini Stickers TG14EB05, Tags Mini Stickers TG14EB04, Enamel Hearts TG14EB07, Piggy Tails TG140S12; Scrumptious--Home Sweet Home SC140S02, New Harvest SC140S10, Autumn Haze SC140S06, Check Please SC140S09, Mini Stickers SC14EB06, Sentiments Mini Stickers SC14EB07, Journal Tags SC14EB03, Sticker Sheet SC14EB02, Die Cut Tags SC14EB04, Mini Brads SC14EB08; Jolly Good--Alpha Stickers JG14EB02, Banners Mini Stickers JG14EB05, Mini Brads JG14EB08, Snow Play JG140S09, Happy New Year JG140S12; Other--cardstock, Liquitex Gesso, Golden Modeling Paste, Tim Holtz Distress Inks, Shimmerz Coloringz, Brother Sewing Machine, Coats Thread, Ranger Archival Ink, October Afternoon Date Stamp, Sharpie Pen, pop dots, washi tape

Here's how I created this background.

1.  After coating my entire page with clear gesso, I used a palette knife to smudge white gesso over a triangle stencil.  After letting that dry, I took the banner shaped stamp from the Scrumptious collection and used various colors of distress inks to stamp it in a rainbow color scheme.


Since distress inks react and blend with water, I knew these would be the best to use so I could create a watercolor effect.

2.  After stamping the shapes, I simply dabbed my finger into some water and started smudging a little.  I love that you can see some of the triangles and some of them blend in to the background.  I love this look, so I kept smudging.


3.  After the cardstock dried, I started going through my Chickaniddy collections to choose papers and embellishments that coordinated with all of those bright colors.  I pulled items from Scrumptious, Jolly Good and Twirly Girly.  I wanted to continue the rainbow effect at the bottom, so I tried to include something of each color...die cuts, brads, stickers and stitching.


4.  I continued adding embellishments and choosing papers to layer under my photo.  Here a few of the pieces I pulled from:


5.  I punched some hearts from patterned papers and stitched through them...I love creating little clusters like this.  It allows for another grouping of all the rainbow colors.


6. Finally, I added some machine stitching in the bold turquoise color.  Here you can really see the bold orange and how the triangles create such great texture and interest.


I hope this inspires you to give Mixed Media a try.  It's really fun, and it's always an experiment...you never know what your background is going to look like until you start playing around with different mediums.  There are different types of paints and inks to play with...even gelatos!

Thanks so much for stopping by, and have a great day!


Tuesday, March 17, 2015

Good Times / My Mind's Eye

Hey there, friends!  Happy St. Patrick's Day :)  I have a little bit of green going on in my layout today.  This is my latest project for My Mind's Eye, and it was up on the blog last week.  The MME team is still anxiously awaiting the new product lines, so we've been playing with our stash the past several weeks.

To create this, I used the Now & Then Izzy collection.  I started by using various MME decorative tapes and tearing them to add to the background.  I used some gelatos to smudge some color around and then I added some stamping.  The last several MME collections haven't included stamps, so I pulled out some from the Cut & Paste collection.  I layered a few patterned papers behind my photo and then embellished with die cuts, stickers, flair pins, brads and chipboard pieces.


I love these little banner pieces!  I ran my sewing machine over them to give the effect of actually hanging.  I mixed up my title by using a Cameo cut and some very old chipboard Thickers.  You never know when some of your old stash is going to match something new!  I love that soft color.


By using pop dots to raise my photo up, it makes it so much easier to add thread or embellishments underneath it.  One of my favorite pieces on this page is that viewfinder film circle!  That yellow Everyday is an Adventure circle was from a 3x4 card that I cut out.


Here's a look at the top cluster.  Tapes, a die cut tag, a brad, a flair pin, a word sticker and some thread.  I always try and repeat what I've used on the main section of my layout for my corner clusters.  And I always try to repeat and spread the colors around.


Here you can see the background work.  I love mixing elements like tape and paint (or gelatos, in this case) and stamps.  I added some stitching as well.  You can't have enough texture, right? :)


I hope you find something inspirational here today!  Thanks for stopping by!

Sunday, March 15, 2015

Sweet Distraction / Hip Kit Club + April Kits REVEAL!

Happy Sunday, friends!!  I'm so excited to share with you my latest layout using the 2015 February Hip Kits.  And today is the BIG reveal of the 2015 April Kits!!!  The March Kits are arriving to everyone now....they were delayed this month because of postal reasons beyond our control.  But most of us have them, and my very first project using them will go up on the Hip Kit Blog on Tuesday!

This is my 6th layout using the February Kits.  I used some kraft cardstock as my base for this one and added some black and lime green strips to the left side.  I wanted to get a little messy, so I used the Calypso Teal Dylusions and a big paint brush to create those large paint strokes.  I went back with a blue gelato to create some extra darker blue smudges and then added some splatters.  I used the lid to the Dylusions as a stamp to create those faint circles on the left side.

These photos just make me smile :)  When I'm sitting at my scrappy desk, my little Paige will creep up behind me and all I'll see is this little arm coming around my head to grab my chin.  She's so funny when she wants attention.  Then you see how she'll lay her head on my shoulder....it's the sweetest thing!


I layered some papers from the We R Memory Keepers 6x6 paper pad behind the photos and added that cute little chipboard clip.  I did add some machine stitching and a piece of the Heidi Swapp washi tape.


Torn paper...my favorite!  I mixed up my title with a Cameo cut and the Heidi Swapp foam alpha stickers.  I love the royal blue color!  That little wood piece is from Evalicious.


The bottom cluster is a combination of things...some of that beautiful We R Memory Keepers door paper with ink and gelatos.  I added a pink circle from the MME paper and the Love You More card from the Heidi Swapp paper.  I added some die cut vellum, some thread, enamel dots and that cute chipboard bird from the Crate Paper sheet.


Finally, a shot of all the colors....I love the blues, pinks and kraft.  I like the hint of rainbow shades from that little card cut in half as well.


And now....on to the reveal of the gorgeous (and I do mean GORGEOUS) April Kits!!

Main Kit

Embellishment Kit

Color Kit

Paper Kit
Project Life Kit

Cardstock Kit

I can't WAIT to get my hands on these kits!!  Wow!  Make sure to check out the Hip Kits store to reserve yours today!  You can also check out our Facebook Member Forum!  Lots of fun going on there!

Thanks for stopping by, and have a great day!

Friday, March 13, 2015

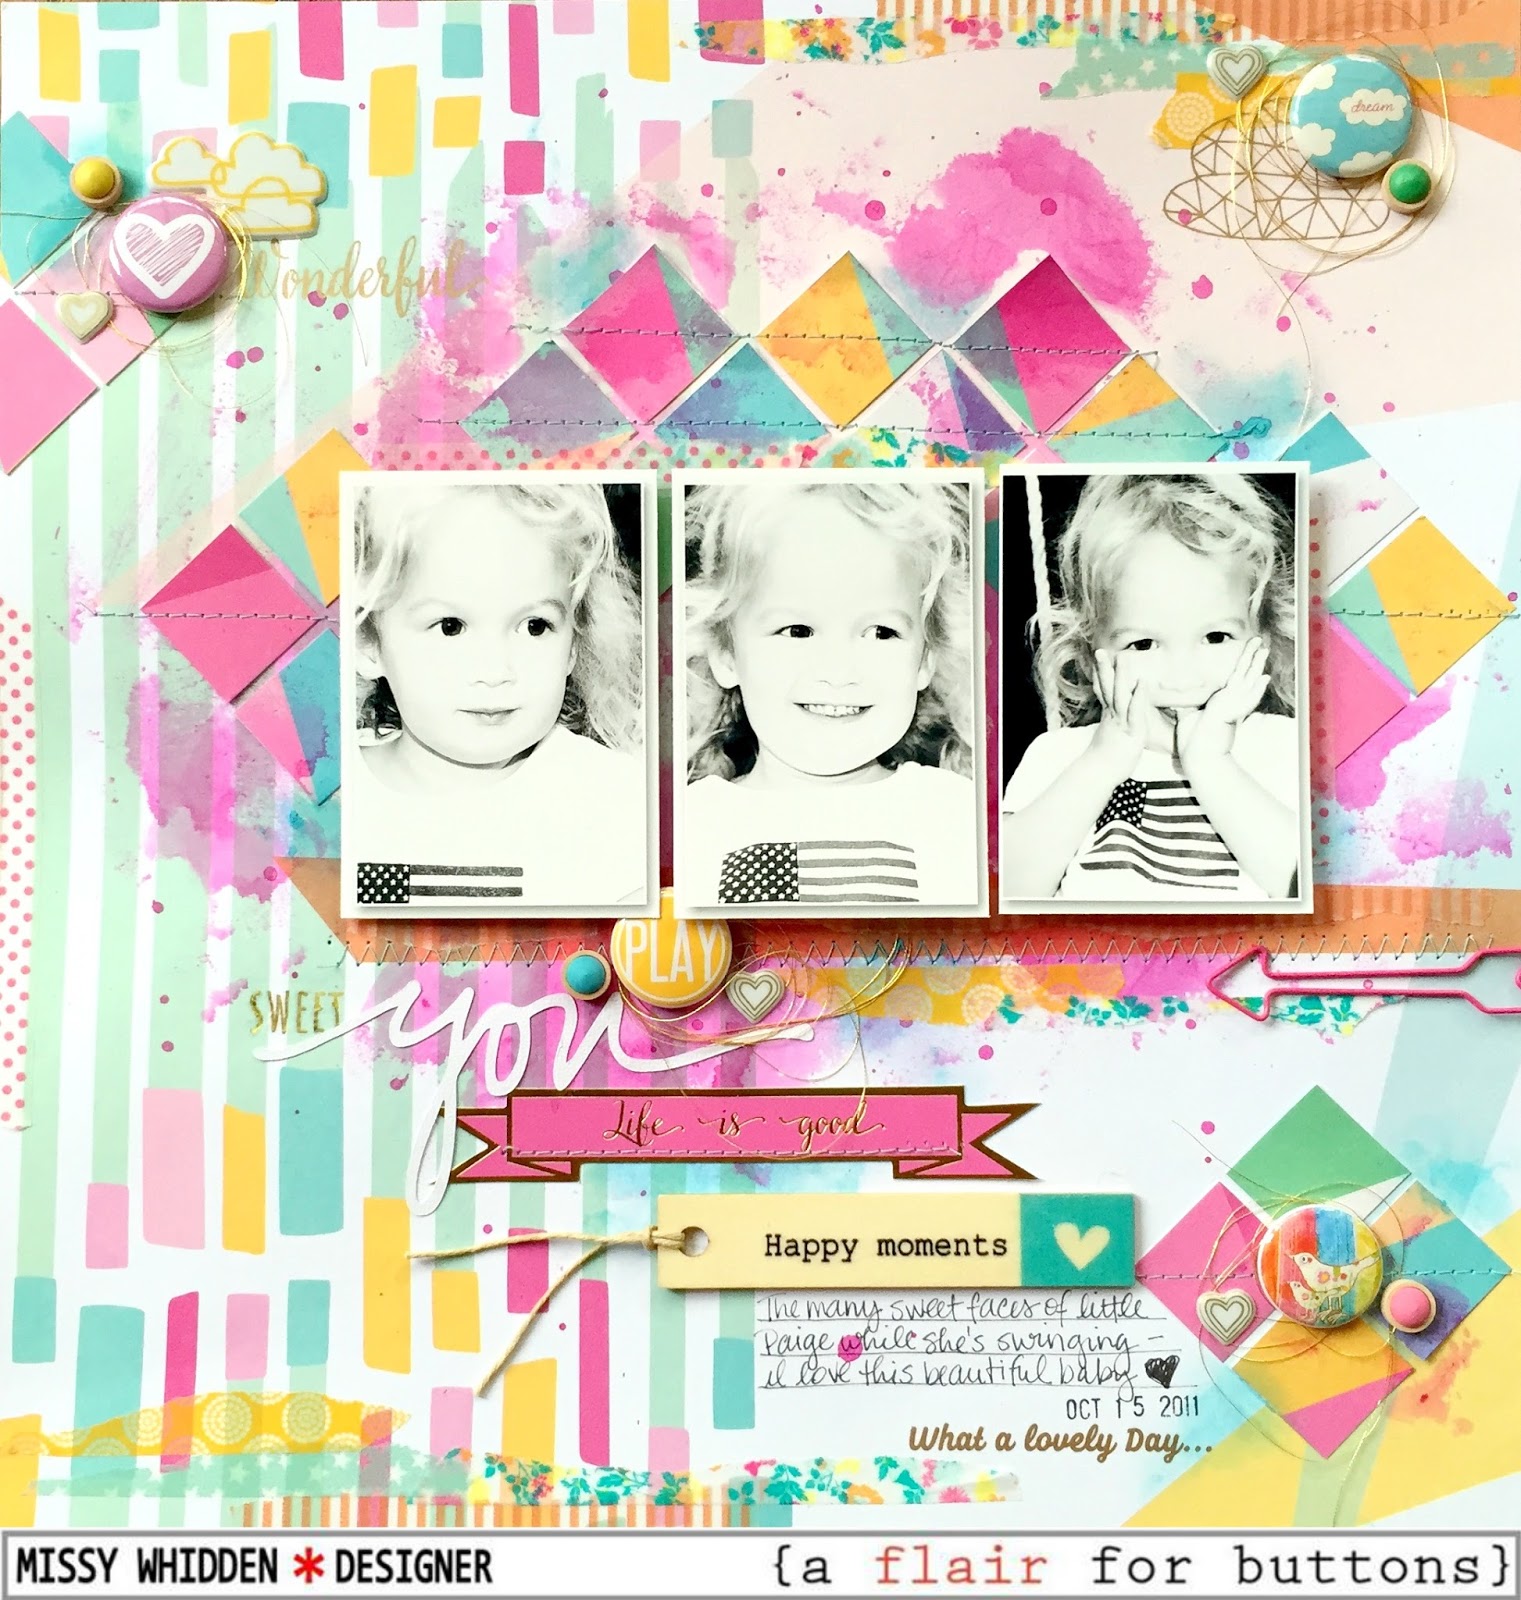
You / A Flair For Buttons

It's Friday.....yes!  I'm here today sharing my latest layout for A Flair For Buttons, and it's a bright one!  I used Flair from four different sets paired with the Up in the Clouds line from Pinkfresh Studio.  I love going through my Flair bowl and mixing and matching them to coordinate with papers and embellishments.

This Pinkfresh collection is SO much fun and so pretty!  This background paper is pretty busy on its own, so all I really did was add some pink watercolor to the background.  I punched out squares from another paper in the collection and made diamond designs in the background and then stitched them down.  I usually layer papers under my photos, but these didn't need it.  I used that orange stripe as a shelf for my photos and then added everything around it.


This Flair matched perfectly.  I layered some gold thread around it and added a wood bead and a puffy sticker.  Flair can add color, texture, a title, a design element....anything you want!


This Flair is from the Watercolors collection...I love this one!  It matches perfectly and makes a great center piece to that diamond design.


I love the pop of blue this one gives in the upper right corner.  I layered it on to of a gold cloud rub-on.  These Pinkfresh rub-ons go on like butter!  How pretty is the green color on that bead?  Love it.  All that washi tape is from my stash....various collections...MME, Freckled Fawn...and some I can't remember :)


I had to get a close-up of these gorgeous colors...oh my gosh.  My favorite!!  I flipped the edges up a little bit to give more depth and texture.


My last close-up of this cute heart Flair...it's the perfect color!  Different shades of pink going on throughout the whole page, so I had to use this one.


Here are the sets I used...just click the titles to take you to the direct link to purchase them.


You can see ALL the Flair collection in the store HERE.  There's something for everyone!  They're all amazing.

Thanks for stopping by!  Have a great day!

Thursday, March 12, 2015

Today / My Scraps & More

Happy Thursday, friends!  Do you ever make a layout and think....oh my gosh....this turned out way better than I thought it would!  That is exactly how I feel about this page.  Usually my layouts take a completely different turn and look nothing like I imagined in my head.  I wasn't sure where this one was going to go, but I really love the end result!

I made this for our Cabin Fever Crop last week over at My Scraps & More.  There were lots of challenges inspired by Winter and being trapped inside for months :)  I issued a challenge inspired by images of four different board games.  One of the games was Perfection...remember that one?  It had a bunch of plastic geometric shapes with little handles and you set the timer and pushed the plastic part down and had to  put the shapes in the holes in under a minute.  Once the minute was up, the plastic piece popped up and all the pieces went everywhere.  I had that one when I was a kid!  I was inspired by all the geometric shapes.  I found these awesome heart cut files in the Silhouette store, and I cut them and used the negative pieces to recreate the hearts.

I colored each piece with gelatos...it did take some time, but I just love how it came out!  I pulled out some very old American Crafts rub-ons....they were past their expiration date apparently because they didn't rub on very well.  They were very dry and some of them just weren't coming off.  However, I like how it looks around the photo...so it worked out well.


I used several pieces from various American Crafts collections and a few Crate Paper rub-ons.  I just love all of these bright colors together!


Here's a close up of the rub-ons...see how the orange and pink went on really splotchy?  At first I was disappointed, but then the more I added, the more I liked that sketchy look.  I just kept adding tape, stickers and rub-ons until I was happy with it.


I love this Heidi Swapp stamp set.  I fussy cut this stamp out...that is such a great way to make your own embellishments.  That little camera is from a Recollections collection from Michael's.


I hope this inspires you to check out Pinterest and peruse all of the images you can find...you'd be surprised where you can draw inspiration from.  Who would've thought an old game would help me create this?

Have a great day, and thank you for stopping by!

Wednesday, March 11, 2015

March CREATE Issue is LIVE!

Hey there, friends!  Have you seen the newest issue of Scrapbook Generation's CREATE Magazine?  The March issue is now available for download.  There are 291 pages of gorgeous projects!  So many styles and ideas to inspire you...it's really an amazing issue!

I am thrilled and honored to have two layouts included in this month's issue (pages 134-35 and 234).  You can go HERE to download your copy!


Here's a sneak peek of one of my layouts for the Color Challenge...very bright and Springy!


I just know you'll be inspired by all the projects...so go check it out!

Thanks for stopping by, and have a great day!

Tuesday, March 10, 2015

Love This / The Cut Shoppe + my first Process Video!

Happy Tuesday, friends!  I'm so excited to share my newest layout for The Cut Shoppe with you today!  I have created my very first process video to go along with it.  I have been wanting to try filming my process for a while now, and I finally took the plunge.  A big shout out to my husband for rigging up my camera over my scrappy desk, and another huge shout out to Ashley Horton for being my tech support and helping me figure out the editing process!

Now, onto the cut files I used and the layout...

I used these two awesome cut files:  The Love Club and Round Up.


Here is my layout.  I used the Up in the Clouds collection from Pinkfresh Studio.  It's so pretty and dreamy, and the colors are just gorgeous.  (This is still available in the My Scraps & More Store.) I created a mixed media background with gesso, watercolors and gelatos before adding all my paper and embellishment layers.  I used the Round Up circles as layering pieces and the Love This cut file as my title.


I love the dimension here.  These circles are perfect for layering or as stand-along elements.  I used some gelatos to give them a little bit of color and then sort of used them as a side frame.  I did add in some vellum under all the papers and photos.  I added journaling strips to the bottom...there's no easy way to write on top of modeling paste :)


I used lots of thread on this layout...some is just tangled and some is in a circle shape.  I added stitching, washi tape, word phrase stickers and cute wood beads.


Here's a shot of the top...more layers, thread, stitching...I couldn't resist adding some gold Color Shine!


Finally, here's a look at the title cut as well as the watercolor background.  I did a little bit of outlining in gold pen to make the triangles stand out a little bit more.


Here's my process video...I'm still working on my lighting and editing, so hopefully you'll think it's okay.  I'm so excited to share my process with you all!


Thanks so much for watching, looking and hanging out here with me today!  Be sure to visit the shop to check out all of the awesome available cut files!