Thursday, August 2, 2018

Together / Page Maps Guest Designer

Hello again, friends!  I'm very excited about being the August Guest Designer over at Page Maps!  I've followed Becky Fleck and her amazing sketches for years.  I have a few of her sketch books, and using her sketches is how I got started with scrapbooking. I chose this fun grid sketch to work with, and it helped me create a design I probably otherwise wouldn't have made.  Thanks to Becky for having me!


I used some of my older stash for this page.  I dug through a few of my Hip Kit Club leftovers from last summer and found a few Project Life cards and patterned papers to begin with.  I wanted to follow the sketch as closely as possible, so I wanted to keep the journaling spot in the lower left.  I found a lined PL card and used a blue frame over it.  Instead of using the scalloped circles in the sketch, I created some palm fronds.  Our patio has a lot of palm trees, and since the photos are of my girls on our patio, they were perfect.


I arranged my photos and cards in the main grid and then found coordinating embellishments.  The flower cluster in the center is from another PL card that I fussy cut.  I used some Pinkfresh Studio light blue puffy alphas for my title and surrounded it with a few Crate Paper sentiment stamps.  I punched the "sweet & lovely" from a Paige Evans Fancy Free paper and backed it with a blue die cut and a fussy cut flower.  Lots of random goodies meshed together here :)


I believe this frame is from Vicki Boutin as well as the ampersand.  I liked how it looked here on the side, so I kept it there and stitched through it.  I also added a little subtitle sticker here from Vicki as well.


I cut these palm fronds on my Cameo on white cardstock.  They are from an exclusive Hip Kit Club cut file from last summer.  I used a few shades of Shimmerz to color them, and then I tucked them behind the photo.


More Vicki Boutin die cuts tucked in behind this photo as well as another fussy cut Crate Paper flower.  I did machine stitch around the perimeter, just like in the sketch.


Of course I had to add some gold Color Shine!


Here you can see the dimension from all the pieces.  I added adhesive foam under each section to raise it up off the paper.


I hope this inspires you to check out Page Maps every month...there are lots of sketches and sample pages.  You will love Becky's creativity...her ideas are off the charts!  I do have a process video here if you'd like to check it out:


Thanks so much for stopping by!  See you again tomorrow :)

Wednesday, August 1, 2018

This Makes Me Happy / Hip Kit Club

Happy Wednesday, friends!  I'm back today with a new layout for Hip Kit Club.  With all these summer colors in the 2018 July Hip Kits, I wanted to create a fun sunburst for my page today.  I used a ruler to create the sunburst shapes from the Pinkfresh Studio Happy Life paper from the Main Kit.  I used white cardstock as my background, and I mixed some of the Pinkfresh Studio Liquid Watercolors from the Color Kit with some white gesso as well as some Shimmerz Frostbite from the June Color Kit.  I smudged it onto the background with a palette knife.  I didn’t have any blues in the sunburst, so I  made sure there was a lot behind it.


Once I glued down the sunburst pieces, I machine stitched through them and then bent up the edges to create some dimension.  I came back in later with more of the Pinkfresh Liquid Watercolor to add more areas of aqua.  I love the combination of the aqua and periwinkle color.


I used some of the Pretty Little Studio Stickers as well as a few flowers I fussy cut from a PLS paper.  I also scattered around some exclusive puffy heart and flower stickers.


I used some exclusive Project Life cards as layers behind my photo.  How cute is that cute cloud sticker?  It’s on the Pretty Little Studio Sticker Sheet.

asdf

I couldn’t wait to use one of these adorable exclusive ice cream cones!  The top is colored acrylic and the bottom is wood veneer.  So cute!  They are in the Project Life Kit.  I added some tangled thread in a few places as well.


I fussy cut this flower from a Pinkfresh Studio paper.  I topped it with some cute little exclusive acrylic flowers.


I used an exclusive die cut as my title.  It was the perfect fit right below the photo.


And one more close-up just because I love how it all came together :)


I hope this inspires you to try making a fun sunburst on your next summer layout.  It’s a great way to get lots of different colors on your page.  Be sure to check out my process video to see how I put this together.


Thanks so much for stopping by, and have a great day!


Wednesday, July 25, 2018

Sweet Summer / Hip Kit Club

Hey there, and Happy Hump Day :)  I'm back today with a new layout for the Hip Kit Club.  This is my first page featuring the 2018 July Hip Kits, and boy are they beautiful!  My focus today was watercolors and cut files, so I used both.  This awesome cut file is FREE over on the Hip Kit website under the Cut Files tab...yay!  I backed with various papers in the Main Kit as well as a few Project Life cards. 

I wanted to create some "water" and a "sun" on my background, so I used the Pinkfresh Studio Liquid Watercolors from the Color Kit.  I prepped my white cardstock with clear gesso first and then started spritzing water down.  I dripped some of the blue color down and let it run and spread.  I brought in a few blue Shimmerz sprays from previous kits to add some variation. 


I felt like adding some textured detail to the cut file, so hand stitched around the letters with white embroidery thread.  It's not perfect, but I like it that way :)  I added some foam adhesive to the back to pop it off the page.  I added one of the acrylic words above the S to complete my title.  Easy!  I embellished around the cut file with some of the exclusive flower die cuts as well as some of the Pretty Little Studio flower stickers.


Look at these adorable acrylic clouds!  I had to use them on this page...just so cute.  To make the sun rays, I used a stencil from my stash.  I mixed some of the yellow watercolor with white gesso and smudged it over the stencil.  It was really bright, so I went back over it once it dried with more white gesso.


I love all these little bits and pieces...they're all in the exclusive die cut pack.  I pulled out the Pink-o de Mayo Shimmerz from the June Color Kit and added some pink splatters.  I also added aqua and yellow from the paints I used on the background.


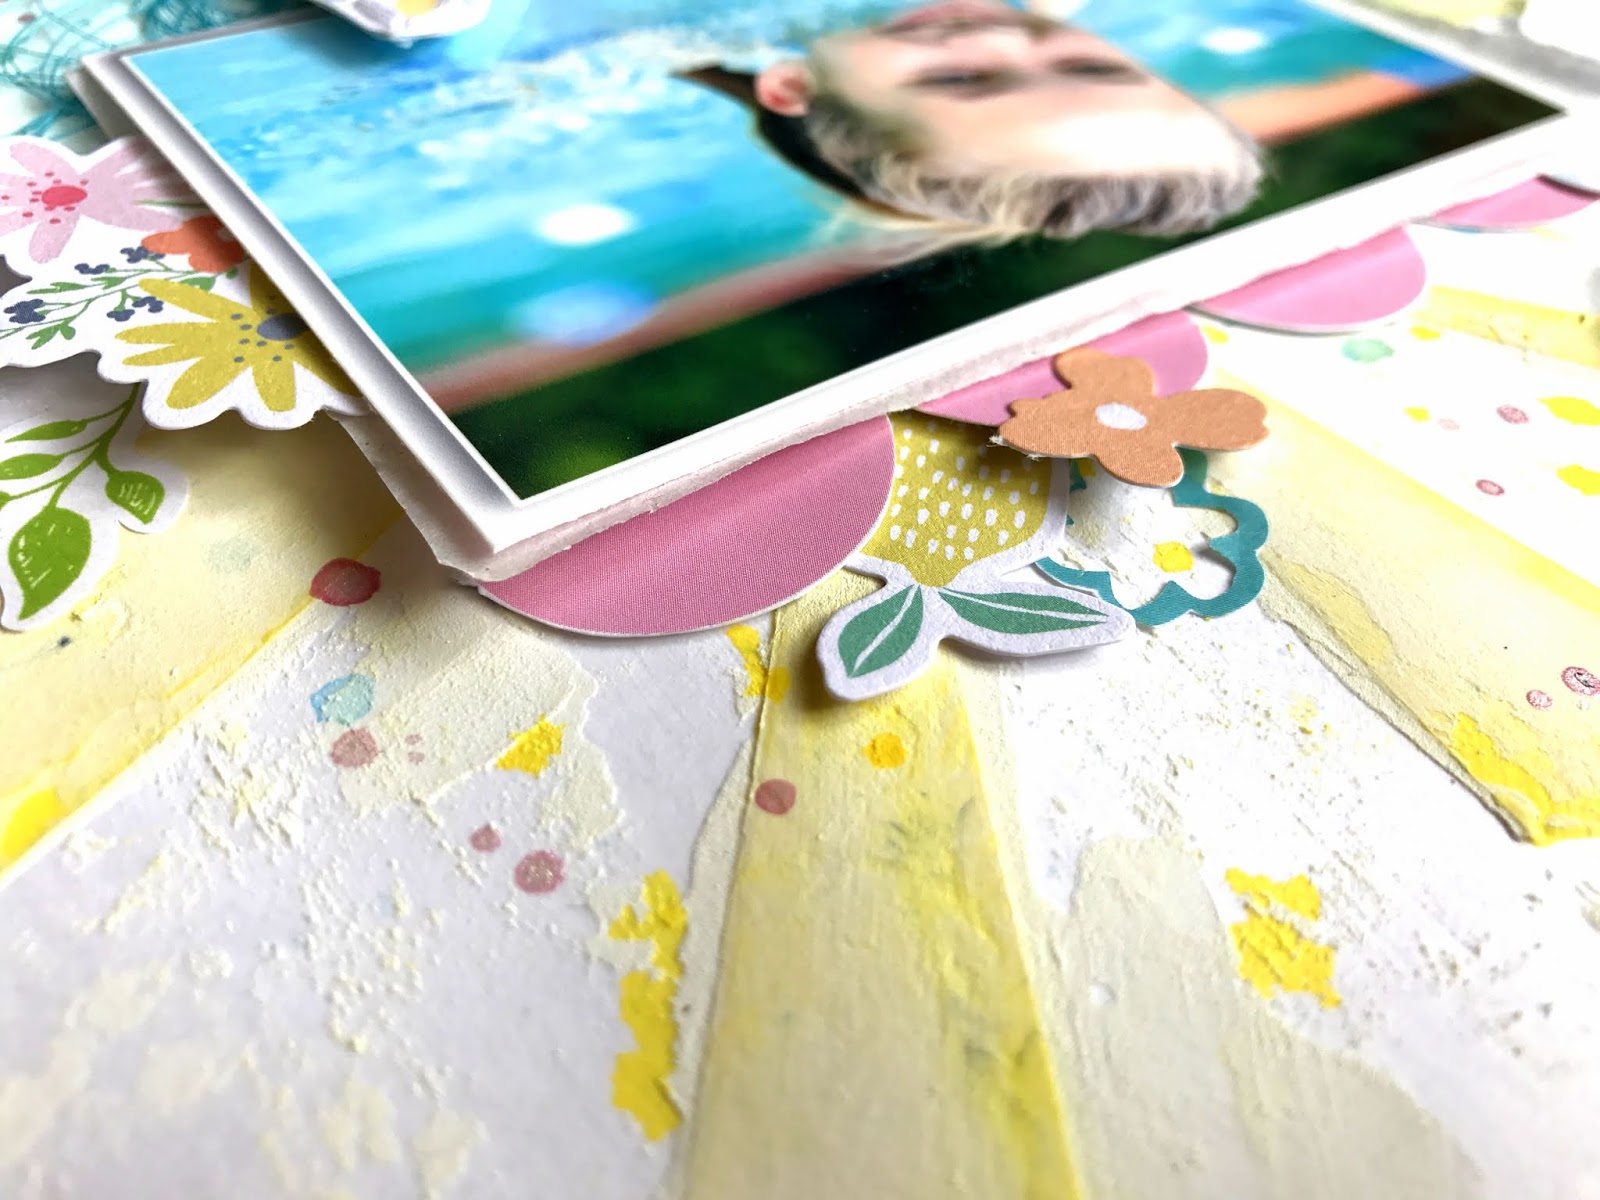
I fussy cut this pink scallop from an exclusive patterned paper and added a bit here at the bottom and another piece above the photo.


Ahhhhh....these colors!  So pretty and summery.


One final close-up of the fun background texture.  I added a few more die cuts here at the top and the outline of a PLS sticker that I cut out for a pop of darker blue.


I hope this gives you some fun ideas to try on your next layout using these kits.  Have fun!!  You can check out my process video here if you'd like to see this page in action:


Thanks for stopping by, and have a great day!


Tuesday, July 24, 2018

Selfie Giggles / Paige Evans DT

Hey, friends!  Happy Tuesday :)  I'm back today with a new layout for the Paige Evans Design Team.  Have you ever used one of Paige’s cut files as a stencil? That’s what I did on this layout using her Flower cut file. It’s a simple flower, but I duplicated it in several sizes and made a vertical design. I cut it on white cardstock using a Silhouette Cameo and then scraped modeling paste over it. I used a fun multi-colored paper from the Fancy Free 12x12 Paper Pad as my background and faded out a lot of the pattern with white gesso. Once the paste dried, I used some bold ink sprays to add in lots of red, pink, aqua, dark blue, and yellow. These colors match the Pick-Me-Up collection perfectly.


The gesso helped to prep the patterned paper for the paste and liquid sprays. I really love the rich colors and fun texture this created. To add in a bit more dark blue, I machine stitched around the center of each flower. I used color photos to brighten everything up and embellished with Pick-Me-Up Chipboard StickersEphemera Die CutsStickers, and fussy cut bits from the 12x12 Paper Pad. Did you know there are several papers included in it with gold foil? Yes!! My title is subtle on the dark blue area and made with the Pick-Me-Up Mini Thickers.


I fussy cut several flower clusters from one of the Pick-Me-Up 12x12 Paper Pad papers and used them as layers. Here is another floral Chipboard Sticker under the photo. I also tucked some dark blue thread under the flowers for an extra pop of color and texture.


I added in a few more Pick-Me-Up Chipboard Stickers and even a Rub-On. I’m really crushing on this deep reddish pink color! My final touch was some Heidi Swapp Gold Color Shine.


I don't think I could ever get sick of using any embellishments with gold foil.  I love how it shines in the light!  I decided to use the dark blue Mini Thickers here instead of the white.  I think the white would have really stood out too much.  I did wind up tracing around parts of the letters with a gold pen.


Texture and dimension here...I love how it turned out!  My favorite thing about modeling paste is how the color just runs and blends around the shapes.  It really does all the work for you.  And I was able to stitch around the centers with no problems once it was completely dry.


I get a lot of questions about what type of pen I use for journaling.  My black pen is a fine tip Sharpie...nothing too fancy.  I have to be careful and not press too hard when I'm writing over gesso.  I honestly have ruined many of these pens, but I just try and write softly to make them last.


I can't get enough of the rich and deep colors in this collection.  They inspired me to create a fun and rich background to match!


Here are a few more close-ups because I tend to take a lot...haha!


If you want a new idea on stencils, give this fun cut file a try. Paige has so many cut files that would make awesome stencils! I hope this inspires you and gives you some ideas for your next layout.

Be sure to check out my process video to see how I did this...


Thanks for stopping by!


Thursday, July 19, 2018

Summer Scrappin' Series / Chill By The Pool

Hello again, friends!  I'm so excited to be playing along with my wonderfully talented scrappy friend Audrey Yeager and her Summer Scrappin' Series!  She creates 21 days of summer layouts and process videos and has a different designer join her each day.  Today it's me, and I want to thank her for having me! 


I have to say I'm very excited about how my layout turned out!  I've taken so many pictures of my girls at our pool over the years, and that means they have a ton of swim suits.  I've had these pictures printed for a while, and I never really had a good idea about how to scrap them.  Then all out of nowhere, I looked at them the other day and immediately got that light bulb over my head.  I wanted to recreate her swim suit design as my background.  It worked...woo hoo!

Surprisingly, it was easy to make.  I coated the white cardstock with clear gesso first.  Then I used several different shades of blue and green Distress Oxide pads...I just scraped them across the page.  The soften up the stripes, I spritzed the paper with water and then picked the paper up and turned it sideways.  I didn't want the strips to blend completely because I wanted to emphasize the stripes in her suit.  I have a large hibiscus flower stencil, and I placed that over the ink and dabbed white acrylic paint over it.  I LOVE the results!


I wanted something more to layer in behind the photos, so I used the stencil again to trace a smaller hibiscus onto some vellum.  I used a white jelly roll pen, and you can see the tracing detail up close here.  I fussy cut them out and layered them in.  I curled up the edges for some extra dimension and then added in some light pink tangled thread.  I almost didn't add in any pink, but I'm glad I did.


If you haven't played with Distress Oxides yet, you need to!  They are amazing, and they react with water in such a cool way.  They really do all the work for you.  This background looks like it took forever, but it really only took a few minutes.  You can see it in my process video below!


I dug through my older summer stash and pulled out a Simple Stories sticker sheet.  I found this little floral sticker and it was the perfect colors.  The flowers aren't the same, but who cares?  It matched and looked great right there.  I journaled with a gold pen.


More stash here...I pulled out the Pink Paislee Citrus Bliss collection from a few years ago and found several die cuts that matched perfectly.  I created a fun little cluster over on the left.  That "chill" sticker was also the perfect colors...I had to make it work!  It was on the Simple Stories sticker sheet.


These splatters are a combination of the Distress Oxides watered down and some Shimmerz Vibez.  And of course some gold Color Shine!


I mean come on....look at that blue!  I could never get sick of blue...it's definitely my favorite color.  I did wind up adding in a tiny bit of striped patterned paper behind my photos...it's from a Fancy Pants 6x6 Paper Pad.  I think it was from last year at least.


For the title, I mixed and matched.  I stamped "By The" using the Crate Paper Oasis stamps from several months ago.  I dug way back into my Thickers stash and found an unopened pack of Dear Lizzy pink foam alpahs....again, the perfect pink color.


I really love how this turned out...I hope you are inspired!  Please check out Audrey's YouTube channel.  She has a lot of videos that are just so incredible, and she comes up with the greatest design ideas.  Here's my video:


Thanks so much for stopping by!  Have a great day, my friends :)

Wednesday, July 18, 2018

Happy Little Life / Using Older Supplies

Hello again, friends!  I'm back with another stash layout today.  I actually started this page about two months ago and never finished it.  I finally did...go me!  I pulled out the Dear Lizzy Day Dreamer and American Crafts 5th and Frolic collections from several years ago.  I hoard all the pretty things, so I had quite a bit of the papers left over.  This layout took some twists and turns, but I like how it turned out.

I actually started with a cut file from Make Paper Art.  I cut it out on white cardstock and then used it as a stencil.  I scraped modeling paste over it to create a fun textured background.  A lot of it wound up getting covered up, but that's okay.  Changes happen, right?!  I used a lot of blue, pink and yellow Shimmerz sprays as well as some Distress Oxides over the paste to create a lot of messy color.  I also did a lot of fussy cutting from paper...lots and lots of flowers!


You can see some of the modeling paste shapes here, and I love how it looks with the ink sprays over it.  I did lots of machine stitching for added color and texture.  I basically just layered in all the flowers I cut out.  I took a chance combining so many different styles of flowers, but in the end I like how they look together.


I tucked in a few colors of tangled thread as well in several places.  Here you can see the zig zag stitching I did up the side.  I also added in some matching sequins from SpeigelMom Scraps.


I even fussy cut the title out of paper.  I wanted to use as much paper as I could, so these letters worked perfectly.


I wanted to keep my journaling light, so instead of using a black pen, I used a metallic silver pen.


I love how the blues turned out on the background.  I started with Shimmerz Chance of Rain and then added in a few blue Distress Oxides to create some variation.


Since the original cut file design was circular, I stitched along those shapes.


One more close-up of the all the beautiful flowers :)


I hope this inspires you pull out some of your older (((hoarded))) stash and use some of it!  It's like going shopping on your shelves and finding brand new stuff again...haha.  Look for fussy cutting opportunities, and you can get some really fun looks.

Here's my video showing how this was made if you're interested:


Thanks for stopping by, and have a wonderful day!