Tuesday, April 17, 2018

Sense of Humor Required / Hip Kit Club

Happy Tuesday, friends!  I have a new layout to share for Hip Kit Club featuring the 2018 April Hip Kits. This week we are using the April Moodboard as inspiration.  DT member Jill Sprott designed it, and it's amazing!  I was inspired by the bright colors, the wonky scallops and the messy stitching.


I love how my page turned out!  It took several twists and turns along the way.  I used lots of the patterned papers from the Main Kit and a few Cardstock sheets to create some layered scalloped borders.  I just hand cut them and made them different lengths and widths.  I wound up trimming them down to create a smaller frame for my photo.  Since my photo is documenting a crazy fun restaurant experience, I wanted the page to be a bit wild and crazy :D


I used clear gesso on my white cardstock background first and then used several Distress Oxides to create some messy color.  The Abandoned Coral and Squeezed Lemonade come in this month's Color Kit.  I also used a few colors from past Color Kits.  I went over all that color with some white gesso to tone it down a bit since I had so much color going on with the papers.  I machine stitched through the frame to add some texture and then tucked some colored thread under it.  Next came all the embellishing.


Down below the frame, I decided to go even more rainbow and added a lot of colorful machine stitching.  I added the title on top of it.  I decided to paint the white exclusive alphas from the Main Kit with some black acrylic paint.  I used some of the Shimelle glitter enamel dots to finish that area off.


Here you can see how cool the Distress Oxides look.  I fussy cut this camera from one of the Paige Evans Pick-Me-Up papers and added a few of the die cuts from the same collection.  I also used a few Pinkfresh Studio puffy stickers.


I jazzed up the left side of the page by tearing a strip of the cardstock off and attaching a piece of the black and white Dear Lizzy paper behind it.  I smudged some white gesso over it to tone down some of the black spots.  I used some of the leftover frames from the beginning and tucked them in.  I hadn't even planned on doing this, but it just happened, and I love how it looks!


I used a few of the Shimelle alphas here and a Pinkfresh Studio Chipboard Sticker.


Here's one last close-up of the layers.  I used a few Project Life cards behind my photos to add a few pops of color.


I hope this inspires you to use our moodboard for your next project.  It's so fun and you can interpret it in so many ways!  I hope you'll check out my process video here to see how I put all this together.


Thanks for stopping by, and have a great day!


Thursday, April 12, 2018

Lovely / Shimmerz Education Team

Hello, friends!  I'm back today to share a layout for the Shimmerz Education Team created with lots of different Shimmerz products...woo hoo!  I love starting out with plain white cardstock and making a page from scratch.  I began by pulling out some Shimmerz sprays that I don't use very often or haven't used in a while.  I wanted to make them work together.

I coated my textured white cardstock with clear gesso first while it was stuck to my Cameo cutting mat.  I knew I wanted to cut shapes out of it, and this would help it stay smooth.  I basically just sprayed, splattered and used plastic packaging to cover the entire paper with color.  I used Coloringz Moody Mauve, Mama Sings the Blues & Well Blue Me Down, and Vibez Pink Moscato & Mustard Seed to begin with.  I love how the color scheme turned out.  Next I added in some Shimmerz Peacock's Plume & Christmas Cheer as well as Creameez 1 Hot Mama.  After everything dried, I cut out the Simple Flower Background cut file by Paige Evans.  I wound up using both the positive and negative cuts because everything turned out so pretty!


Here you can see the beautiful shimmer and shine from all the sprays and paints.  I just kind of dropped a pile of the flowers onto the paper and glued them down as they landed.  I love how all the overlapping creates such awesome texture and depth.  I also added in a few sequins from SpiegelMom Scraps.


No matter how many times I used Shimmerz, I am in awe every time of how pretty the sparkle and shine is!


I used bits and pieces from last year's Pink Paislee Summer Lights collection.  The colors matched my Shimmerz choices perfectly.  I layered in some golden yellow thread here as well as some beautiful metallic thread sent to me by a great scrappy friend :)  I also did some background machine stitching using white thread.


I love how the stitching creates such subtle yet interesting detail.  I used a sparkly puffy sticker from the Pink Paislee Citrus Bliss collection for my title.


I fussy cut the heart from patterned paper and overlapped it onto the photo with a few of the flowers peeking out from around it.  I topped it off with more sequins.  I added my journaling down at the bottom using a metallic silver pen.  One of the last things I did was splatter some Concrete Shimmeringz over everything.


Here's another shot of the pretty sparkles.  Seriously just so pretty :)


I added a bit of Paste-eez Puttin' on the Glitz to a few of the flowers just using my fingers to smudge it on.  It dries clear but very glittery.  I added a chipboard camera and a sun sticker over to the left of the page.  I love how it looks layered behind some of the flowers.


One last close-up of all the sparkle!  Here you can see where I added the Paste-eez.  So awesome!


I hope this inspires you to pull out some white cardstock and use some Shimmerz to create your own color scheme and design.  You can create so many embellishments using a die cut machine or punches.  This was lots of fun to make...I hope you enjoyed it!

Here's my process video if you'd like to check it out:


Thanks for stopping in!


Supplies Used:
Creameez--1 Hot Mama
Shimmeringz--Concrete


Wednesday, April 11, 2018

Sweet Summer / Hip Kit Club

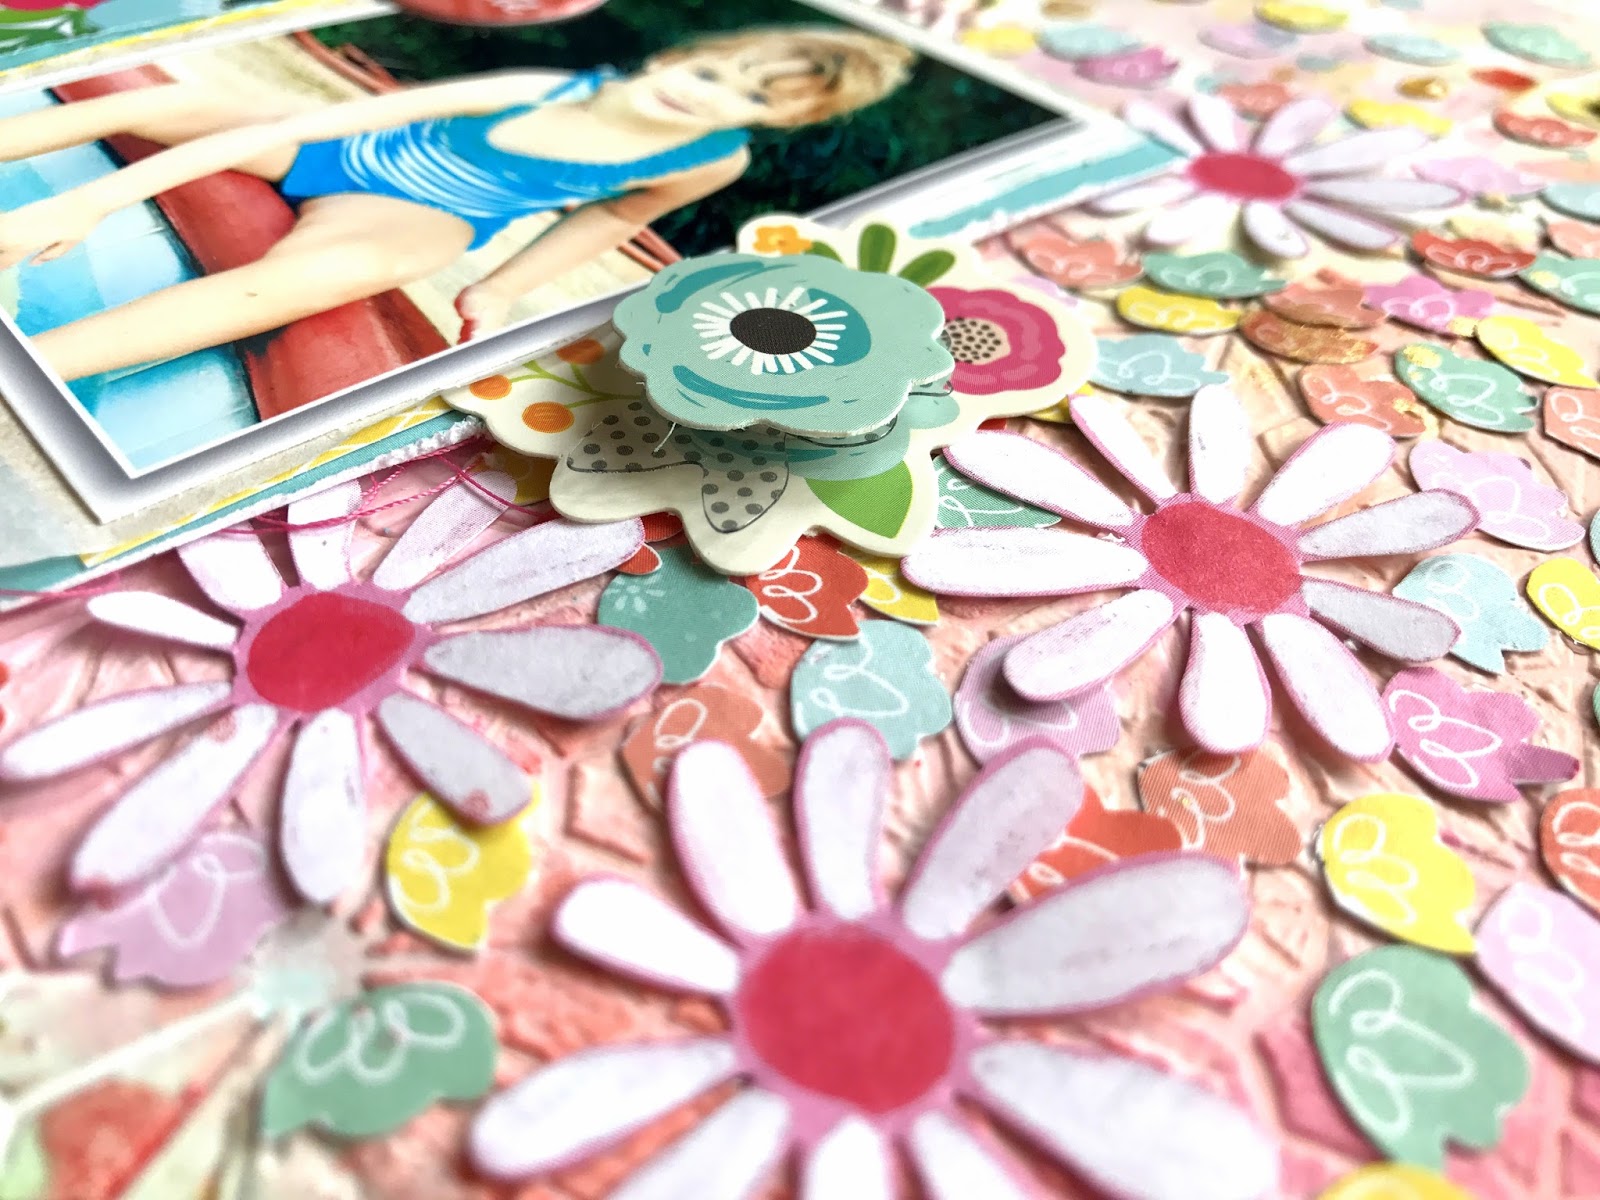
Happy Wednesday, friends!  I have a new layout to share for Hip Kit Club.  I got the 2018 April Hip Kits this weekend…woo hoo!  I had to start creating with them right away.  I was in the mood to fussy cut something, and as soon as I saw the beautiful Dear Lizzy Flower Child paper in the Main Kit I knew I had to use those tiny flowers.  I took some time to cut all of them out.  I wanted to create a burst of flowers on my page, and I love how it turned out.  I tore the Dear Lizzy Sweetness paper in half and used it on the background as well.  I used a lot of white gesso first and then added some modeling paste through the stencil from the Color Kit.  I added color over that using the Squeezed Lemonade and Abandoned Coral Distress Oxides from the Color Kit as well as a few other colors from previous Color Kits.


I also fussy cut some flowers from the Dear Lizzy Let’s Boogie paper to scatter around the design.  I added a Pebbles dimensional flower sticker here beside the photo.


The alphas this month are just gorgeous!  They are both exclusive to the kits this month.  The white alphas are in the Main Kit, and the ombre alphas are in the Embellishment Kit.  I embellished here with one of the exclusive floral puffy stickers, a metallic gold puffy leaf, and another puffy sticker from Pinkfresh Studio.


These exclusive florals are simply beautiful this month…I just love them, and they’re perfect for Spring or Summer pages!


I love the texture you can create using the stencil.  I used it to add some interest to my background here under all the flowers.


Although this did take a lot of time to do, I love how all the flowers look all clustered together like this.  This is just one way you can use a patterned paper in a unique way.  You don’t always have to just use it “as is.”  Look at the shapes and don’t be afraid to cut something out.


Here’s one more close-up just because the colors are so pretty :)


I hope this inspires you to fussy cut some shapes from your patterned papers.  I hope you love the 2018 April Kits as much as I do.  They are so much fun to play with!  I have a process video here if you’d like to check it out:


Thanks for stopping in, and I'll see you soon with another project!


Tuesday, April 10, 2018

Happy Always / Paige Evans DT

Hello again, friends! I have a new layout to share for the Paige Evans Design Team featuring one of Paige’s FREE cut files - I used Freebie #3 which is a beautiful cluster flowers. I used mostly the Pick-Me-Up collection, but there are papers from Turn the PageOh My Heart, and Take Me Away as well. That’s the fun thing about backing cut files like this… you can mix and match lots of papers. I cut the flower cluster three times using my Silhouette Cameo to create three clusters for my design. I a photo for each cluster and embellished with some Pick-Me-Up StickersChipboard Stickers, and Ephemera Die Cuts.


It does take some time to back intricate cut files like this, but it’s always a beautiful result. I added some colored thread behind the clusters to add a bit more color and texture. I fussy cut a few frames from Pick-Me-Up Paper 19 to add as a layer behind each photo.


I used half of Pick-Me-Up Paper 23 in the center of the layout. I smudged some white gesso over parts of it to “dirty” it up a bit and so I could add some inks. I used various ink sprays on the background to match the colors in the flowers. I also added some white and gold splatters with Heidi Swapp Gold Color Shine. I machine stitched down the edges of the center paper with white thread for a bit more interest and texture.


I used a few of the Pick-Me-Up Stickers for my title. I love when you don’t have to think too hard to come up with a title - the stickers do all the work! I also machine stitched through them with gold thread. I used a flower cluster from the Pick-Me-Up Ephemera Die Cuts as well.


Here are a few more detailed close-ups of all the pretty things :)


This was a lot of fun to put together. Using a cut file like this really helps your design come together quicker because they take up a lot of space - you only have a little area left for your photos to go. The rest is just embellishing to your liking! I hope this inspires you in some way!  Be sure to check out my process video below:


Thanks for stopping by, and have a wonderful day!

Saturday, April 7, 2018

You Are My Sunshine / Bramble Fox Guest Designer

Happy Weekend, friends!  I'm back today to share a layout I created for Bramble Fox as a Guest Designer this month.  This is a UK based store, and they have a ton of adorable products for scrapbooking.  They sent me some really cute acrylic pieces, and I used some of them on this page.  Thank you to Julie for having me!

I started this page with a summer theme in mind, and I used one of Paige Evans new cut files called Sunburst.  Before taking the cardstock of my cutting mat, I colored it with a lot of light blue acrylic paint and white gesso.  I started by smudging it down with a palette knife. I wanted to create a sky.  I used my ink foam blending tool and some white acrylic paint to create some clouds.  I used another sheet of white cardstock behind this and spritzed it with some yellow golden Shimmerz sprays to make the sun stand out.  At first I only wanted to use the top half of the design, so I tore it.  Later I changed my mind and decided to use the whole thing...but I just went with the big tear.  Gives it more texture :)


I used this cute piece as my title.  I love the dimension on these!  To create the rest of the page, I used papers and pieces from some older summer lines:  Fancy Pants Hello Sunshine and Pebbles Sunshiny Day.  I love how tropical this turned out.


I added a few papers behind the photo as well as some adhesive foam and tissue paper.  This made it easy to tuck in flowers and leaves die cuts.  These clouds were perfect for this, and they are so easy to use.  I did a bit of gold stitching around the inside of the sun for added shine and texture.


Here's another shot of all the dimension and detail.  I love how the background turned out.  I did add lots of splatters using my favorite Shimmerz, Jeni B Bleu.  I also added a few more die cuts to the left of the title piece.


I love this little flamingo!  It looks like he's peeking around the corner at the photo :)  I added some tangled thread and a few more flower stickers under the photo as well as a "relax" sticker from a Simple Stories sticker sheet.


Here are a few more detailed close ups because I always take too many :)


I hope this inspires you in some way!   Be sure to check out all the fun goodies at Bramble Fox.  They have an amazing design team who create some really gorgeous projects.  Follow them on Instagram to see them all.

I have a process video here if you'd like to see how I created this:


Thanks so much for stopping by, and have a wonderful weekend!

Tuesday, April 3, 2018

When Life Gives You Lemons / Hip Kit Club

Happy Tuesday, friends!  I have a new layout to share today for Hip Kit Club.  I used the beautiful 2018 March Hip Kits.  I scrapped more of a serious photo for this page.  As soon as I saw the Crate Paper sheet with lemons, I knew what I wanted to do with it.  I usually scrap happy photos of my girls laughing and having a good time.  Not all moments are like that around here, though.  With both girls being autistic and nonverbal, we have quite a few frustrating and serious moments.  On this day, Reese was just in a sad mood.  She couldn't tell me why, and she just wasn't in the mood to smile at all.  I took photos of her anyway.  I look at this and see her true beauty as well as her frustration.  While she does laugh and smile a lot, she's not like that all the time.

I began this page by tearing a few of the papers to place at the top of the design.  I used smooth white cardstock as my base.  I mixed some of the Vicki Boutin Watercolors on the background.  I mixed the pink with some white gesso and at first it was way too bright.  I mixed in a few more colors and added even more white gesso to get this soft pink.  I used a few of the yellows to add the yellow splatters and then used a bit of gold Color Shine.


I knew right away this was going to be my title.  I mixed and matched some of the Thickers with the Maggie Holmes alpha stickers here.  I love how it turned out!  I used some Crate Paper die cuts and stickers as well some Simple Stories chipboard stickers behind and around the photo.


I used one of the beautiful Jen Hadfield acetate butterflies here on the left.  To add a pop of yellow, I tucked in some tangled thread.  That's a Simple Stories flower chipboard sticker, and I also tucked in one of the Jen Hadfield leaf safety pins under the photo.


These beautiful Thickers are metallic rose gold...so pretty.  My journaling fit perfectly under the title, and I created a little cluster under it.  I combined a lemon sticker, a Pinkfresh Studio fabric die cut and another Simple Stories chipboard sticker.


I never thought I'd use this cute little deer from the Maggie Holmes Flourish die cuts, but I love how it looked peeking out from behind the photo.  It was just too cute not to use!


I created a little cluster of flowers for the deer to peer around.  And it looks like he's standing on the word "when"...haha!


Here are a few more close-ups of the title area.


I hope this inspires you to create something that might not be the happiest moment.  Those moments are important to document, too.  I had a great time making this, even though it's not a "happy" photo.  The process still made me happy :)

Here's my process video if you'd like to check it out:


Thank you for stopping by, and have a wonderful day :)