

I did even more mixing and matching for my title. I used some of the Take Me Away Thickers for half of it and the Turn the Page Thickers for the other half. I curved the title to fit the cut file. I also added a smaller subtitle over on the left side. I used the “today” sticker from the Turn the Page Sticker Book, stuck it to some vellum, and fussy cut it out.

I love how versatile this cut file is. Usually I back all the open spots with patterned papers, but I decided to leave all the spots open. I wanted the background to show through. I added some shiny gold here with some machine stitching. The background gold really shines and it’s a perfect complement to the gorgeous flowers. The fussy cutting was well worth it!

The best part about combining collections is coming up with your own color scheme. I love the hot pink added in this mix. Here you can see the clear sticker from the Turn the Page Sticker Book. I attached it to some vellum first and then fussy cut it out.

I pulled out the Oh My Heart Chipboard Stickers and found a yellow one that matched perfectly. I added in some of the Turn the Page Ribbon through the hole to finish it off.

I wanted to cluster some of the flowers on top of the photo so I did that in a few places. I added one of the Turn the Page Pennant Paper Clips to the corner edge here and layered a flower on top of it.
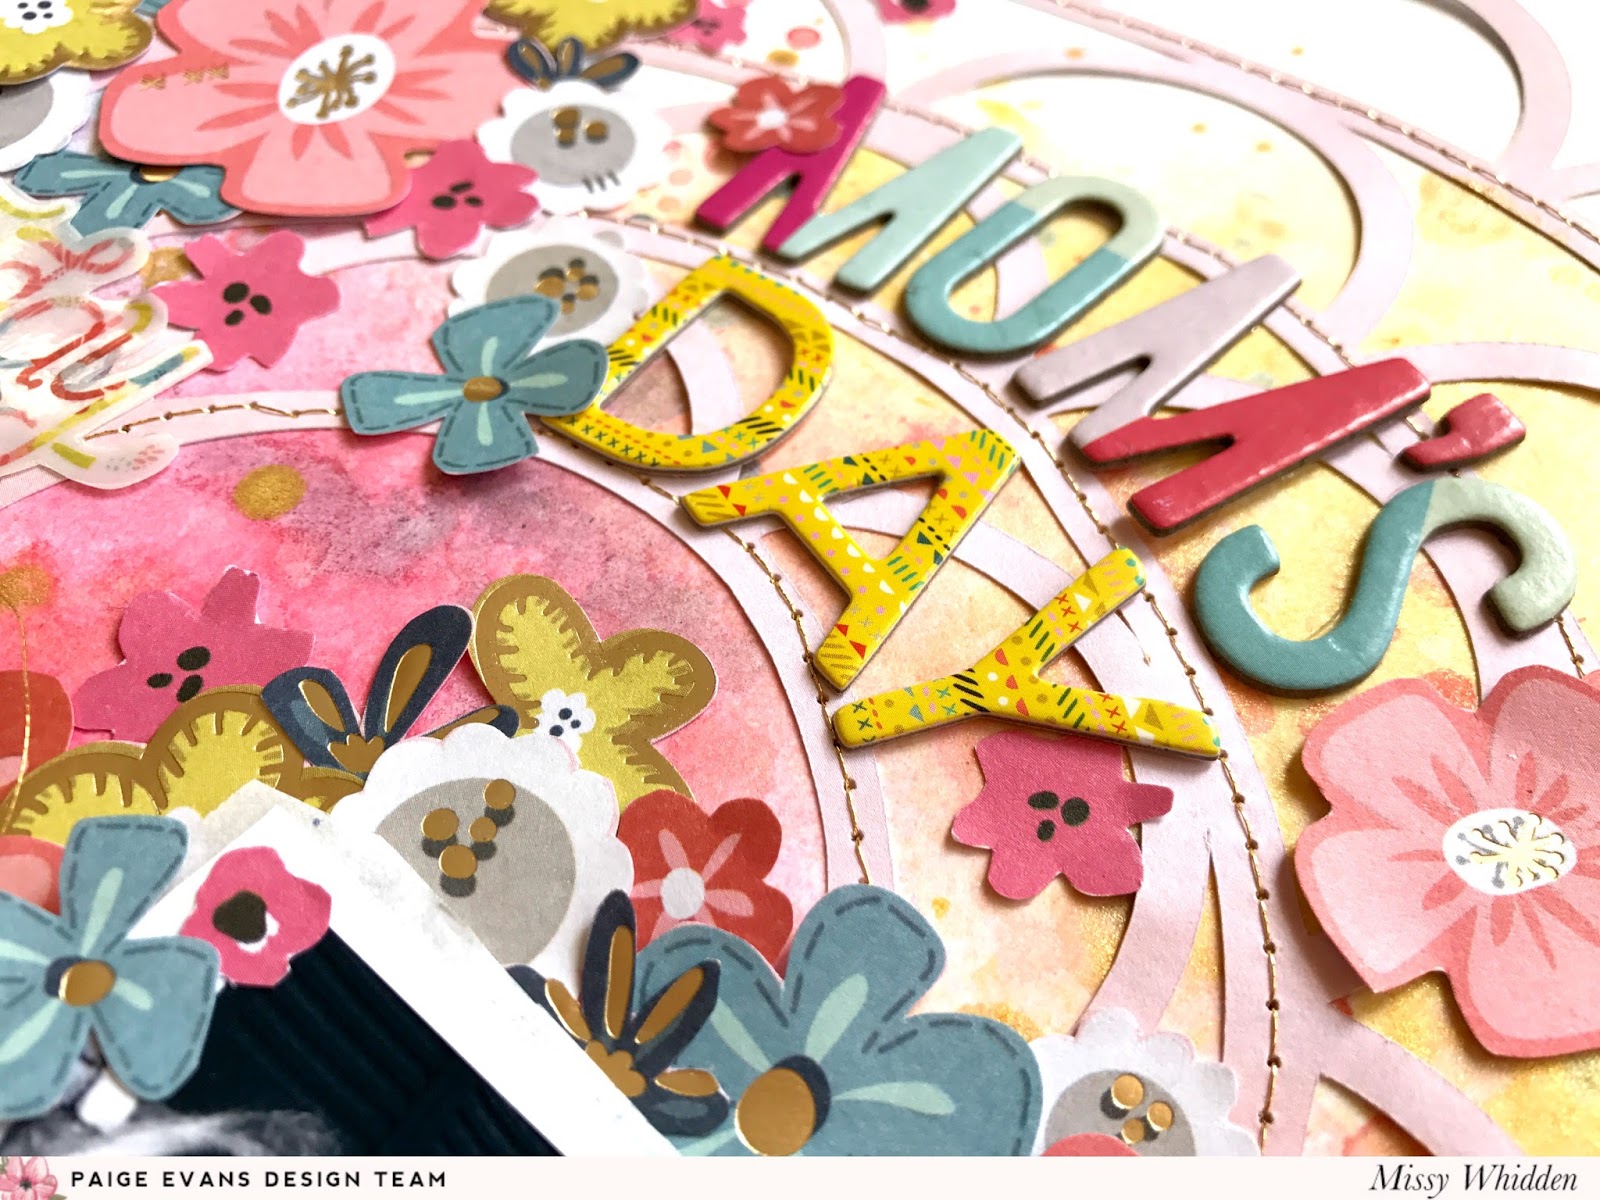
Here's one last close-up of the beautiful cut file. I am just in awe of how pretty it looks mixed with the gold on the background as well as all those colorful blooms!

This was so much fun to create! I highly recommend checking out Paige’s Silhouette cut files. They are really awesome and give you so many possibilities to create with! Be sure to check out my process video here:
Thanks so much for stopping by!

Oh my goodness I just cut out this same scalloped cut file just 2 days ago!!!! I can't wait to use it now <3
ReplyDeleteHi Missy. I adore how you build your backgrounds up. Love love love them.
ReplyDelete