Thursday, October 20, 2022

So Happy / Paige Evans DT

Hey friends!  I'm here with a new layout for the Paige Evans Design Team featuring Paige’s beautiful Garden Shoppe collection. I wanted to use some of the patterned papers so I chose Paper 5Paper 19, and Paper 21. I tore big chunks and layered them together to get my background started. I machine stitched over them on a sheet of thick white cardstock and then smudged a lot of white gesso to create a soft, hazy, and weathered effect. I splattered white acrylic paint and applied gesso to the cardstock around the edges of the papers. I used green and yellow Shimmerz to create a watercolor effect in a few areas and also used pink, blue, and gold to add splatters. I went wild with daisies on this page and fussy cut several from Paper 7 and the 6x8 Paper Pad.
 
The daisies bring out the yellow in the chevron paper and I scattered them around the page and around the photo. I popped a lot of them up with adhesive foam to create depth. I used a Foam Phrase Sticker for the title and then used Cardstock Stickers as well as a few sentiment pieces that I cut from the 6x8 Paper Pad. Those are perfect for small details. I used yellow thread here to give a bit of texture and you can also see the machine stitching. I used a small journaling sticker from the 8-Page Sticker Book for my journaling.
I've been calling these daisies, but they might be sunflowers?  LOL I need to brush up on my flower names :D  I just love these torn edges and all the mixed media.  It's so much fun to get messy and create lots of texture.
I used a few papers from the 6x8 Paper Pad to layer behind the photo as well as some white tissue paper. This Foam Phrase Sticker has beautiful copper foiling and I used white gesso to make it a little more matte. I did the same with the small heart. Gesso works great for toning down colors or shiny bits!
I love how this yellow paint is pretty subtle (for me LOL).  I like showing that you CAN do mixed media in a small, controlled fashion.  It doesn't have to cover the whole page and cover every inch of the background.  I think it's good to leave some plain white space.  It gives the eye a place to rest against all the color everywhere else.
More layers here with papers, stickers, stitching and threads.

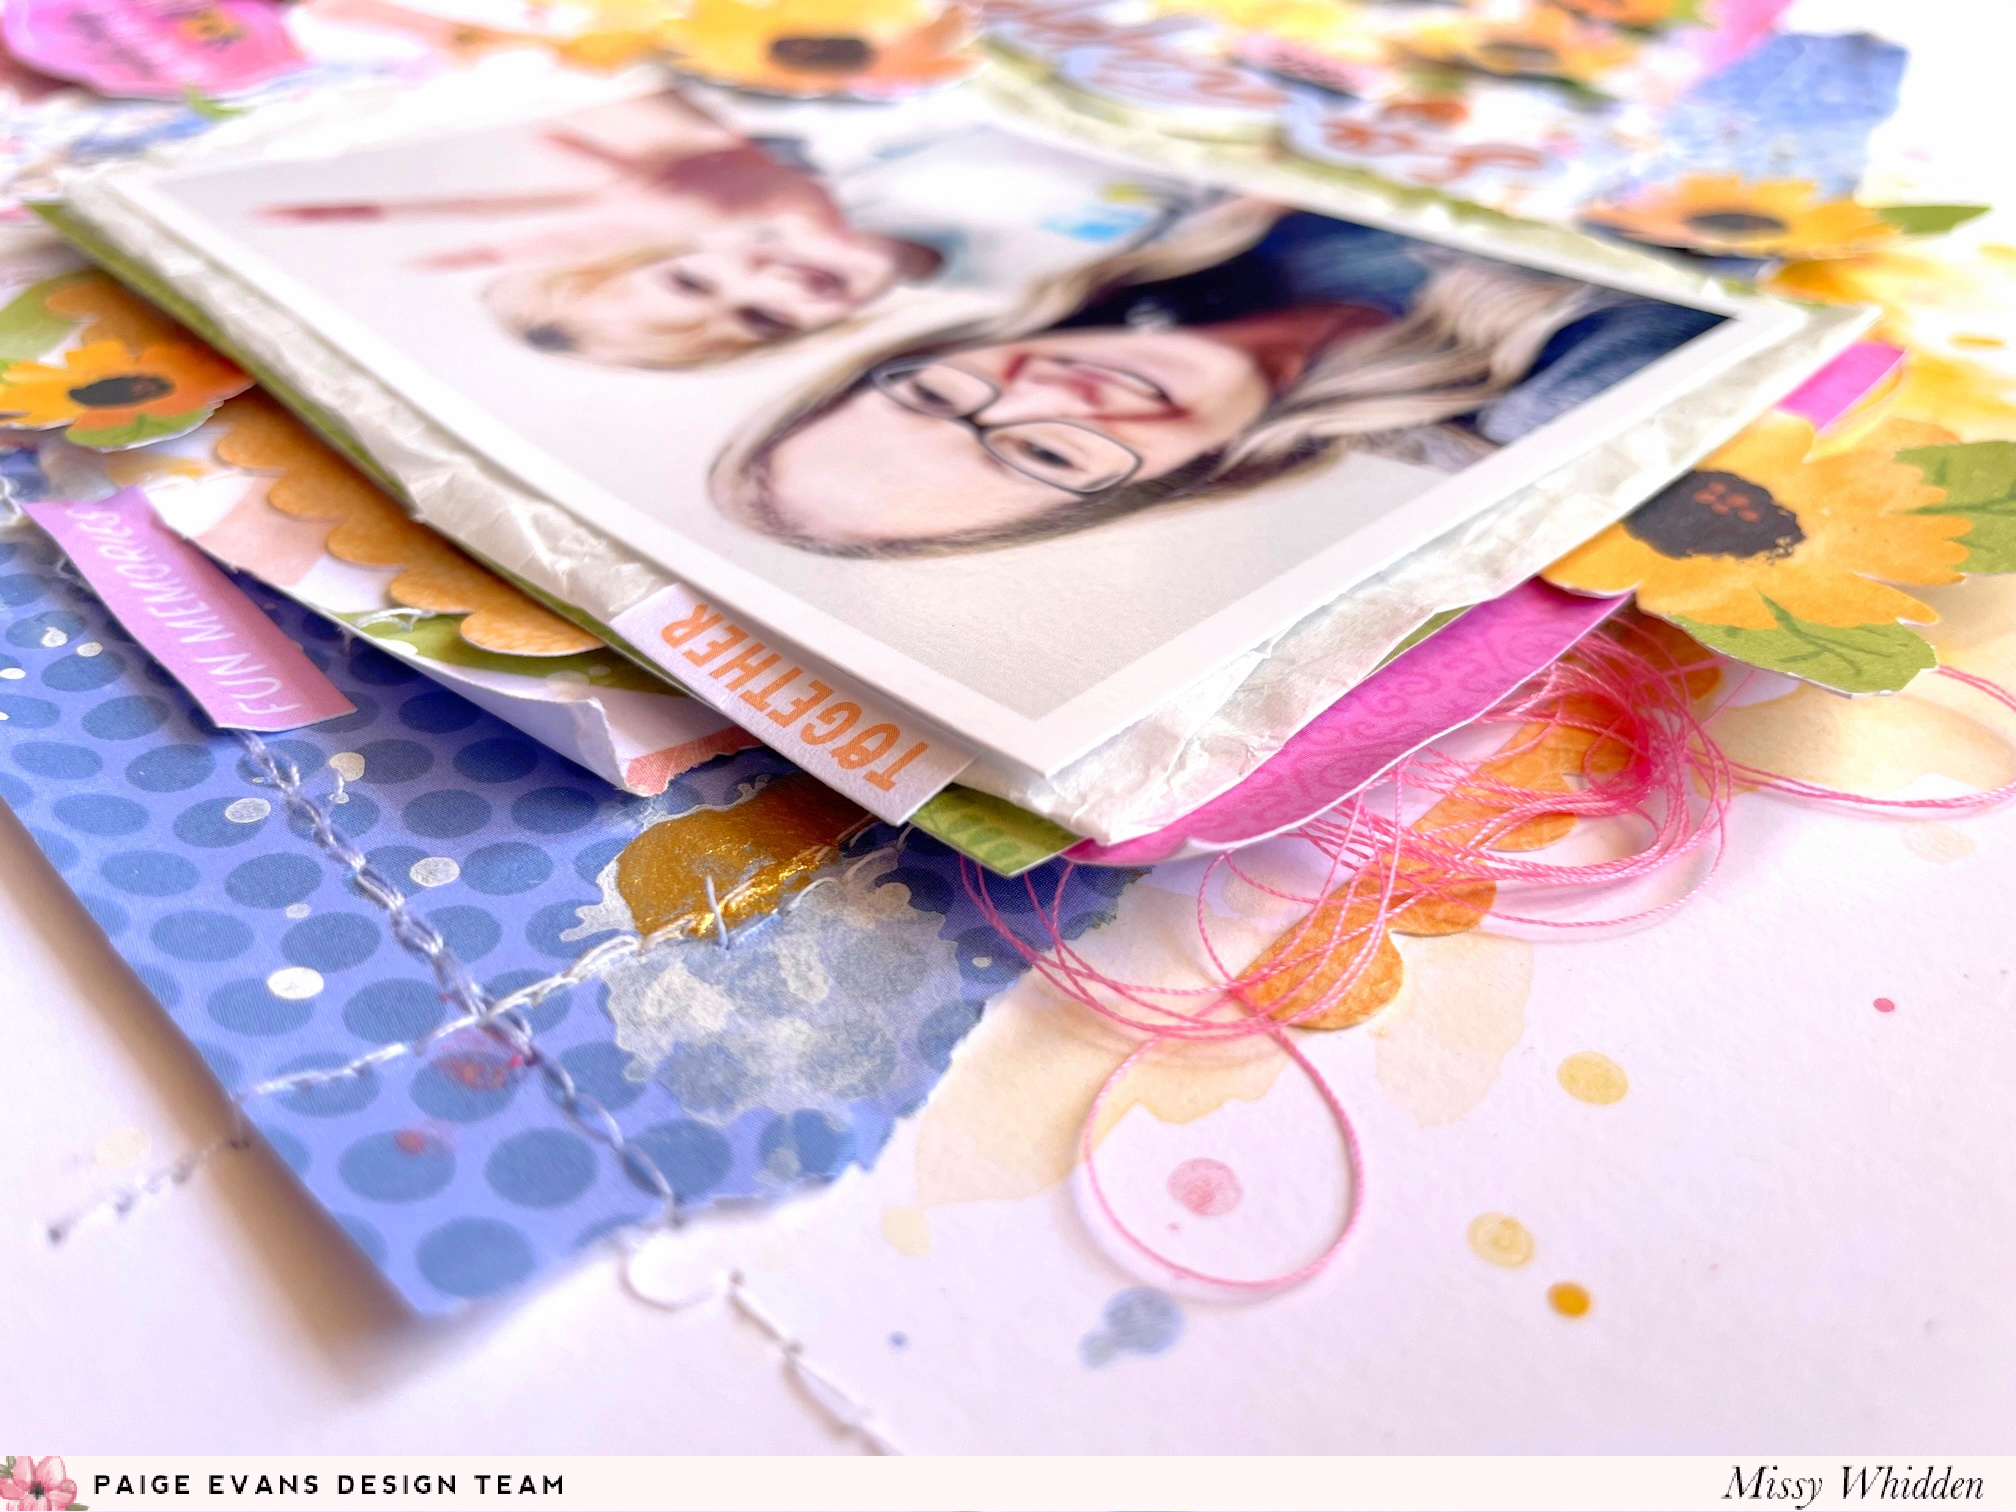
It was really simple to curl up the edges of the papers and make it look textured. Here you can see how I layered the flowers on and under the photo. This is easy to do if you leave some unglued areas around the edges of the paper layers. The flowers and leaves easily slide in and it instantly creates that fun shadow effect and makes things just pop off the page. In the upper right area I used an Ephemera Die Cut and more daisy flowers to make a small cluster.
ii
ii
ii

I hope this inspires you in some way today.  I discuss this process in my video and talk about what I do when I struggle to come up with a design idea.  They don't always come easy, and sometimes you just have to dig in and start moving things around until an idea pops into your head!

Here's my process video.  Thanks for watching, and have a great day!


Tuesday, October 4, 2022

Happiness Here / Paige Evans DT

Hey friends! I'm here today with a new layout for the Paige Evans Design Team featuring Paige’s gorgeous Garden Shoppe collection. It's my first page using this line, and it's incredible!  There are so many beautiful papers to choose from and I chose Paper 3 to use as my background. Those rainbow polka dots are just stunning! I chose a close-up photo of my daughter and used a large circle punch to match the background shapes. I came in with white  and faded out the pattern around the photo. Once that dried, I used matching colors of Shimmerz Paints to create a watercolor effect. I also added splatters using all the colors as well as splatters with white acrylic paint. Fading out busy patterns around the photo enhances the photo and helps to separate it from everything else going on around it.


I used several flowers from the Floral Die Cuts as well as a few that I fussy cut from the 6x8 Paper Pad. I added those in the matching color areas. I used various leaves from the 8-Page Sticker Book and Foam Phrase Stickers here. There are lots of different styles of leaves in this collection and the colors are just beautiful. Behind the photo I layered a few papers from the 6x8 Paper Pad as well as adhesive foam. I tucked in coordinating threads for added texture.
 
I repeated that same idea here at the bottom with blue flowers, leaves, and thread. I created a title cluster on the bottom area here using a Foam Phrase Sticker and a few phrases I fussy cut from Paper 23. This paper is filled with title possibilities! I added a few fussy cut flowers and then wrote a bit of journaling on a little label sticker from the 8-Page Sticker Book.
I just love what gesso can do.  It's perfect for softening up colors & patterns.  It creates wonderful "haze."  It creates a white space for paints or sprays.  It helps the photo to stand out.  It makes awesome texture.  So many benefits!  I love how this layered area turned out.  So much fun shadowing and depth.
Do you like to bend the edges of paper up?  I love doing that with flowers, leaves and butterflies.  But it also works great for little title pieces like this.  Just crinkling up the edges can give such a fun effect.  I kept my journaling pretty small on this page--I just didn't want to write it directly on the background.
More detailed images here :)

I love the small copper detailing on many of the stickers in the collection.  It looks so cool in the light!


Here is the pink area. Once again, I created a cluster using flowers, leaves, and thread. Some of the leaves I used are from the Cardstock Stickers. Layering is such an awesome technique - it creates such wonderful dimension and instantly just makes the page come to life. Here you can also see the differences in the types of stickers. The clear stickers from the 8-Page Sticker Book are see through so some of these I stuck directly to the background and others I stuck to white cardstock first and then cut them out - it just depends on how they look when they have another color behind them.


I hope you are inspired in some way today! Garden Shoppe is so colorful and pretty and even though it has a lot of fall elements included, there are even more everyday bits and pieces that will work for any type of layout you’re in the mood for. I can’t wait to see what you all make with this! 


Here is my process video:


Have a wonderful day and thanks for stopping by!


Thursday, September 15, 2022

Beach Sunshine / Paige Evans DT

Hey friends!  I'm back today with a new layout for the Paige Evans Design Team featuring Paige’s beautiful Splendid collection. I have been eyeing the gorgeous floral wreath on Paper 19 so I finally decided to create a design with it. I fussy cut it and cut it in half. I wanted to arrange it in a different way, so I ran it off the page on both sides. I had the perfect photo to match those bright flowers which I nestled in on the right side. I used thick white cardstock for the base and I coated it with clear gesso. I used blue Distress Oxides and blue Shimmerz spray to create a soft blue watercolor area behind the wreath. I also used Paige’s Leaf Wreath Cut File which I cut from white cardstock to use for leafy details behind the wreath.
Once I had the wreath parts placed where I wanted them, I added the watercolor. I added adhesive foam behind the wreath to pop it off the page. I cut apart the Leaf Wreath Cut File and tucked in a few bits around the page. I love the subtle detail of the white against the white background. I touched up some of the flowers with the colorful adhesive dots in the Sequins & Enamel Shapes pack. It’s easy to create dimension with flowers & leaves because you can just bend up the edges.
 
I coudn't resist adding in some gold splatters :)  I also used my metallic gold pen for the journaling.
I love how versatile Paige's cut files are - they can be the main design element on the layout or they can be a soft background element. And like I did here, you don’t have to use it as it comes. After I peeled it from the mat, I snipped it into bits and fit them where I wanted them to go around the wreath. It was the perfect thing to layer with and it added just the detail I was looking for. 
I added a large Floral Die Cut here on the right side of the photo and tucked in a bit of blue thread. I created a little flower cluster as well with a few bits from the 8-Page Sticker Book. For the pink and yellow layers behind the photo, I used Washi Tape. So many uses for those! I made the title with the mini foam Thickers, a piece from the 8-Page Sticker Book, and added Epoxy Stickers and Cardstock Stickers. To finish the page off, I splattered gold glitter spray.
Here some extra close-up shots. I always take a ton!
Using Distress Oxides are so easy for a background like this.  Because of the gesso, I could easily scrape the ink pad right onto the paper, add some water and then move the color around.  You can't mess it up :)
I smudged a little bit of white gesso over this "sunshine" sticker to tone down the shiny gold.  It's still shiny, but it just takes out some of the brassiness.


I hope this has given you some ideas to try on your next layout! This layout was really easy to make thanks to Paper 19. Fussy cutting isn’t hard if you’re willing to take the time do it. I think it’s always worth it, especially when it’s a gorgeous floral wreath like this!  

Here's my proces video with all the details:


Thanks so much for stopping by, and have a great day!

Monday, August 29, 2022

Life With Paige / Paige Evans DT

Hey friends!  I'm here with a new layout for the Paige Evans Design Team featuring Paige’s Splendid collection. I began this page with the Acrylic Stamps to create a watercolor background. I used the large flower stamp with Distress Oxides on thick white cardstock. I coated the cardstock with clear gesso first and after stamping the flowers, I used a brush and water to smudge some of the color around. I love the “left out in the rain” effect. The flowers run and blend but they’re still visible in areas. I also used a few Shimmerz sprays to add a bit more color in a few areas, but not enough to cover up the flower shapes. I cut strips from Paper 19 and created layers. I arranged my three black & white photos and then started embellishing with lots of flowers and stickers.
This stamping technique is a lot of fun. It still gives you the stamped image, but the water makes the edges blend and run. The key to this working so nicely is using the gesso first and then stamping with Distress Oxides. I used lots of flowers from the Cardstock StickersFloral Die Cuts, and Layered Bouquet Stickers. I used a few stickers from the 8-Page Sticker Book and I fussy cut a few blue leaf stems from patterned paper. I also tucked in a Chipboard Sticker and blue and yellow thread. So much fun dimension and texture!
I love these colors in the papers here. I always love a dark blue mixed with orange and pink. Here I layered in half of a pink label sticker from the 8-Page Sticker Book. I also used a piece for layering from a 2x2 Paper Pad. My favorite part here is the yellow Heart Paper Clip - those are addictive! I also used another Layered Bouquet Sticker here. I took it apart and just used the flower cluster from it.
It's a lot of fun to layer the stamps.  You can see more in my process video, but letting the first layer of stamping and ink dry and then adding more stamping on top of it creates a really cool effect.
I continued the bright multi-colored theme and mixed and matched my title. I used the "LIFE" Epoxy Stickers and paired it with the colorful mini foam Thickers. I staggered the words to make it gel with the big leaf stem and the background flowers. I added my journaling under that using a black fine-tip Sharpie.
This little flower cluster here is actually one of the Dimensional Stickers--the little bouquets.  I took it apart and just used the flowers.  I've learned over the years that is OKAY to dismantle embellishments to make them work for you.  :D
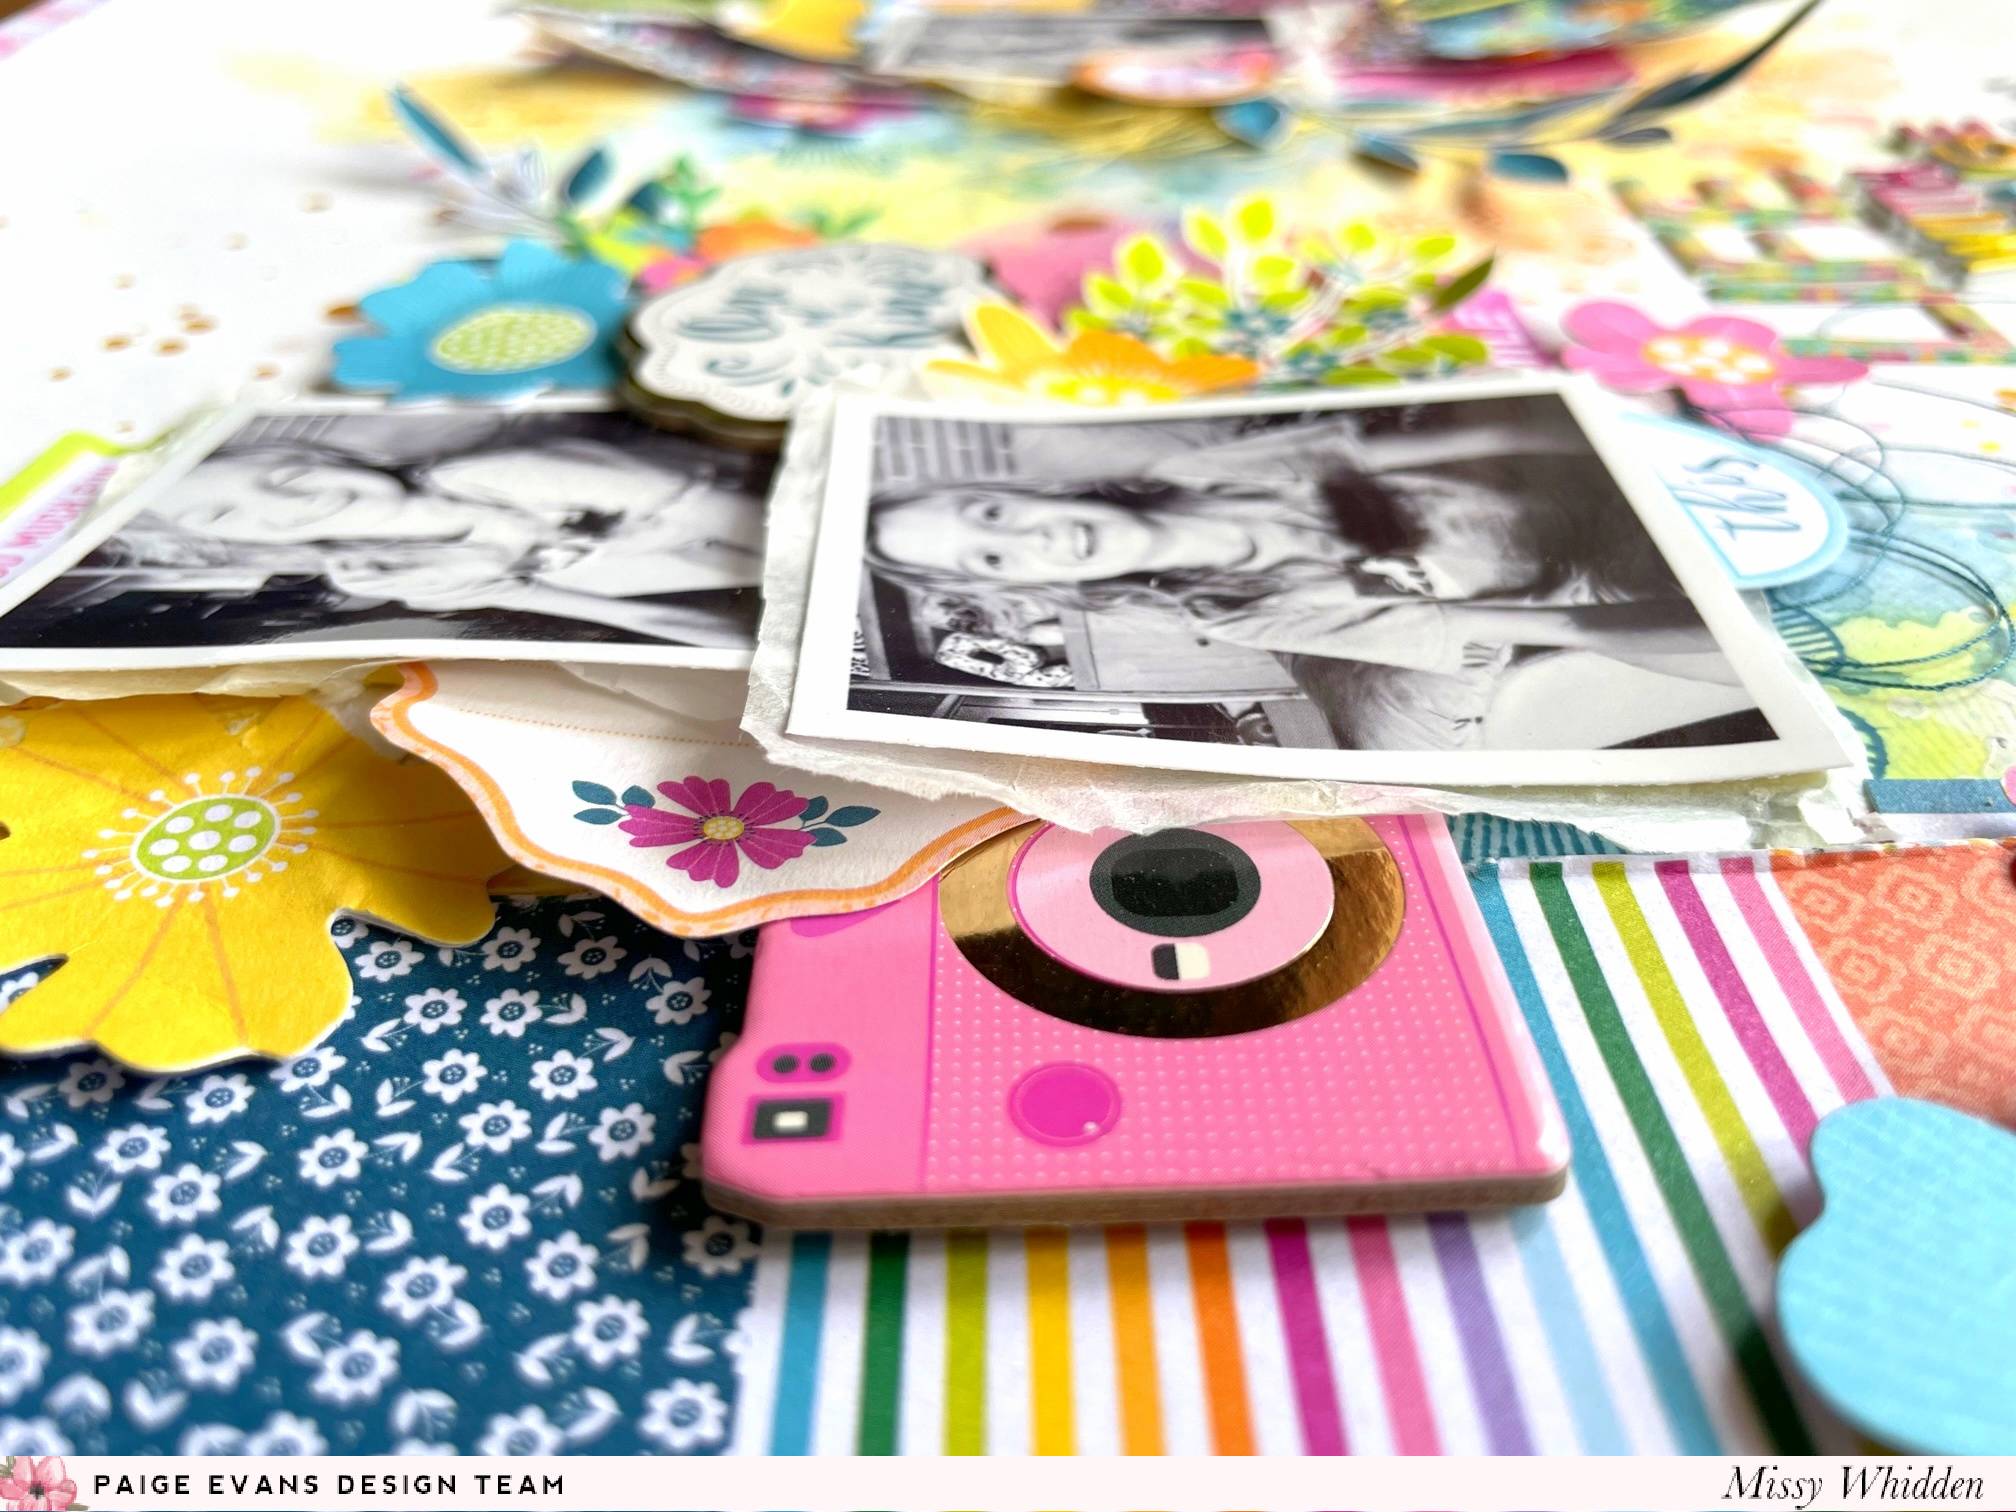
I love this cute pink camera Chipboard Sticker.  I also fussy cut a few shapes from one of the 2x2 Paper Pads to layer under the photos.
Here's a good close-up of the stamping.  If you aim for it to be messy & imperfect from the start, you can't "mess it up" LOL.
I took lot of detail photos, so here they are :)


I love how colorful this turned out! It was a lot of fun to put together and I hope it inspired you in some way today. Don’t be afraid to create a fun messy background with Acrylic Stamps!


Here's my process video:


Thanks for stopping by, and Happy Monday!