Wednesday, April 20, 2022

You Are Beautiful / Paige Evans DT

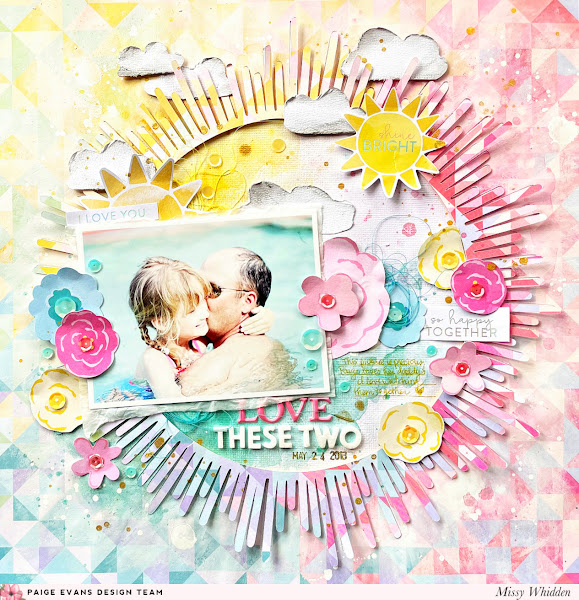
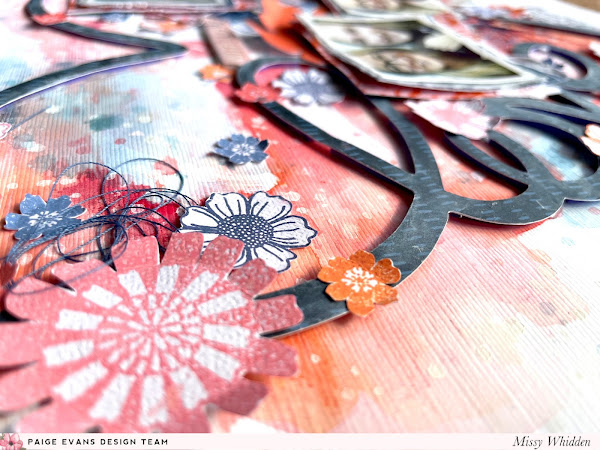
Hey friends!  I'm here again with a new layout featuring Paige’s Bloom Street collection. I can’t resist making bright summer layouts with it! I started by cutting Paige’s Heart Sunburst Cut File from Paper 20. All those colorful circles just called out to me, so I made that the focal point paper. I also cut it a bit larger from Paper 05 to create a pink shadow. 

I went with thick, smooth white cardstock for the base and I coated it with clear gesso to prep it for lots of watercolors. I wanted to mimic the colors in the photo (which I punched out with a 2.5” circle punch), so I added green and blue Shimmerz sprays behind the cut file. Yellow wasn’t even on my radar, but as the layout went on, I added it in as well. I placed the photo in the center of the sun and embellished around it with lots of flowers and leaves from the Floral Die Cuts.
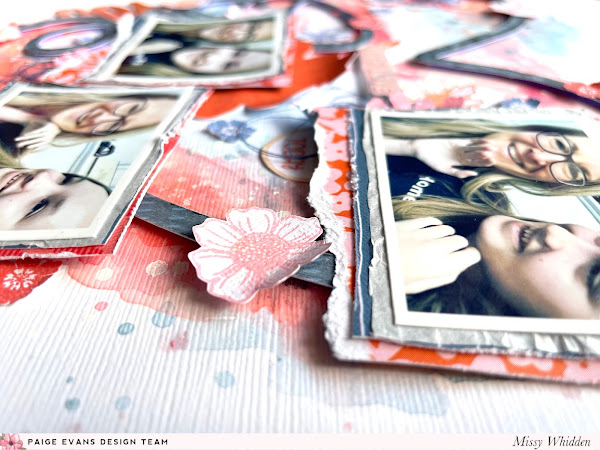
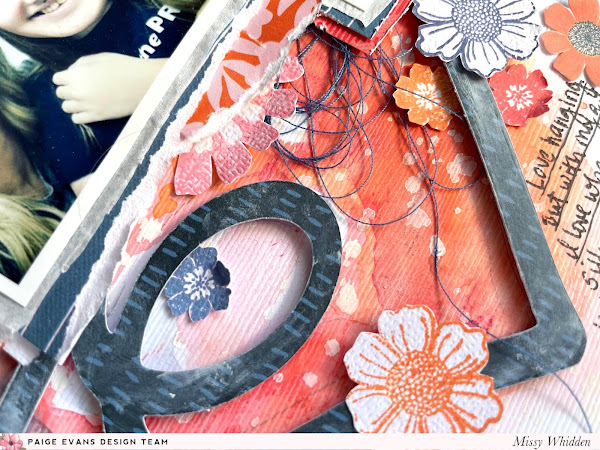
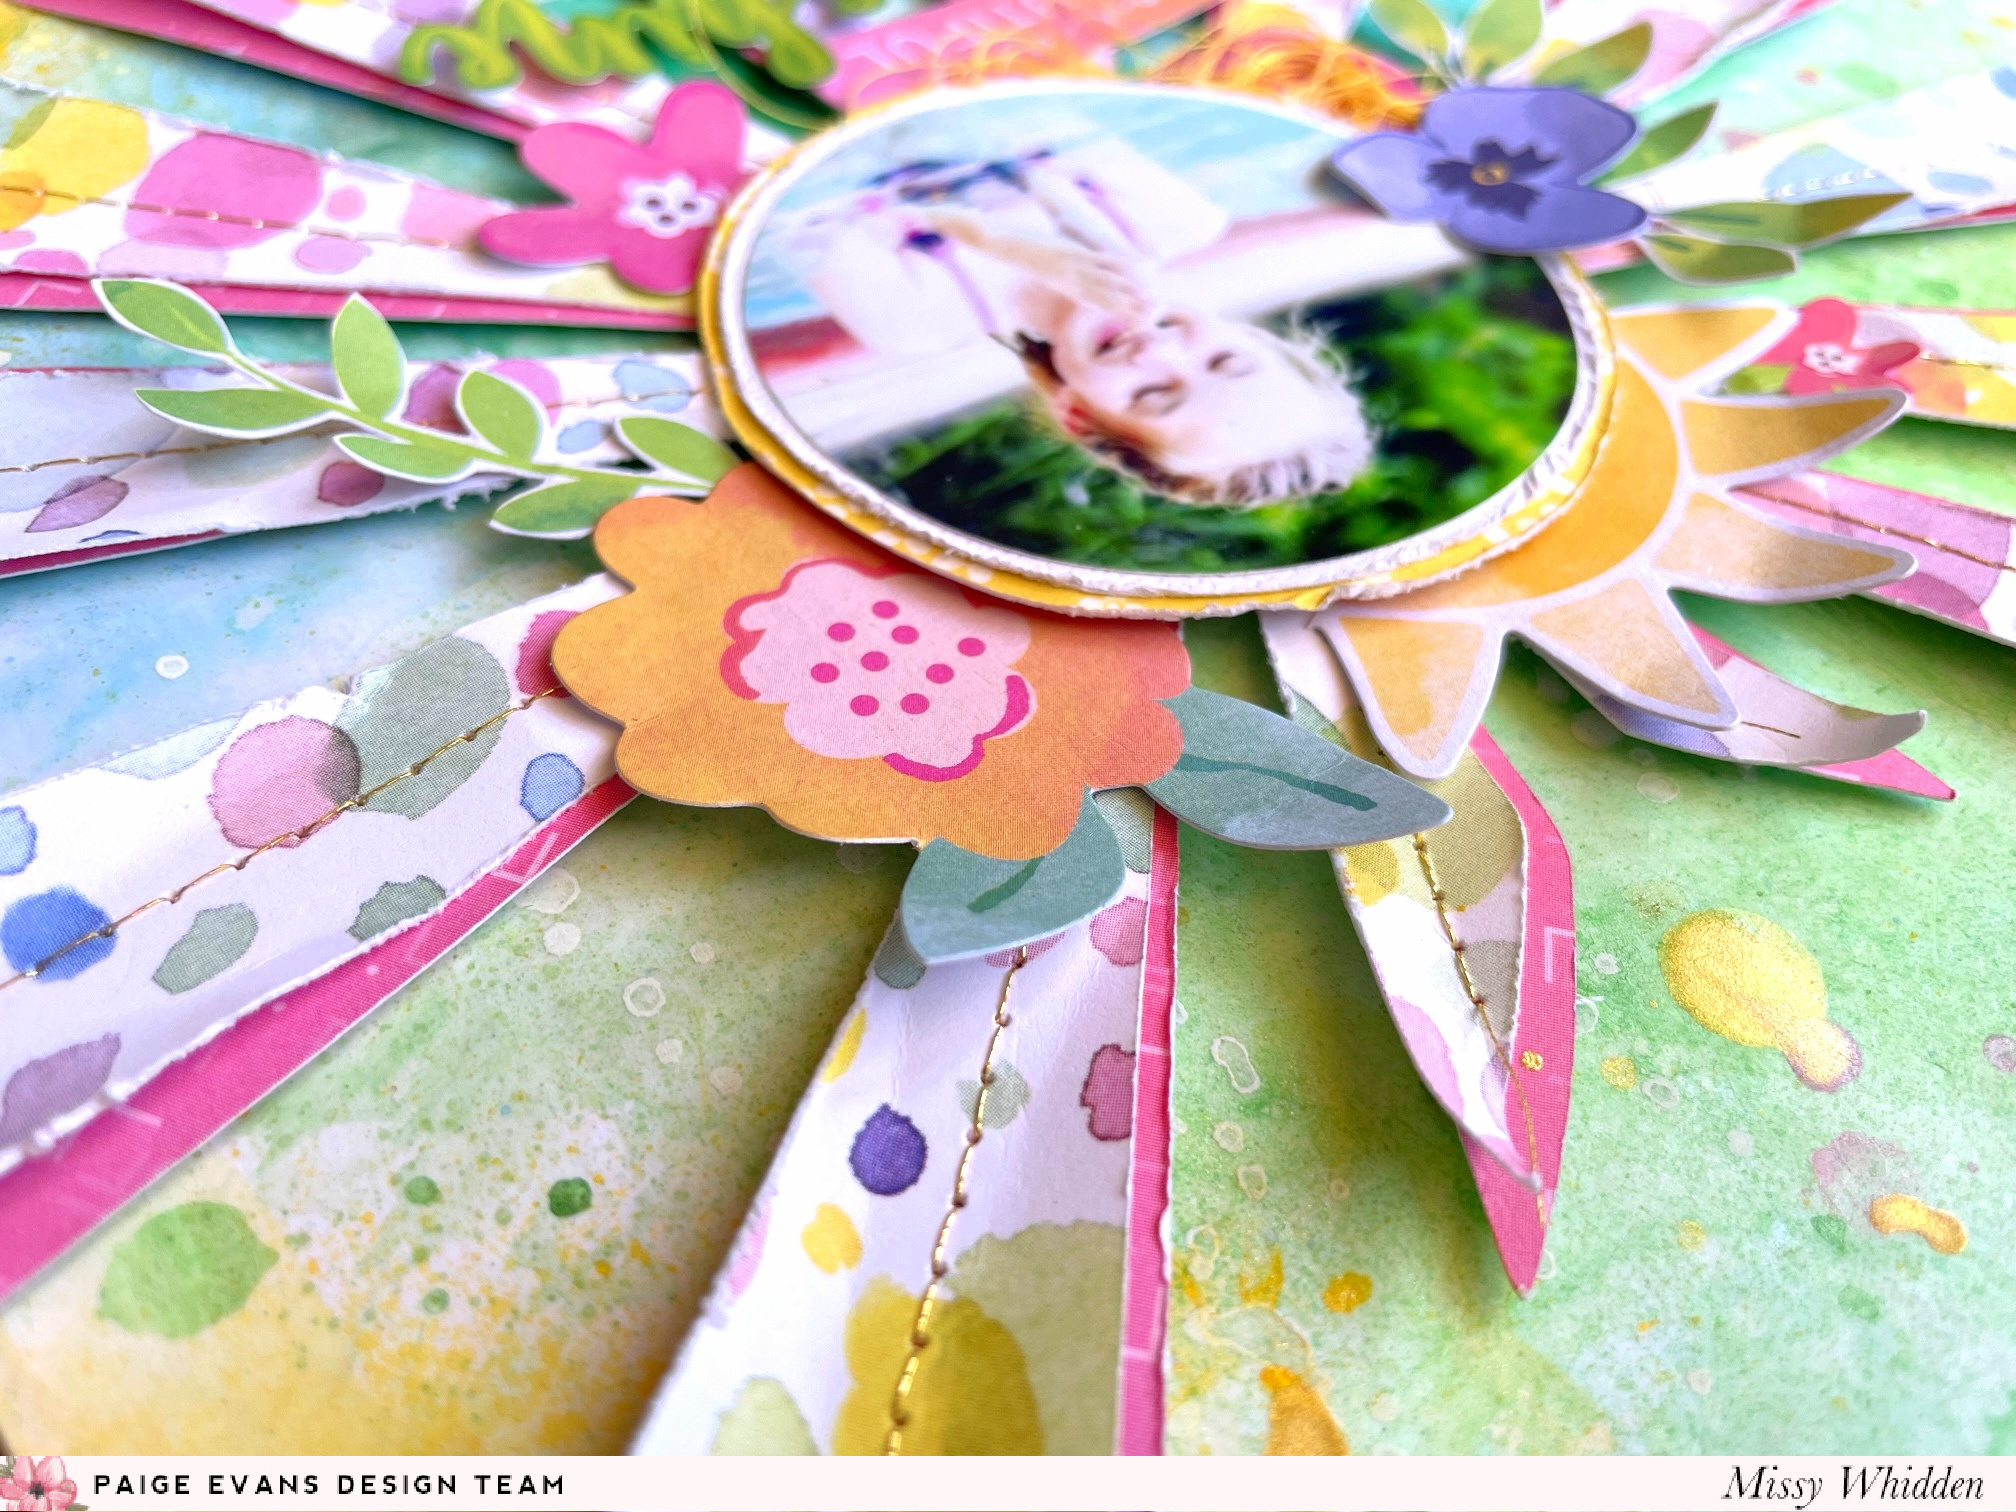
After the background dried, I splattered lots of white acrylic paint, Shimmerz, and Gold Glitter Spray. I machine stitched with metallic gold thread along each sun ray and then popped the whole piece up with adhesive foam. The effect of that dimension is so worth it! I also used a few stickers for small titles from the Cardstock Stickers and the 8-Page Sticker Book. I distressed the edges of the sun to add even more texture.  

To add a nice big pop of yellow to the page, I tore off a chunk of the background and glued some of Paper 14 behind it. I feel like this really brightened up the page and made this flower cluster shine. I brought in all the colors from the sun over to this side, added adhesive foam behind some of the flowers, and tucked in thread. All of these colors, layers, and textures are just what this side of the layout needed. I clustered my journaling in this area as well using a metallic gold pen.

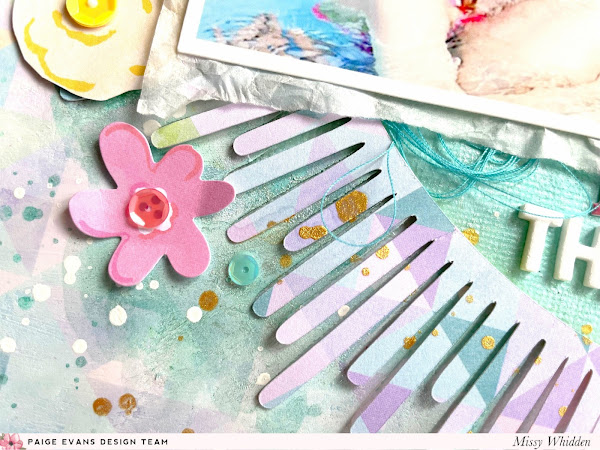
I love what a little bit of stitching can do for a layout.  Something so small yet creates such wonderful detail :)  Here you can see the benefits of adding adhesive foam as well--lots of dimension and shadowing.
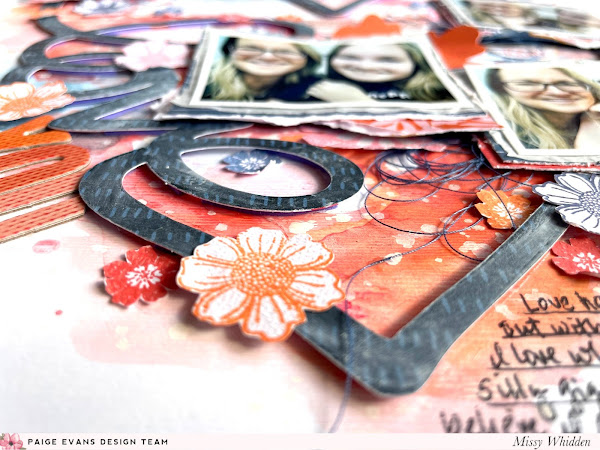
I like to make sure my photo always stands out against busy patterns and colors, so I backed it with some white cardstock and bit of yellow paper.  This creates a bit of a barrier between the photo and the background.  It helps to separate everything in the photo from everything around it.  It's something small that makes a big difference without you really even realizing it :)
I love how this fun background turned out.
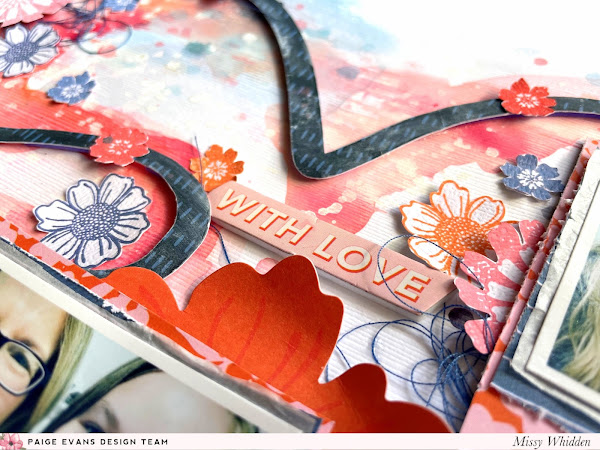
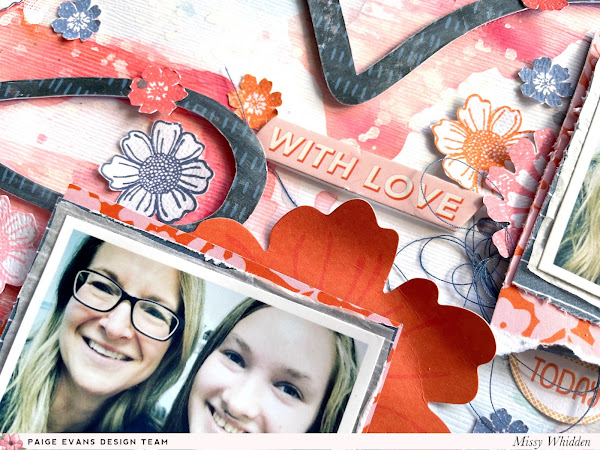
I went light on the thread and used only a bit of yellow here.
And some blue here :)

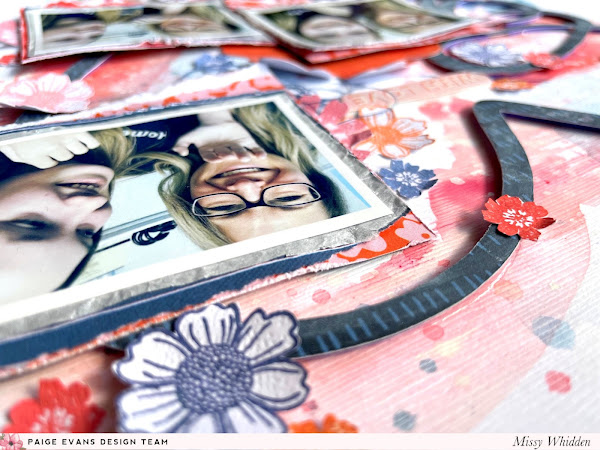
I didn’t plan this, but I love how the edge of the pool in the photo almost lines up perfectly with the diagonal direction of the sun rays behind it. Sometimes the photos just work like that and I couldn’t have planned it if I had tried! Gotta love scrappy surprises!

I hope this inspires you in some way today.  I loved how it all turned out, and it was so much fun playing with an older collection.  Be sure to check out my process video to see how this page came together:
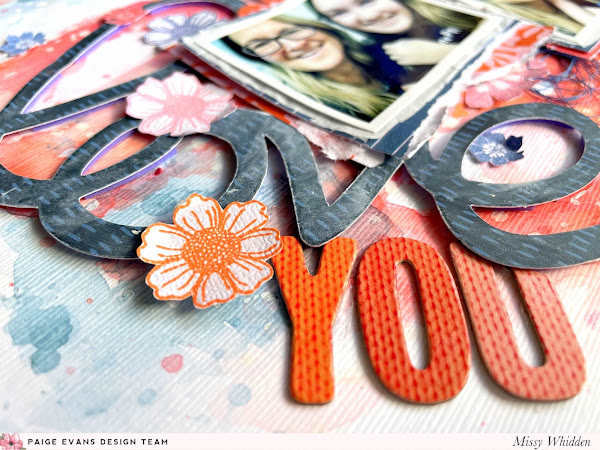
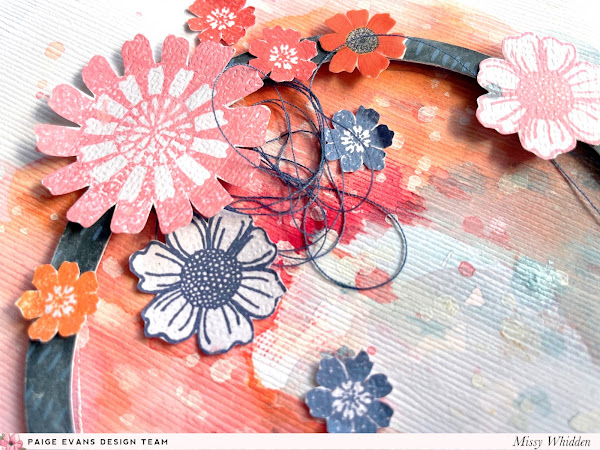
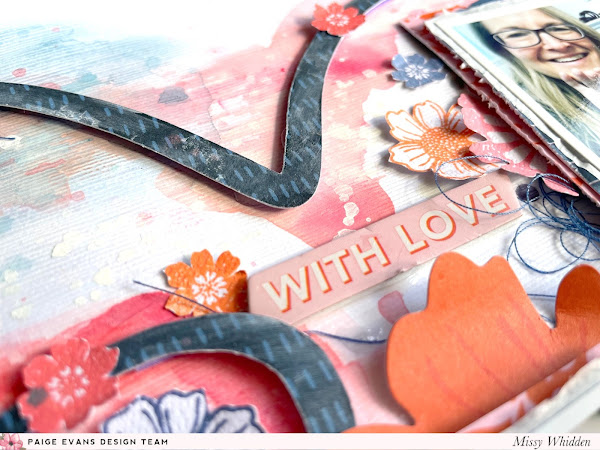


Thanks so much for stopping by, and have a great day!

Wednesday, March 16, 2022

Love These Two / Paige Evans DT

Hey friends! I'm back today with another throwback layout for the Paige Evans Design Team using Paige’s Bloom Street collection. It’s been awhile since I’ve made a layout with these papers and it was fun to put together a bright summer page. I wanted to use Paper 22 in some way and I had originally cut Paige’s Sunburst Cut File on this paper to use by itself. As soon as I played around with the whole thing, I loved how the cut file looked placed back inside the rest of the paper.  To make it stand out, I smudged a lot of white gesso around the background edges of the paper to fade it out so the sun would pop off the page while still blending in. I also wanted to show how you can use a busy patterned paper as a background and still make the photo pop off the page. I glued the whole thing to white cardstock and added a bit of coordinating Shimmerz Paints around the photo.

My photo matched this paper so perfectly and so I added aqua color around it to sort of create an extension of the water. I added yellow up top to mimic the sun. I embellished with a few suns, one is a Cardstock Sticker and one is from the Ephemera Die Cuts. I used a few Floral Die Cuts as well as several that I fussy cut from Paper 12.  I added in a few more sentiments from the Cardstock Stickers and tucked in blue thread for texture.
 
In the end, I decided to use two suns.  It just felt right, haha!  I love seeing all these different layers here.  Here you can also see some sequins I added in from my stash.  I love how these blue ones look on the pool water and the flowers.
Here's a good shot of how the gesso can soften up the pattern in comparison to the cut file which is not faded out.  Gesso is a miracle worker :D
I wanted to dress up the top area of the design so I hand cut a few little clouds from scrap white cardstock. I smudged a tiny bit of grey gelato around the edges, smudged it in with a dab of water, and then distressed the edges. I popped a few of them up with adhesive foam and layered them in and around the sun rays. I added splatters in all the colors on the background, including yellow, aqua, pink, and gold. I made sure to leave some plain white area here inside the big circle to give the eye a place to rest since the rest of the page has busy patterns going on.
I needed a small title, so I mixed and matched with the Puffy Word Stickers and some of the Mini Foam Thickers from Paige’s Pick-Me-Up collection. I added adhesive foam behind the sun to pop it off the page. Here you can see the dimension. Lastly, I added a few sequins from my stash on the flowers and around the page for extra interest and texture.
I took a lot of close-ups, so check out all the fun details.


I really love how this came together!  You can see in the video how I had a completely different idea in the beginning.  It morphed into this, and I think it's way better than my original idea!  Hope it inspires you in some way today :)

Here's my video:


Thanks for stopping by, and have a great day!

Monday, February 28, 2022

You Are the Best / Paige Evans DT

Hey there, friends!  I'm back with another layout for the Paige Evans Design Team.  I decided to do a throw back layout and use Paige's Whimsical collection that came out a few years ago.  The colors and patterns are perfection, and I could not resist making a fun rainbow hexagon design.  I used Paper 8 for the background with that gorgeous purple ombre.  I fussy cut lots of hexagons from Paper 5 and arranged them how I wanted them.  Once I had that decided, I pulled out some white gesso and added some to the lighter part of the background.  I needed to prep the paper for mixed media, and I used a few Shimmerz Paints to add some pinkish purples & a bit of orange.

I used a brush and a little bit of water with the Shimmerz to spread it around this bottom area.  Once that dried, I splattered some white acrylic paint and some Gold Glitter Spray.  I glued the hexagons down and machine stitched through them using metallic gold thread.  I added some blue thread in a few places to add a pop of color & texture.
 
I was excited to pull out the Rub-Ons from this collection...I hadn't used them in forever!  I added some sentiments in a few places and then embellished with lots of flowers.  I fussy cut several from Paper 14 and then added some that were stickers, chipboard stickers and die cuts.  I also wanted to use this shiny gold ampersand die cut just because :)
Here is where I added more blue thread.  You can tell that I added some adhesive foam under lots of the flowers to create some height.  Layering them also makes a big difference.
More flowers here on this side, too :)

I wanted to keep the top part of the page gesso-free.  I love how the white splatters are so bold against the dark purple.  And these colors are so pretty here.
I just love these beautiful colors!
I used some of the Mini Foam Thickers for the title.  It was the hardest part about this layout.  Sometimes I begin with the title and other times it's the last part I do.
More close-ups:


I hope this inspires you in some way today!  I had lots of fun making this one.  It was awesome to use an older collection and see it in a whole new way.

Be sure to check out my process video here:


Thanks so much for stopping by!  Have a wonderful week :)

Tuesday, February 15, 2022

Love You / Paige Evans DT

Hey friends! I'm back today with a new mixed media layout for the Paige Evans Design Team featuring the Bungalow Lane collection. I decided to scraplift one of my older layouts to get this page started. I cut Paige’s Love Heart Cut File on Paper 10 and chose three small photos with that same dark blue. I love the mix of reds, pinks, and oranges mixed with the dark blue, so I went with that color scheme. 

I used textured white cardstock for the base and coated with clear gesso first. I chose a few Distress Oxides to add color to the background behind the heart and I just scraped the ink pads directly onto the paper and added water to blend it around. I did mix in a few coordinating colors of Shimmerz sprays along the way. I embellished with lots of flowers that I stamped using the Acrylic Stamps and then fussy cut out. I love how imperfect they look! The texture from the cardstock is my favorite for this type of technique because you get some distressed effects.

I went with lots of reds, oranges, and pinks on the background with touches of blue. Since the cut file was blue and the photos have a lot of dark colors, I wanted the background to be brighter to contrast that. I layered some tissue paper and bits of Paper 6Paper 9, and Paper 17 behind the photos as well as some adhesive foam. I used the large orange Floral Die Cut as the main focal point flower, and the rest are mostly stamped flowers. Here I also added in some dark blue thread for even more pops of blue. I did pop the heart up with foam adhesive to create dimension.
 
I love how this background turned out! I splattered white acrylic paint over the colors well. Here on the top part there are more stamped flowers and a Foam Phrase Sticker that matched perfectly. I made sure to leave some white space here inside the heart so the layout wouldn’t be too crowded with all of these bold colors. I like to give the eye a place to rest so the photos don’t get lost.
For the title, I let the cut file do it’s thing and just added a few Thickers under it. I love it when cut files do this for you because it’s one less thing you have to figure out. The title is pretty much done. I added a few more flowers here, a Chipboard Sticker over on the right side under one of the photos, and then added my journaling down at the bottom.
I need to use stamps more often to create die cuts.  I love how these flowers turned out.  I think it's so neat to stamp them on textured cardstock so you can see some texture on the image.  I love when it doesn't look perfect.  Here is a good look at the fun dimesion, too.  Just by popping the cut file up with adhesive foam, all this fun shadowing is created.
Here you can really see the lined texture on the background.  

If you have the patience to fussy cut, stamping is a great way to have an endless supply of die cuts.  And you can customize them.  These flowers could have a completely different look in different colors, different clusters and a different die cut.  I tucked in some navy blue thread for some extra texture.
Here are a few more shots of different angles of the layout.


I hope this inspires you in some way today.  I absolutely love how this page turned out, and it was really fun to make.  Pull out those stamps for your next project and see where they take you!

Here's my process video:


Thanks so much for stopping by, and have a great day!