Monday, February 28, 2022

You Are the Best / Paige Evans DT

Hey there, friends!  I'm back with another layout for the Paige Evans Design Team.  I decided to do a throw back layout and use Paige's Whimsical collection that came out a few years ago.  The colors and patterns are perfection, and I could not resist making a fun rainbow hexagon design.  I used Paper 8 for the background with that gorgeous purple ombre.  I fussy cut lots of hexagons from Paper 5 and arranged them how I wanted them.  Once I had that decided, I pulled out some white gesso and added some to the lighter part of the background.  I needed to prep the paper for mixed media, and I used a few Shimmerz Paints to add some pinkish purples & a bit of orange.

I used a brush and a little bit of water with the Shimmerz to spread it around this bottom area.  Once that dried, I splattered some white acrylic paint and some Gold Glitter Spray.  I glued the hexagons down and machine stitched through them using metallic gold thread.  I added some blue thread in a few places to add a pop of color & texture.
 
I was excited to pull out the Rub-Ons from this collection...I hadn't used them in forever!  I added some sentiments in a few places and then embellished with lots of flowers.  I fussy cut several from Paper 14 and then added some that were stickers, chipboard stickers and die cuts.  I also wanted to use this shiny gold ampersand die cut just because :)
Here is where I added more blue thread.  You can tell that I added some adhesive foam under lots of the flowers to create some height.  Layering them also makes a big difference.
More flowers here on this side, too :)

I wanted to keep the top part of the page gesso-free.  I love how the white splatters are so bold against the dark purple.  And these colors are so pretty here.
I just love these beautiful colors!
I used some of the Mini Foam Thickers for the title.  It was the hardest part about this layout.  Sometimes I begin with the title and other times it's the last part I do.
More close-ups:


I hope this inspires you in some way today!  I had lots of fun making this one.  It was awesome to use an older collection and see it in a whole new way.

Be sure to check out my process video here:


Thanks so much for stopping by!  Have a wonderful week :)

Tuesday, February 15, 2022

Love You / Paige Evans DT

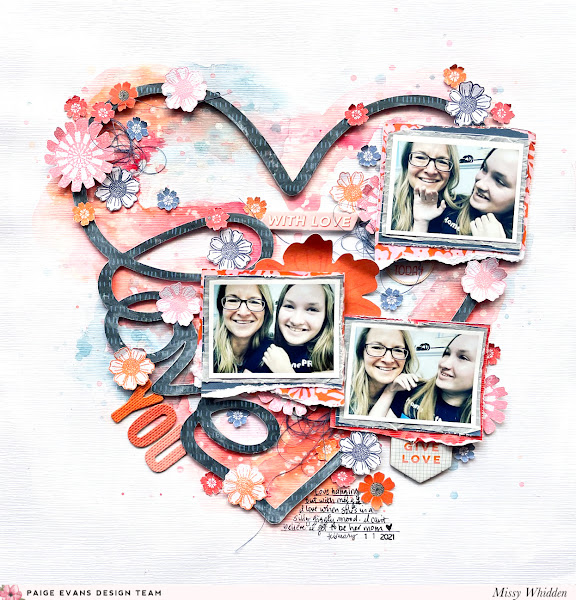
Hey friends! I'm back today with a new mixed media layout for the Paige Evans Design Team featuring the Bungalow Lane collection. I decided to scraplift one of my older layouts to get this page started. I cut Paige’s Love Heart Cut File on Paper 10 and chose three small photos with that same dark blue. I love the mix of reds, pinks, and oranges mixed with the dark blue, so I went with that color scheme. 

I used textured white cardstock for the base and coated with clear gesso first. I chose a few Distress Oxides to add color to the background behind the heart and I just scraped the ink pads directly onto the paper and added water to blend it around. I did mix in a few coordinating colors of Shimmerz sprays along the way. I embellished with lots of flowers that I stamped using the Acrylic Stamps and then fussy cut out. I love how imperfect they look! The texture from the cardstock is my favorite for this type of technique because you get some distressed effects.

I went with lots of reds, oranges, and pinks on the background with touches of blue. Since the cut file was blue and the photos have a lot of dark colors, I wanted the background to be brighter to contrast that. I layered some tissue paper and bits of Paper 6Paper 9, and Paper 17 behind the photos as well as some adhesive foam. I used the large orange Floral Die Cut as the main focal point flower, and the rest are mostly stamped flowers. Here I also added in some dark blue thread for even more pops of blue. I did pop the heart up with foam adhesive to create dimension.
 
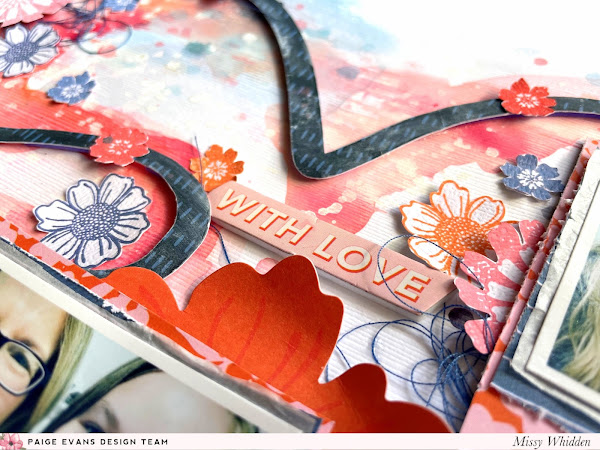
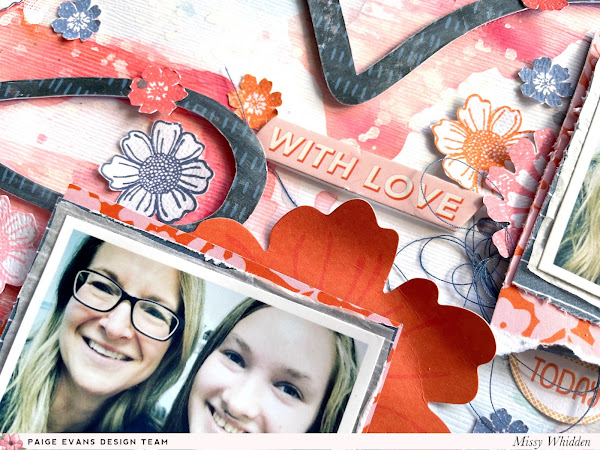
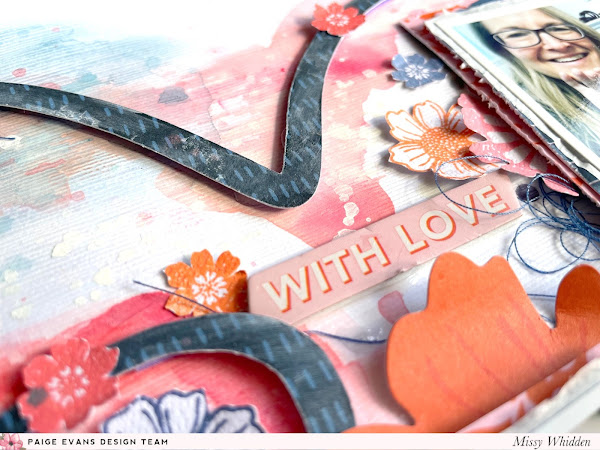
I love how this background turned out! I splattered white acrylic paint over the colors well. Here on the top part there are more stamped flowers and a Foam Phrase Sticker that matched perfectly. I made sure to leave some white space here inside the heart so the layout wouldn’t be too crowded with all of these bold colors. I like to give the eye a place to rest so the photos don’t get lost.
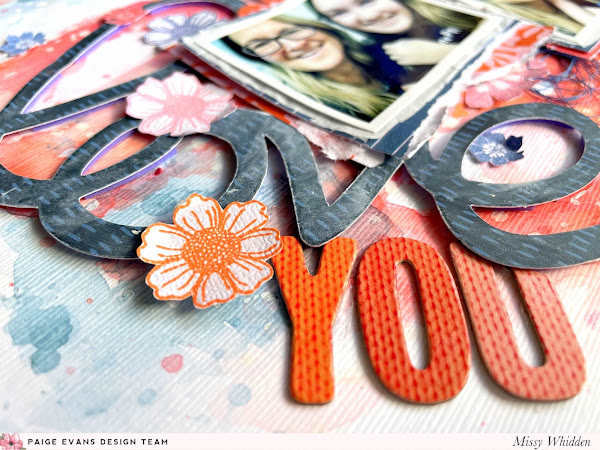
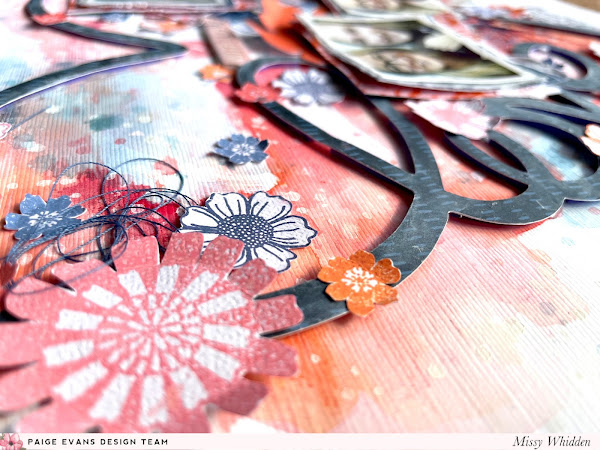
For the title, I let the cut file do it’s thing and just added a few Thickers under it. I love it when cut files do this for you because it’s one less thing you have to figure out. The title is pretty much done. I added a few more flowers here, a Chipboard Sticker over on the right side under one of the photos, and then added my journaling down at the bottom.
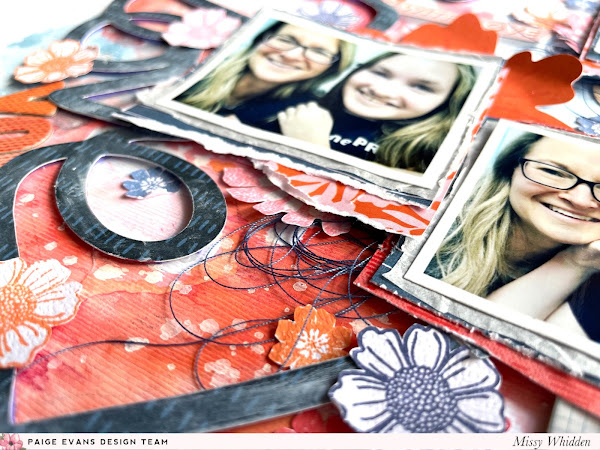
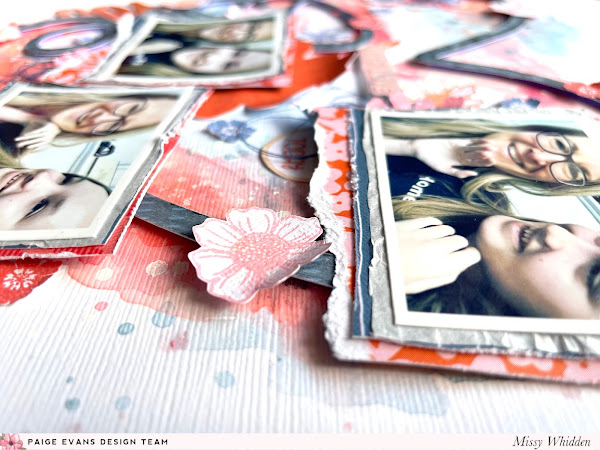
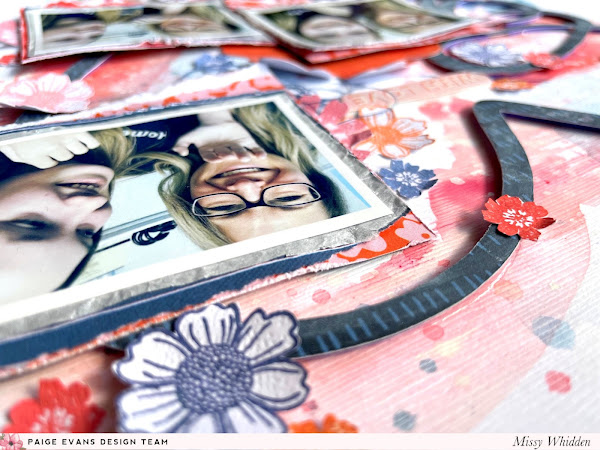
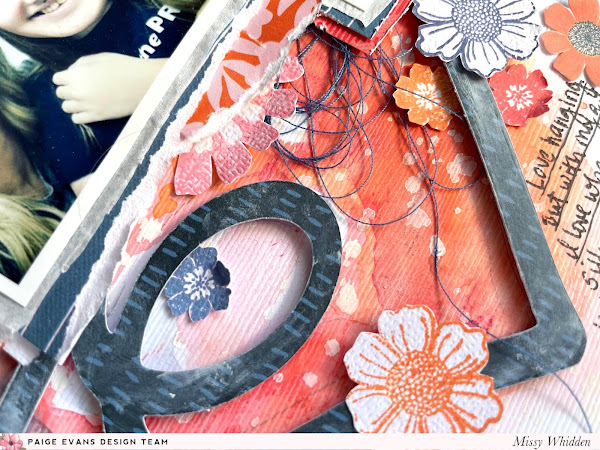
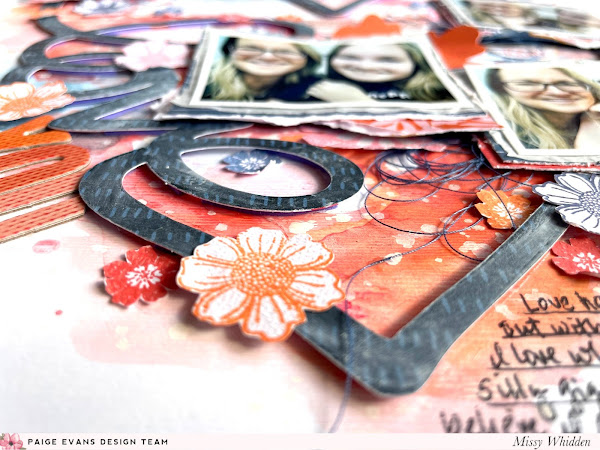
I need to use stamps more often to create die cuts.  I love how these flowers turned out.  I think it's so neat to stamp them on textured cardstock so you can see some texture on the image.  I love when it doesn't look perfect.  Here is a good look at the fun dimesion, too.  Just by popping the cut file up with adhesive foam, all this fun shadowing is created.
Here you can really see the lined texture on the background.  

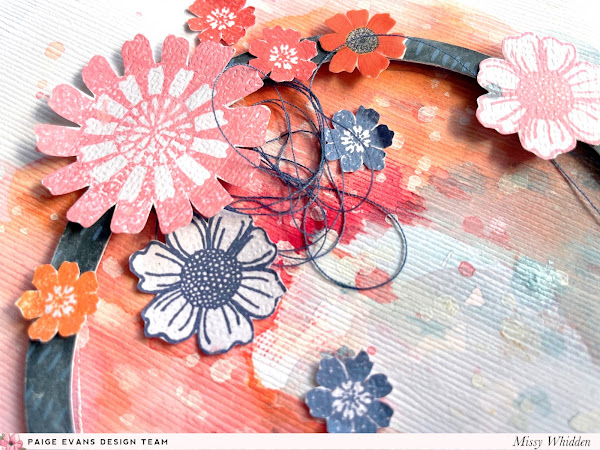
If you have the patience to fussy cut, stamping is a great way to have an endless supply of die cuts.  And you can customize them.  These flowers could have a completely different look in different colors, different clusters and a different die cut.  I tucked in some navy blue thread for some extra texture.
Here are a few more shots of different angles of the layout.


I hope this inspires you in some way today.  I absolutely love how this page turned out, and it was really fun to make.  Pull out those stamps for your next project and see where they take you!

Here's my process video:


Thanks so much for stopping by, and have a great day!


Sunday, January 23, 2022

Happiness & Sunshine / Paige Evans DT

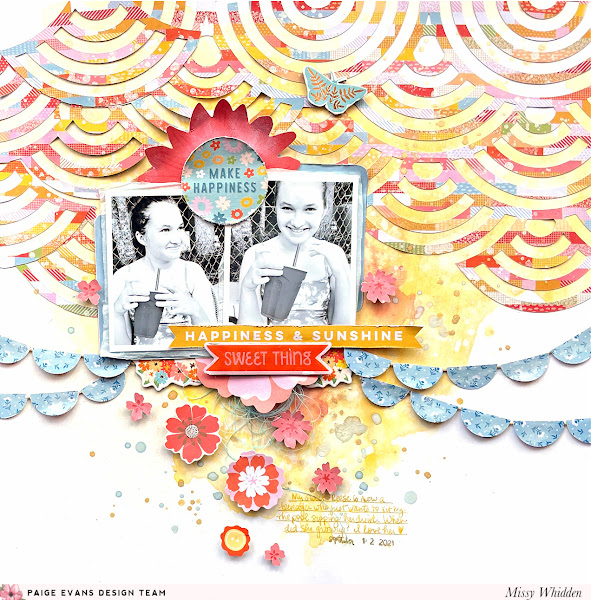
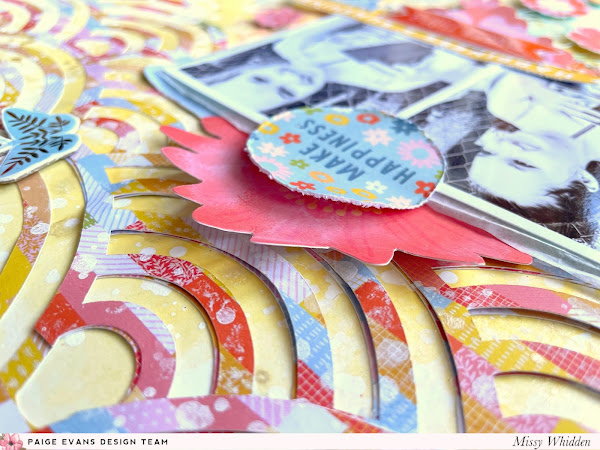
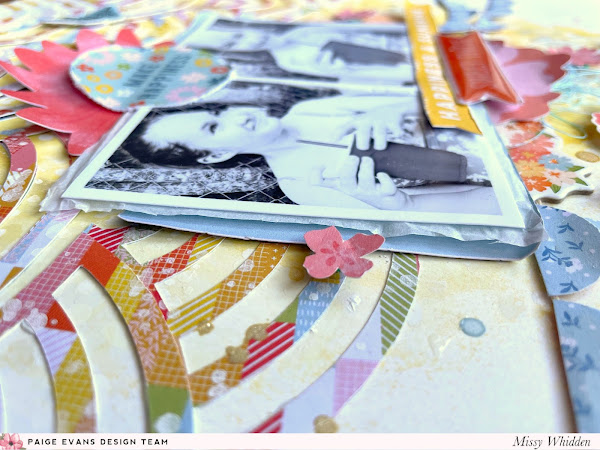
Hey, friends!  Today I have another new layout to share for the Paige Evans Design Team.  I used the beautiful Bungalow Lane collection, and I wanted to create a fun background using Paige’s Rainbows Background Cut File. I cut it from Paper 4 using my Silhouette Cameo. This paper is so fun and has so many colors so I based my color scheme around it. I used thick white cardstock for the base and I coated it with clear gesso first. I wanted to add lots of yellow to the background so I used a few golden yellow Shimmerz sprays to start. I also added in a bit of a coral color, some blue, and a touch of gold. I glued down the cut file once the mixed media was dry and began sorting through all of the embellishments.

I printed my photos in black & white and I backed them with white tissue paper, adhesive foam, and a blue tag that I cut from Paper 22. I love how the photos pop off the page because of the background colors. I wanted to add in smaller flowers around the layout, so I fussy cut a few from Paper 14.


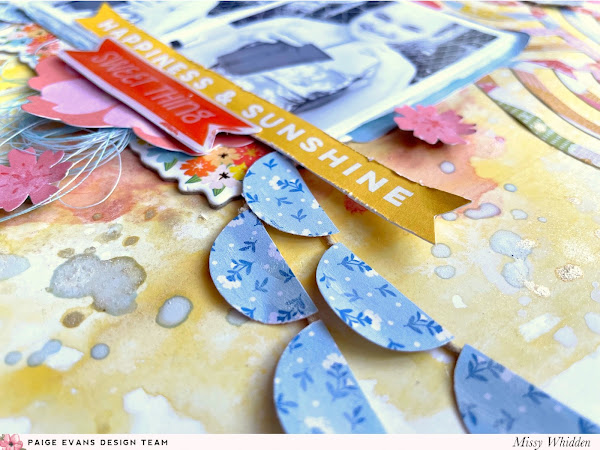
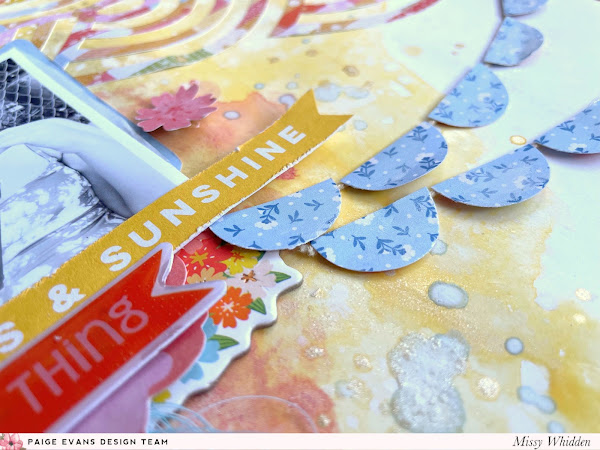
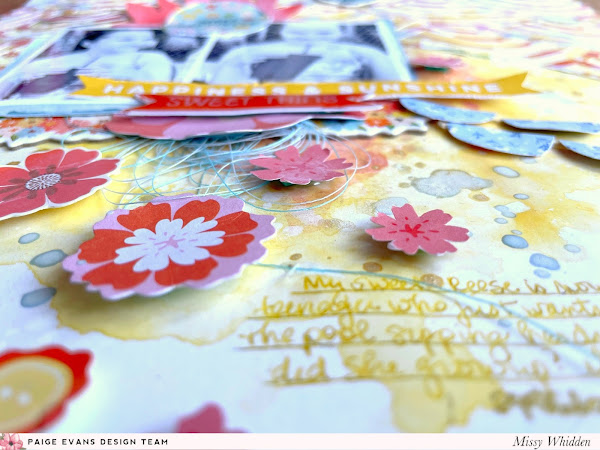
I embellished around the photos using some of the large Floral Die CutsEphemera Die CutsEpoxy Stickers, and Chipboard Stickers. I chose items that matched the paper which helped me narrow down what I was going to use. I decided that the bottom area of the layout needed more light blue, so I created a fun little banner using the other side of Paper 4. I punched 1” circles, cut them in half, and then glued them to some twine. This is really easy to do and it’s so fun to create a customized banner. I also tucked light blue thread in under the photos.
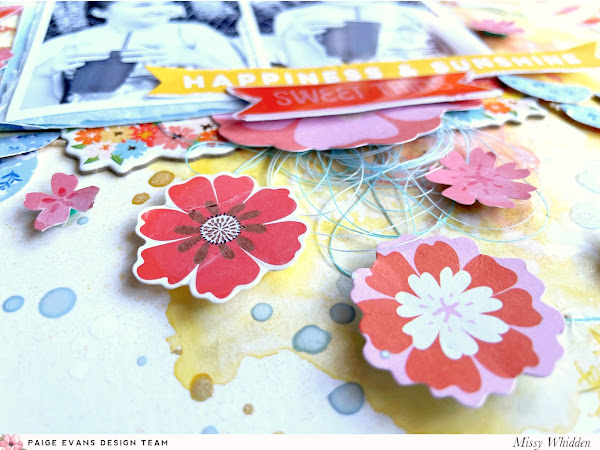
I created a cascade effect using more flowers here beneath the photos. I mixed and matched some of those small fussy cut flowers with part of a Layered Sticker and a Floral Die Cut. I popped these all up with adhesive foam to create dimension.
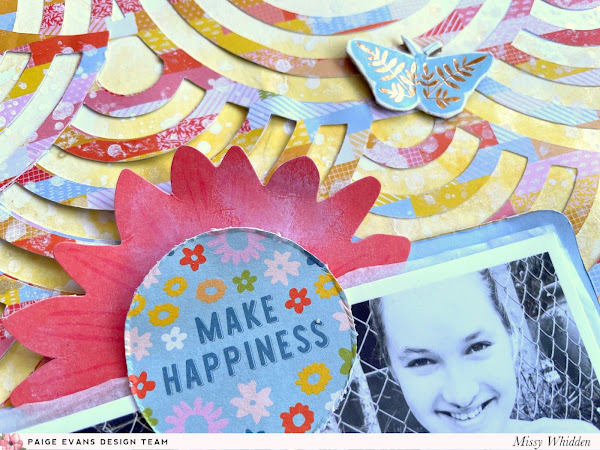
Every time I look at this colorful patterned paper I just think of summer.  I'm usually not much of a red fan, and I struggle to use it a lot on my pages.  But I think it's really impactful in small doses.  It was fun to challenge myself and use a different color scheme.  I smudged some white gesso on this big red flower to soften it up a bit.
And like I've said a million times, flowers are the best for creating dimension.  The petals are just begging to curl up off the page.  I used my edge distresser  on this circle die cut to give the edge some interest and texture.
I went light on embellishing on the sides of the photos.  I felt like the background was busy enough, and since I had things above and below the photos, the sides needed some open space to breathe.
I'm so glad I addd this fun little banner.  I think it finished everything off just perfectly.  I also wound up splattering some blue Shimmerz to add a pop of that color on the background.
I wrote my journaling down below using my gold metallic pen, and that finished it off.
I hope this inspires you in some way today.  It was fun to get out of my usual comfort zone as far as color schemes go and try something different.  I made this challenging (for me) patterned paper work, and I love how it turned out.

Here's my process video if you'd like to watch how this page came together:


Thanks so much for stopping by, and have a great week!

Wednesday, January 5, 2022

Sweet Day / Paige Evans DT

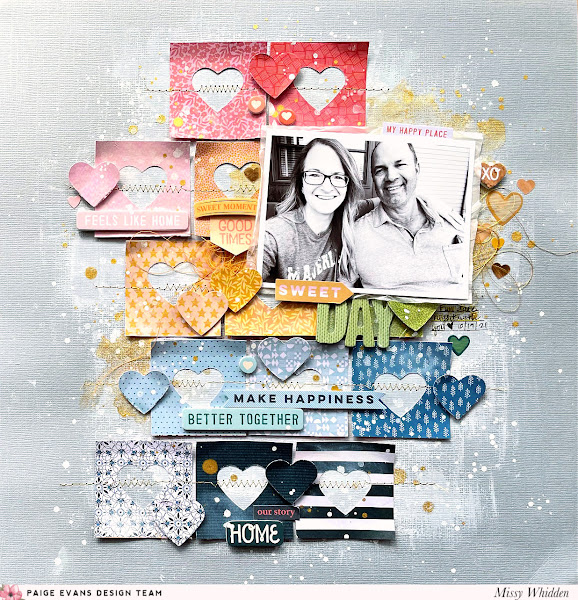
Hello again, friends :)  I'm here today with a new layout for the Paige Evans Design Team.  It features Paige’s Bungalow Lane collection. I created yet another rainbow inspired page using only one patterned paper. I punched hearts from various squares on Paper 20. I arranged the squares in uneven rows to create the bulk of the background design. I used a light gray cardstock for the base. To add some messy effects behind the squares, I used my acrylic brush to spread around some white gesso. I decided not to add lots of color since the squares added plenty of that. Instead I used a bit of Jen Hadfield Gold Glitter Spray and treated it as watercolor. I used a brush to add some of that behind my photo and a few other areas on the page. I also splattered white acrylic paint. I think the white makes such a bold yet subtle statement on the gray cardstock.

After I glued down the squares, I machine stitched through each row using gold metallic thread. I also bent up the edges of the paper to create more texture and dimension. I used the punched hearts as embellishments and I popped them off the page using adhesive foam. I added bits and pieces that matched each color section. I used pieces from the 8-Page Sticker BookFoam Phrase Stickers, and Thickers. It’s a lot of fun to embellish tone-on-tone because it helps to narrow down which pieces to use in certain sections of the page.

I decided to go light on the thread and only added it in two places.  I tucked in some metallic gold thread here under the right side of the photo.  I added some yellow/orange over on the left side.  I also had a fight with my gold pen and had to use my black Sharpie instead for my journaling...haha.
I love embellishing tone-on-tone.  It makes the process like a treasure hunt...you need pink things for the pink area, orange for the orange area, etc.  So you can only use a limited number of items per color square.  It just helps narrow things down, and the color on color effect is always a win!
I popped up these hearts with adhesive foam, and I love how that looks.  Since the squares are stitched down flat, it's nice to have some things creating a shadow.  I do love the curled up edges of the squares. That's another easy way to get some depth.  This is also a good shot of the shiny gold!
I did more of the same on the top part of the layout. I used various stickers that matched each section. On the orange section I used part of a Layered Sticker and I tucked in matching thread coming out from under the photo. I decided to print my photo in black & white to make it stand out against all the colors. I layered white tissue paper under it as well as adhesive foam.
More close-ups of all the details :)


I wanted to keep the title short and sweet, so I combined a sticker from the 8-Page Sticker Book with some of the green Thickers. I added just a small bit of journaling to right of the title and added the date. I wanted to add something small to the right side of the photo, so I created a small cluster of various heart stickers that were gold or yellow in color to match the gold on the background.

I hope this has given you some scrappy inspiration today.  I always find that rainbows and tone-on-tone makes for a great layout :)  It includes all the colors and it just makes me happy!

Be sure to check out my process video for all the details:


Thanks for stopping by!  Have a wonderful day :)