Here's what I came up with :) I thought I'd start by creating some die cuts. I used the Phrase Builder: You Die Set to cut a bunch of "awesome" words. I used six papers in rainbow shades from the Happy Blooms 6x6 Paper Pad. I played around with them and decided to create an actual rainbow using the words. I love how it turned out!
I used thick, smooth white cardstock for the background. I coated it with clear gesso first and then used the Sky Blue Liquid Watercolor to create a big color wash. I wanted a sky and some water since I used a pool photo. I let that dry and then arranged the die cuts. I lightly glued them down and then machine stitched through each arc using white thread.
I love creating a "sky" and "water" when I use pool photos...it just looks like the photo is part of the background. I used some of the floral die cuts in a few places to embellish. For the title I used some of the green puffy alphas, but I changed the color. I used my finger to smudge some white gesso over them and let it dry. Then I painted them with the same watercolor I used on the background. It worked great! I layered another "awesome" over that.
I did pop up this pink flower with some adhesive foam. I topped all the flowers with some of the Essentials Jewels...such great texture and sparkle! I also added some around the flowers & title as well.
I tucked in more flower die cuts here around the photo.
I wanted to jazz up the "sky" area, so I hand cut some fluffy clouds out of some scrap white cardstock. I used a grey gelato to smudge a bit of color on them and then machine stitched through the bottoms to give them a bit of texture and interest. I popped them up with some adhesive foam and then sprinkled some Jewels around them.
I did splatter some watered down white acrylic paint and some metallic gold spray.
More close-ups of all the fun details :)
I hope this inspires you in some way today :) And please come join us for the challenge! You could win a $50 Gift Card to the Pinkfresh Studio Store...woo hoo!
Here's my process video if you'd like to see how I made this:
Thanks so much for stopping by, and have a great day!
Hey friends! I'm back today to share a new layout for the Paige Evans Design Team featuring Paige’s Wonders collection. This layout and color scheme was inspired by the cute little rainbow from the Chipboard Stickers. It was the first item I pulled to use and I based the rest of the page around it.
I used the Peony Pop-Up Die to cut five large flowers using various patterned papers from Wonders using
my manual die cutting machine. I chose papers that matched the colors
in the rainbow sticker. I wanted lots of background texture, so I used
Paige’s Polka Dots Stencil with modeling paste over a sheet of thick, smooth white cardstock. I did coat it with clear gesso first. Once the background was dry and I had the flowers arranged, I used a mix of Distress Oxides and Shimmerz sprays to create lots of color over the paste. I wanted to create a tone-on-tone effect with the colors.
Once the color was dry, I began arranging the embellishments around the photo and flowers. I used the Chipboard Sticker rainbow, one from the Lollies that I took apart, and one that I fussy cut from Paper 24. I layered them and popped them up with adhesive foam. I used a few of the Paper Flowers in matching areas and a few hearts from the Cardstock Stickers. For the title I used the Hello Lovely stamp from the Acrylic Stamps and mixed it with one of the Epoxy Phrase Stickers. I even used a few of the tiny flower stickers from the 8-Page Sticker Book. I used the crepe paper from one of the Lollies and layered it at the bottom of the photo.
This blue is my favorite! I just love the awesome texture from the Polka Dots Stencil and that beautiful deep blue color. This blue flower was cut from Paper 6. I used a few blue pieces here including a bird from the 8-Page Sticker Book that I attached to white cardstock and cut out. I also used a bit of the Washi Tape here as well as matching thread. I added gold splatters after everything was finished to give it a bit of shine.
Lots of yellow over here...so pretty :) I used a Paper Flower and a sticker from the 8-page Sticker Book. It's so fun to go through the collection and pick things of a certain color.
Ahhhhh texture :) Some of the circles were squished when I moved the stencil around, but I actually love that it's not perfect. And look how cute this ladybug is! I popped her up with some adhesive foam. I made sure to add lots of glue to everything to make sure it stayed down on top of all this bumpy texture. I use the Scotch Tacky Glue...works great!
I fussy cut this "sunshine" piece from a Die Cut and added it above the orange flower. I love that it arcs, so it was perfect.
I used the Seedless Preserves & Wild Honey Distress Oxides with this stamp to create a fun matching ombre effect, and it turned out so nice! I just love all of these fun elements here...hearts, flowers, rainbows...all my faves!
Here are more close-ups because I couldn't stop taking them :)
I did add three layers of adhesive foam under the middle rainbow since there was so much dimension.
I really had a great time making this page, and I hope it inspires you in some way. I have to say it was so fun to start with that little chipboard rainbow and base the whole page around that. In the past I tend to just jump right in with intentions of using a particular piece, but then by the time the layout is almost finished I can't make it work. So I started with it and that guaranteed that it would be used.
Be sure to check out the process for this page...it's a journey!
Thanks so much for stopping by, and have a great day!
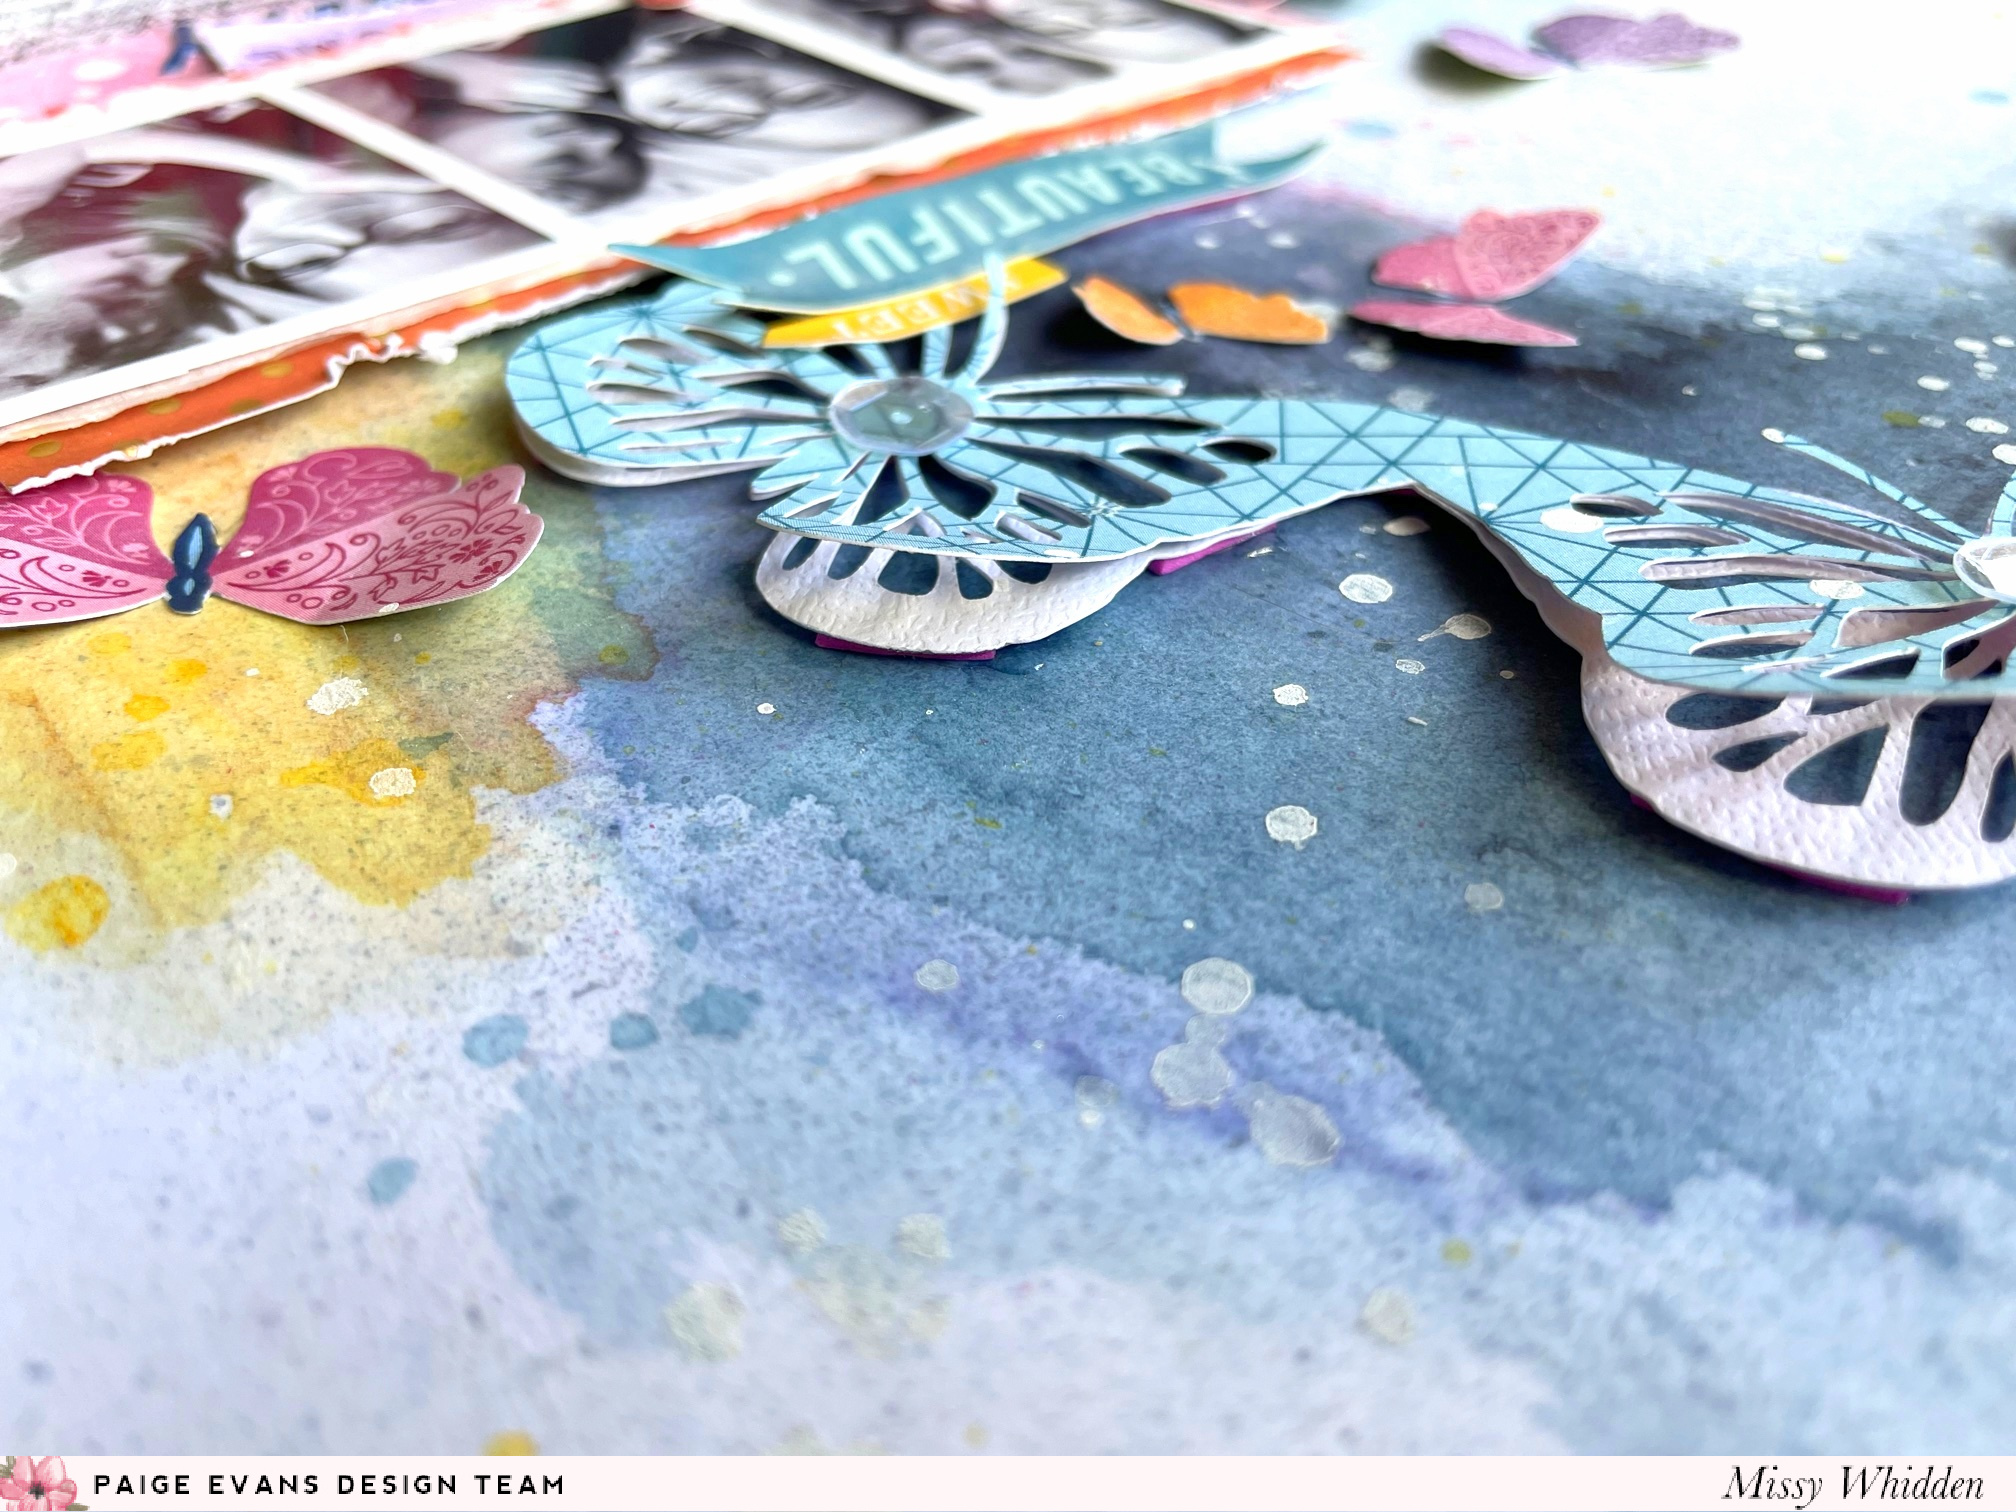
I started by cutting the butterflies once on Wonders Paper 15 and again on plain textured white cardstock. I wanted to create some depth and layers, so I glued them together and arranged the wreath on some smooth white cardstock. I wanted a dark blue color behind it, so after using clear gesso on the background, I used a few blue Distress Oxides. I just scraped the pads directly onto the paper in the shape of the wreath and then sprayed water onto it to activate the inks. I did a few layers of this to get it darker. I wanted the blue butterflies to stand out.
Here you can see the layers on the cut file...I love how the edges curl up! I popped up the entire thing with adhesive foam to create even more dimension and shadowing. I decided later to add a few more colors of ink next to the blue. I fussy cut lots of different colored butterflies from Paper 08 to scatter around the page as well.
I added pink and orange here under where the photo strip is. I used a mix of Distress Oxides and Shimmerz sprays. I layered some white tissue paper and a few patterned papers under the photo strip as well as some adhesive foam to give it some lift. I went small with the title and used a little sentiment that I fussy cut from Paper 12 that has all the tags. I also added a navy blue "Today" from the Puffy Phrase Stickers.
I wanted a pop of the dark blue here on the right so I tucked in a tag from the Ephemera Die Cuts.
I glued all the fussy cut butterflies all around the layout to spread all the colors around and break up all the blue. I also tucked in some green thread here down at the bottom.
Hello again, friends! I have a new layout to share for Pinkfresh Studio today. I used the brand new Happy Blooms collection, which will be available in the Pinkfresh Store on Friday, May 21st. It's full of beautiful Spring colors and patterns..lots of pretty florals! I wanted to feature this flower paper, so I tore a big chunk of it to use as part of the background. I attached it to a sheet of white textured cardstock and went from there.
I coated the cardstock with clear gesso to begin. After I decided where to place my photo, I used a few of the Ink Cubes to add some color behind it. I used Sweet Mustard, Coral Reef and Peach Fuzz. I just scraped the ink pad right onto the paper and used a wet brush to move the color around. It acts like watercolor, so it was easy to "paint" the area with it. This technique only works if you use gesso first; otherwise, it just dries as soon as it hits the paper.
I love using textured cardstock for this because you can see the texture through the color! I used a few papers from the 6x6 Paper Pad as layers behind the photo, and I popped it up with some adhesive foam. I fussy cut several more flowers from the other side of the flower paper and tucked those in around the photo. I also tucked in some thread here to bring a pop of that bluish purple color.
I popped up a few of the flowers here. I love that shadowing effect! I also used this cute butterfly from the Die Cuts. I bent up the wings and then machine stitched a cute little trail using white thread. To add a bit more color to the background, I splattered a bit of the Sky Blue Liquid Watercolor as well as some metallic gold craft paint.
I smudged a little bit of white gesso here around the photo to fade out some of the flower. Sometimes this makes the photo stand out a bit more against a busy background, but it really didn't do much this time. I fussy cut a bigger yellow flower from a different patterned paper to use there and added some pink thread.
I love tearing paper. The edges curl up and create such great texture!
I wanted a small title, so I used this "You Are My Everything" that I cut from another patterned paper. I used a sticker and a puffy sticker under it and then added my journaling with a gold pen.
Over on the right side, everything was just too plain and white. I tore a strip of this pretty blue paper to add on the edge and then made a little cluster. I used a floral die cut, a puffy sticker and some yellow thread.
Here are more close-ups...
I hope this gives you some fun ideas to try on your next layout. Be sure to check the Pinkfresh Store later this week to order Happy Blooms if you want to get your hands on it! I love how this page turned out, and hopefully it gives you some inspiration.