Thursday, December 17, 2020

Holiday Festivities / Pinkfresh Studio

Happy Thursday, friends!  Here's my newest layout for Pinkfresh Studio :)  I used the Oh What Fun! collection to create a fun Christmas page.  I used my photos for color inspiration, and I used this light blue patterned paper for the background because it matched so well.  I also started this page with the Leaf Wreath cut file to add some interest and detail.

I started by deciding where to put the wreath.  I cut it in half and placed it on the right side of the page.  I used a lot of white gesso behind it to fade out some of the pattern and create some white space.  The gesso also preps the paper for liquids and paints.  I used the Liquid Watercolors to create a pretty green area behind the wreath.  Once that dried, I splattered some watered down white acrylic paint to create a snowy effect.


This collection is awesome because it has so many fun colors in it.  I love the pops of the golden yellow and royal blues.  I used lots of cute little die cut and puffy sticker ornaments here hanging down from the photo.  I machine stitched through the cut file with metallic gold thread and bent up some of the leaves.  Here you can also see some of the Crystals I added in...they're so fun and pretty to use!

I created a little cluster here at the bottom using puffy stickers, cardstock stickers and more Crystals.  I popped the gift box up with some adhesive foam to create some dimension...I think that makes all the difference, especially in clusters like this.
Once I added in this bigger tree branch die cut here, I knew these little ornaments would look cute hanging below it.  I popped a few of them up here, and I love how that instantly makes it seem more lifelike.  Here you can see how the gesso makes the background look as well as the watercolors and paint.
I added another little tree branch puffy sticker here and tucked in some thread.  I also used a few more cardstock stickers and a chipboard poinsettia sticker.
Sometimes simple stitching can make the best little detail.  I went with gold because it just added a little bit of shine and sparkle :)
I added a few pieces here above the photos.  I tried to make sure I got all the colors in this area.
I added another poinsettia and green thread on this side.


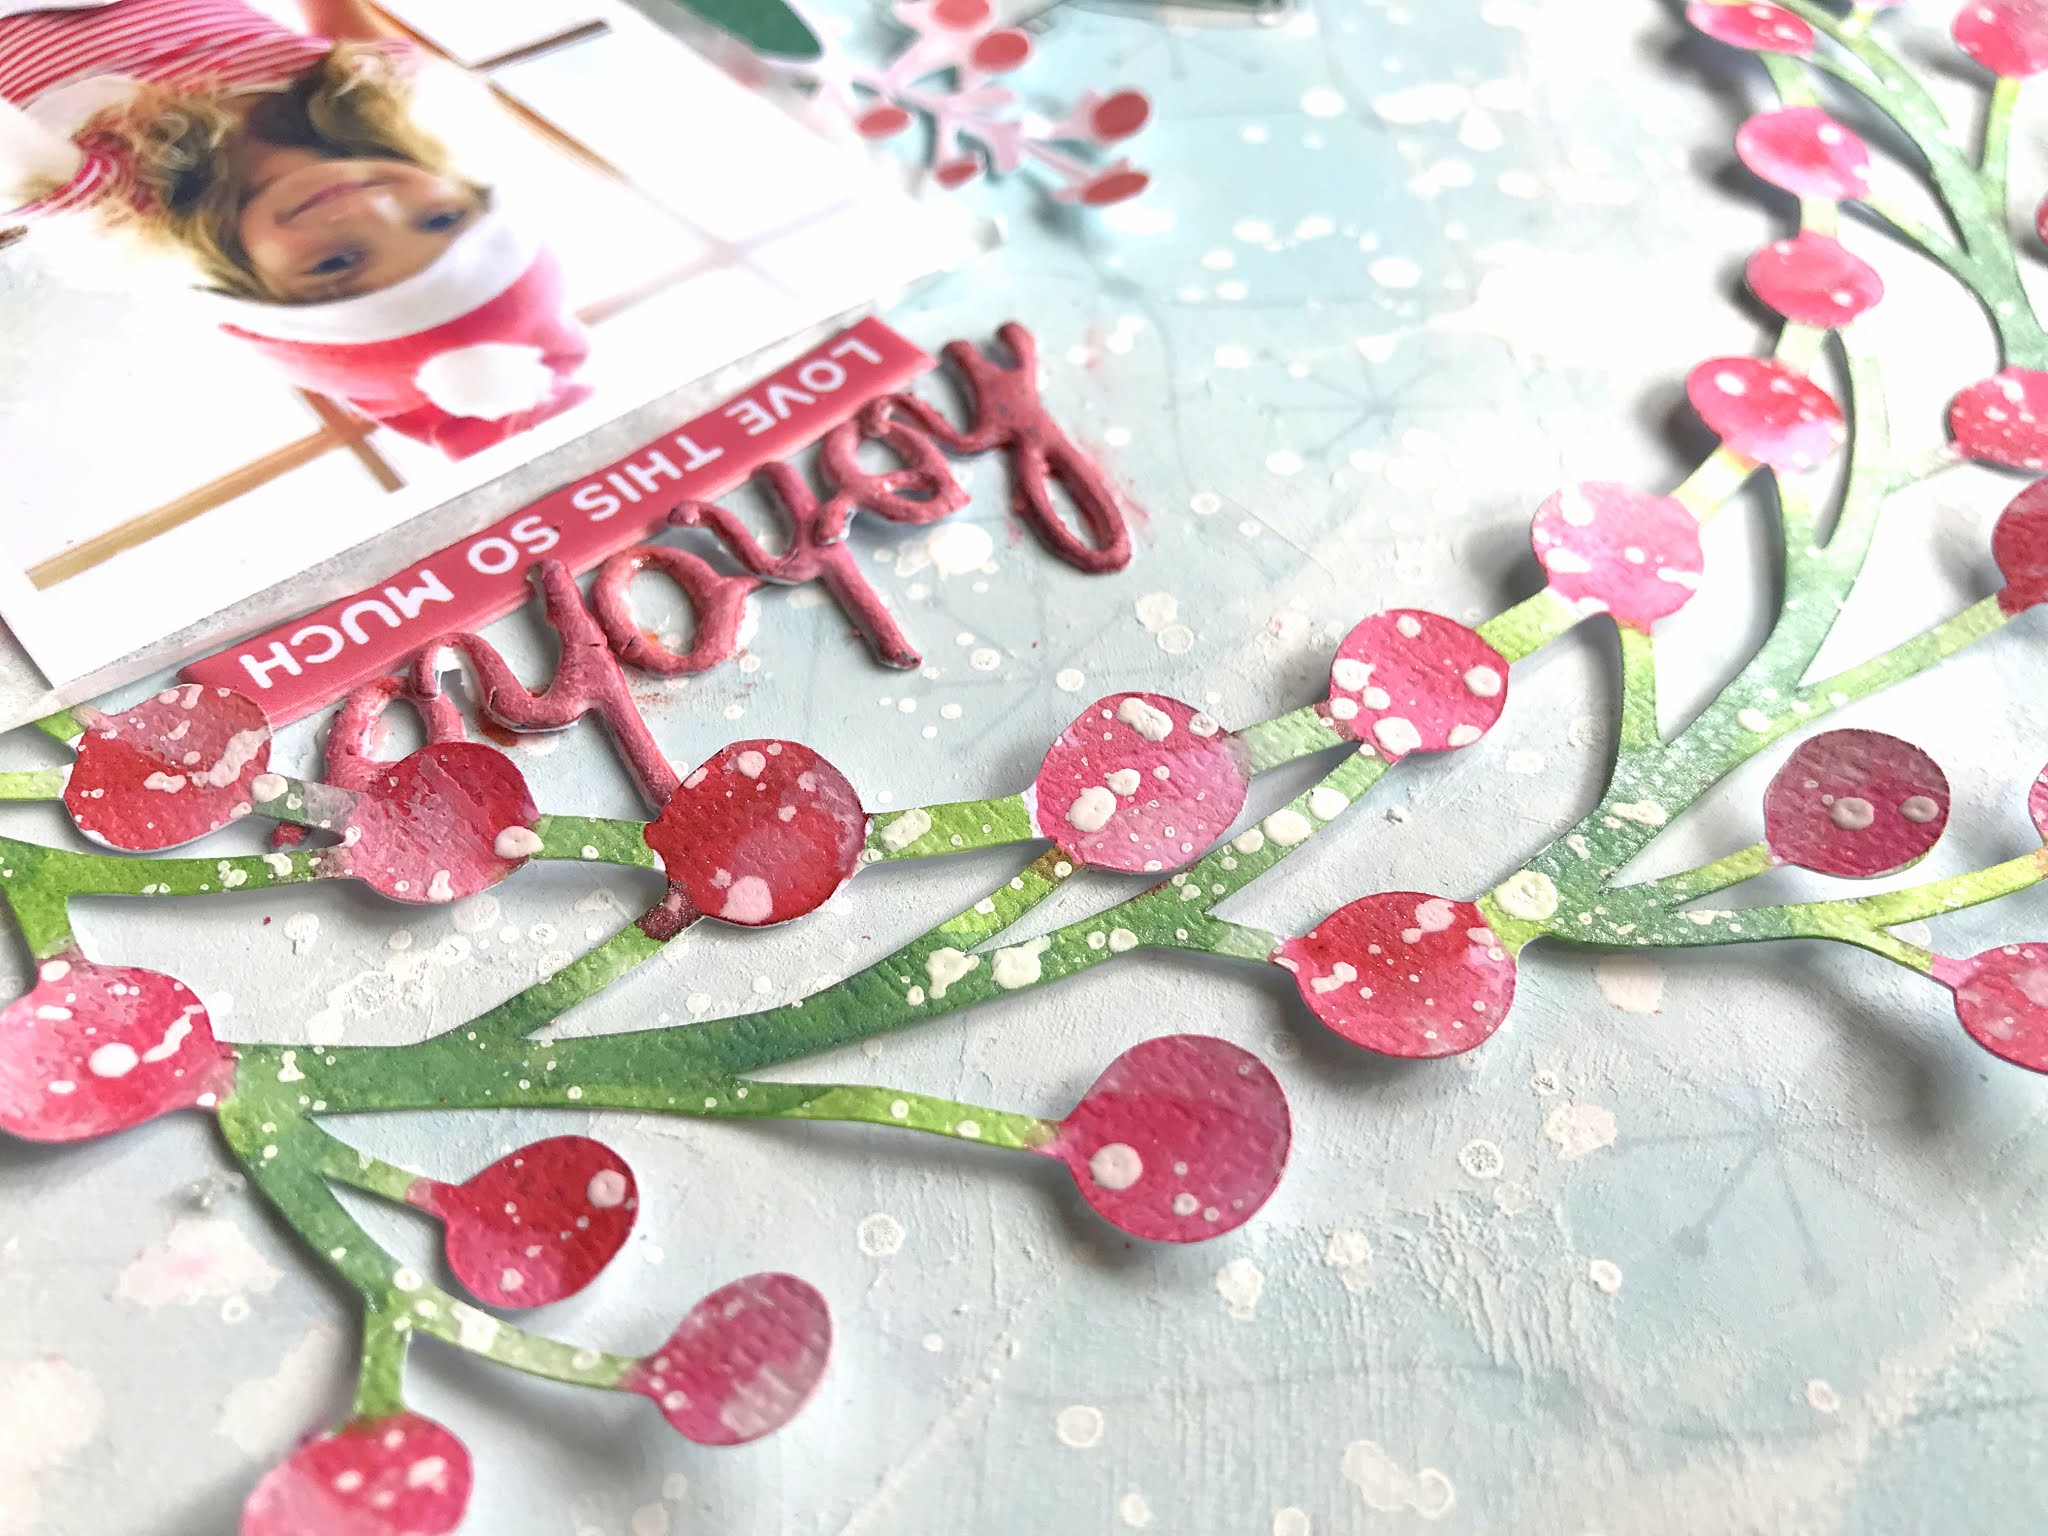
The title was easy in this instance because this die cut worked perfectly.  It was the perfect color and it fit right along the bottom of the photos.  I decided later to add in this "magic" puffy sticker.  I liked the pop of color it added.  At first it wasn't visible against the cut file because it was just too busy.  So I tore a piece of white cardstock and stuck it under the title.  It made the word visible and made it pop so much more.
One last close-up :)

I love how this turned out!  I love when a collection matches your photo perfectly like this...it worked out so nicely.  I hope this gives you some ideas to try, and maybe a new way to use a wreath cut file.  Don't be afraid to cut in half and run it off the page :)

Here's my process video:


Thank you for stopping in, and have a great day!

Saturday, December 12, 2020

Ho Ho Ho / Hip Kit Club

It's the weekend...yay!  Here's my newest layout for Hip Kit Club featuring the 2020 November Hip Kits.  I had so much fun putting this fun Christmas layout together.  I started the page with an exclusive HKC cut file...this pretty wreath.  I wanted to paint it, so I cut it on my Cameo using textured white cardstock.  I coated it with clear gesso first and then used the Nuvo Shimmer Powder & Lindy's Magical Powder from the Color Kit.  I also blended in some Lindy's products from older Color Kits to add some variation on the greens and reds.  Once it dried, I used white acrylic paint to add some lighter highlights and snowy splatters.

I also used an exclusive light blue patterned paper for the background.  I wanted to keep the mixed media white on that so the wreath would stand out.  I smudged a lot of white gesso in a big messy circle behind the wreath and then splattered lots of white acrylic paint all around the page.

I love how this turned out!  The white highlights make such a huge difference on the green stems and red berries.  I tucked the photo inside the wreath here on the left and embellished around the photo.  I just had to use these cute little mice stickers!  I placed this one here outside the wreath with some tangled thread under him.  I did add some adhesive foam under him to pop him up off the page.

This BOW!  Okay...literally all I did was cover it with the Nuvo Glimmer Paste from the Color Kit.  It's clear and SOOOO glittery and gorgeous!  I can't believe how this paste instantly makes anything more beautiful.  I popped up the inside pieces of the bow, and I love how they look so life-like and sparkly!
This paint job may look complicated, but it really wasn't.  Check out my video down below to see how I did it...I promise it's easy!

I love how the bow curls up off the page...it just did that when I pulled it off the Cameo cutting mat.


My only problem when I was almost done with the page was where would I put a title.  Sometimes I don't even consider that until it's too late...haha.  I knew I needed something small because there was no where to put a bigger one.  I settled on "ho ho ho."  These alphas are actually black, but I didn't want to use them in that color.  I had no other black elements on the page, so I painted them.  I first coated them a few times with white gesso.  I used a blend of the Nuvo Shimmering Rose Crystal Drops and the Rudolph's Nose Red Lindy's to color them up.  I placed them here above the photo along with an exclusive puffy sticker.

Finally, here is the little cluster or "scene" I created next to the photo.  I combined some chipboard stickers, puffy stickers, acetate die cuts, and thread here.  I popped a few things with adhesive foam and layered everything together.  That little mouse!

I absolutely love how this turned out!  The wreath came together better than it did in my mind.  I hope you'll try this...it was so much fun!

Here's my process video:


Thanks so much for stopping by, and have a wonderful weekend!

Monday, December 7, 2020

Real Life Memories / Pinkfresh Studio December Challenge

Happy Monday, lovely friends :)  The Pinkfresh Studio December Challenge is up, and it is awesome!  It's All Things Holiday with some beautiful Christmas-y colors that coordinate perfectly with the Oh What Fun! collection.  Here it is:

Here is what I created.  I was in the mood to create my own mixed media background, so I pulled out some smooth white cardstock and the Pinkfresh Liquid Watercolors.  I mixed Sky Blue and Sapphire to create a pretty watercolor sky.  I did use clear gesso first, and I just let the colors run and blend together.  I love how this mimics a sky with clouds :)  

I also wanted a large title to reflect my photos...real life moments when your kids don't cooperate for a photo...haha :D  I used the Adore Alpha Stamp & Die Sets with the Storm Mini Ink Cube to create it, and I added "memories" above it, which is a puffy sticker.

I positioned my photos beside each other horizontally with a layer of tissue paper, patterned paper and adhesive foam behind them.  I embellished here using a Christmas tree die cut. 

I used a few more die cuts here on the left side.  I cut a slice of yellow from a patterned paper to add to the outer edges here.  I wanted pops of that color all over the page.
I created a cluster full of goodies down below the photos using a mix of die cuts, stickers, puffy stickers and the Essentials Crystals.  They are so perfect for a Christmas page.  They add just the right texture, color and sparkle.
I machine stitched through the title here using white thread.  I really love how the background turned out, and the different shades of blue look really pretty together.  I added a chipboard sticker above "memories," and I love how it fit right in that little nook.  I topped it with a green star puffy sticker and more of the Crystals.  I wanted to fade out some of the red on "memories" so I smudged some white gesso over it.
I even added a few of the Crystals to this tree :)
Here are more close-ups of all the pretty things...


I also smudged some white gesso over these red die cuts.  That red was a different red than the red in my photos, so this helped with that.
Of course I added in some thread (my favorite!)...I used dark blue and golden yellow.

I really love how this came together!  I hope it inspires you in some way.  I have learned over the years that not all of our photos are necessarily "scrapworthy."  However, they show real life.  And these photos were how our day went at the tree lot.  No one was happy.  No one wanted to participate in mom's photos.  But I took them anyway, and I'm going to document them.  Don't be afraid to scrap your imperfect photos.  It's still a memory, so it deserves to be scrapped :)

Be sure to join us in the challenge this month for a chance to win a $50 gift card to the Pinkfresh Store!  Yessss!!

Here's my process video:


Thanks for stopping in, and I'll see you again soon!

Sunday, December 6, 2020

Merry Christmas / Hip Kit Club

Hello again, friends!  I'm excited to share my newest layout for Hip Kit Club, and it features the beautiful 2020 November Hip Kits.  They are full of exclusive papers and embellishments, and everything is sooooo pretty!  I used one of the many holiday cut files to start this layout.  I cut the "Merry Christmas" on one of the light pink patterned papers.  I smudged some white gesso over it to give it a faded snowy look, and then I dabbed on some of the Lindy's Gang Magical Powder (Rudolph's Red Nose) over it to give it some darker pink areas.

I also used a patterned paper for the background, which I also coated with white gesso.  I just love how it creates an instant snowy look.  I used a lot of the Nuvo Jade Fountain Shimmer Powder to create all that pretty green.

Here you can see the pattern on this paper a lot better.  I popped the title up with some adhesive foam, which makes such a big difference, I think.  I love the shadows it creates!  And look how shimmery the colors are...so pretty :)  I took the snowy effect a bit further and splattered some white acrylic paint over everything.  Instant snow :)
You can see the adhesive foam here, but only if you look from the side...haha.  I used some of the acetate snowflakes around the page for some more fun snowy effects.
I embellished all around the photo using lots of things.  I used some patterned paper and a chipboard frame behind the photo. I tucked in some die cuts here on the right side.  There are so many different shapes and icons to choose from!  I added a bit of pink thread underneath the photo and then a smaller title using the mini puffy alphas.

It's fun to mix and match all the different kinds of embellishments.  I love these acetate pieces!
It's so cool to see the dimension from this angle.
I added a few small red puffy star stickers to the title, and I smudged some white gesso on them to thive them that faded snowy effect as well.
Here are more close-ups of all the details.

I hope this has given you one or two ideas to try on your next layout.  These Christmas kits are so much fun, and everything is unique to Hip Kits.  

Be sure to check out my process video to see how I made this:


Thanks so much for stopping by, and I'll see you again soon!  Have a wonderful Sunday :)

Saturday, December 5, 2020

Adventure Awaits / Paige Evans DT

Happy Weekend, friends :)  I'm sharing my newest layout for the Paige Evans Design Team today, and I am so excited about how it turned out!  I used Paige’s Go the Scenic Route collection. I have been wanting to fussy cut these gorgeous butterflies for awhile now, so I did just that for this page.  I cut them all from Paper 20 and the 6x8 Paper Pad. I wanted them to be the focus of the design. I also wanted to use a lot of yellow on this layout, so I tore a big piece of Paper 14 to use on the background. I attached it to white cardstock and went from there. I used clear gesso on the white area and white gesso on the yellow area. I wanted to fade out some of the white dots and create a white space for mixed media behind the photo. I used a combination of blue, pink, and coral Shimmerz sprays and gelatos to add the color to the background.

Once the gesso dried, I sprayed the colors onto the papers, added a bit of water with a brush, and let the colors run and blend. I wanted the butterflies to look like they were flying out from behind the photo and up along the arc of the yellow paper. I glued them all down just in the centers so I could bend the wings up and create a ton of dimension. I wanted a soft blue color here to mimic a sky since the yellow reminded me of the sun.


These puffy stickers are so fun to use.  They're so soft and they stick really well.  I added the "play a little" sticker here because it's mostly white, and I like that is blends into the white background here.
I wanted to add bright colors to contrast against the photo and all the yellow, so I went with coral and pink. I also used a pink gelato here to really intensify the color. I tucked in hot pink thread and added a few Ephemera Die Cuts and Puffy Phrase Stickers. I felt that I didn’t need to much embellishing since the butterflies were all this page really needed. I wanted to keep this side of the photo pretty clear so it wouldn’t compete with the other side.
To enhance the feeling of the pool here on this side of the photo, I added a more intense blue and aqua gelato over the blue spray. I went simple here and just tucked in some yellow thread. My title is pretty simple. I used a Puffy Phrase Sticker with some additional stickers from the same set. I wanted to leave the bottom of the layout white and open to create balance with all the color going on.
I wanted to keep the yellow paper mostly yellow, but just with a few different shades and variations thrown in.  I wound up making this area more orange/coral around the photo, but I did add some yellow sprays and even a bit of a Distress Oxide at first.  It's all about layering the colors :) 
I love these torn edges of the yellow paper.  Something about the unevenness and distressed effect is my favorite.
One of my favorite things about using butterflies on my pages is the dimension they create.  I always glue down just the centers so the wings can be bent up.
I added a bit of yellow thread here for a pop of color and some added texture.  And just because I love it :)


I hope this inspires you today!  It was nice to take a break from creating Christmas pages...haha :D  I love how this came together, and I had a great time making it.  Be sure to check out my process video to see all the details:


Thanks so much for stopping by, and I'll see you again tomorrow :)