Saturday, June 18, 2016

One in a Million / A Flair For Buttons

It's the weekend...yay!  Happy Saturday to you, scrappy friends.  I have a new layout for A Flair For Buttons to share today.  I decided to do some stash busting for this page, so I browsed my shelves and found my container of Fancy Pants goodies.  This is mostly from the Be You collection from 2011!  Yes, I'm a hoarder...what can I say... :D  I pulled three flair from three different sets to use for this.

I began with creating my title using the Open Letter Alpha cut file from The Cut Shoppe and backing each letter with patterned papers from the FP collection.  I somehow lost the "a" and didn't want to re-cut it, so I just hand drew one in a cursive font and cut it out.  I pulled out this grey sheet to use as my background, and I love how it looks!  I usually go for white, but this was a nice change.  I pulled out several coordinating washi tapes from my stash and created a rectangle around my title and photo.  I did add a bit of white gesso around the edges of the tape and in side the rectangle so I could add some Shimmerz in matching colors.


I forget how awesome grey can be as a neutral.  These colors look so pretty up against the background, I think.  I added this fun heart flair to the center of the "O" and added some tangled thread under it.  Here you can see the watercolor work as well as some machine stitching around the edges.  Washi tape is so fun to use!


Here's another flair inside another "O."  I love these flair that are so general that you can use them on any type of project.  I love backing cut files with paper...it's such a fun way to get lots of color and pattern on your layout!


And here's the third flair. It's the perfect color, and it describes my photo :)  I added some papers and a frame under the photo as well as some thread and a sticker.


I love tearing my washi tapes...and I don't use them enough.  They are all from different manufacturers, and I have no idea who made what.  I do know the top one with the text is a recent purchase from Michael's.  The striped one is from there as well.


One last close up here of the bottom area.  I added my journaling to the bottom here and added a clear sticker under it along with more washi and sewing.
 
Here are the flair sets I used:


Thanks for stopping by today...enjoy your weekend!!

Thursday, June 16, 2016

Lovely Paige / My Mind's Eye

Happy Thursday!  Today I'm sharing my newest layout for My Mind's Eye, and I was inspired by all of the cute flamingos in the On Trend 2 collection.  I pulled some from the Chipboard Elements, the Mixed Bag of die cuts and a wood veneer one.  Then I decided to paint a giant one!  I found a digital cut file in the Silhouette store, and I used my sketch pens to draw it onto my background paper.  Then I used a paint brush and some Shimmerz Inklingz and Creameez to paint it.  I'm definitely no professional, but I love how it turned out!

I used a few die cut floral pieces and a shiny gold doily as layers behind my photo along with a bit of striped pattered paper.


Every time I see flamingos, there are always a lot of them together.  I layered these up so it looked like they were in a small herd, and I love how they're "looking" at her in the photo.  I added some shiny gold thread and a gold Rub-On heart.


I used turquoise acrylic paint for my background splashes, and I love how it looks up next to the gold, navy blue and bold pink.  I combined a Rub-On with the alpha stickers for my title.


How adorable is this flair button?!  It had to be used on this layout, and this was just the right spot.  I tucked in another little flamingo here since he was facing the opposite direction as the others.  I also layered in a floral wood veneer.


Using a water brush made painting this flamingo really easy.  I wasn't intending for it to to look realistic.  I wanted it to have a messy look to it while still echoing the others.  I love how it turned out, and using the Shimmerz made the shading really easy.  I added some gold splatters as well as some paint splatters.


Here's one more close-up of the top...heart stickers, layers and shiny gold thread ;)


I had a ton of fun making this...I hope you give free hand painting a try!  And if you have a Silhouette Cameo, remember the sketch pens.  They can draw anything and then you're able to basically just paint it in.

Hope you have a great day!  See you soon :)

Wednesday, June 15, 2016

Cherish / Hip Kit Club

Hey, friends!  I'm back today to share another layout for Hip Kit Club.  This is my final layout using the 2016 May Hip Kits, and I started with that beautiful Bella Blvd Illustrated Faith washi tape.  I added a bunch of strips to some cardstock and then punch circles out of it.  I followed the June sketch designed by Ashley Horton, and it has lots of circles.  I used a few different pink acrylic paints on my background mixed with a bit of Caribbean Sunset Shimmerz.  I used a palette knife to smudge the paint, and it gives such a cool look.  It doesn't blend because it's so thick and it dries pretty quickly.  I punched my photo as well and made that circle my focal point.


I used an orange gelato to smudge a bit of color onto this Bella chipboard word.  I love how this background looks with the tape and punched circles. Such fun girly colors!  I didn't use any gesso on this, so my I was able to write pretty smoothly on the cardstock.


I love how this vellum heart turned out!  I used some of the paint on it and the sprayed Shimmerz on it.  It curled up a lot, but it smoothed out once it dried.  I stitched it down here and then added a die cut and some enamel hearts. All of these pieces come in the kits.


I added pop dots under my photo which makes it really easy to add things under it.  It also gives great dimension and shadowing.  I added this perfect little floral cluster here as well...it matches the tape!


Here is the June sketch if you'd like to use it:


Here's my process video...I hope you enjoy!


Thanks so much for stopping by...have a wonderful Wednesday!

Monday, June 13, 2016

Adventure Awaits / Bella Blvd

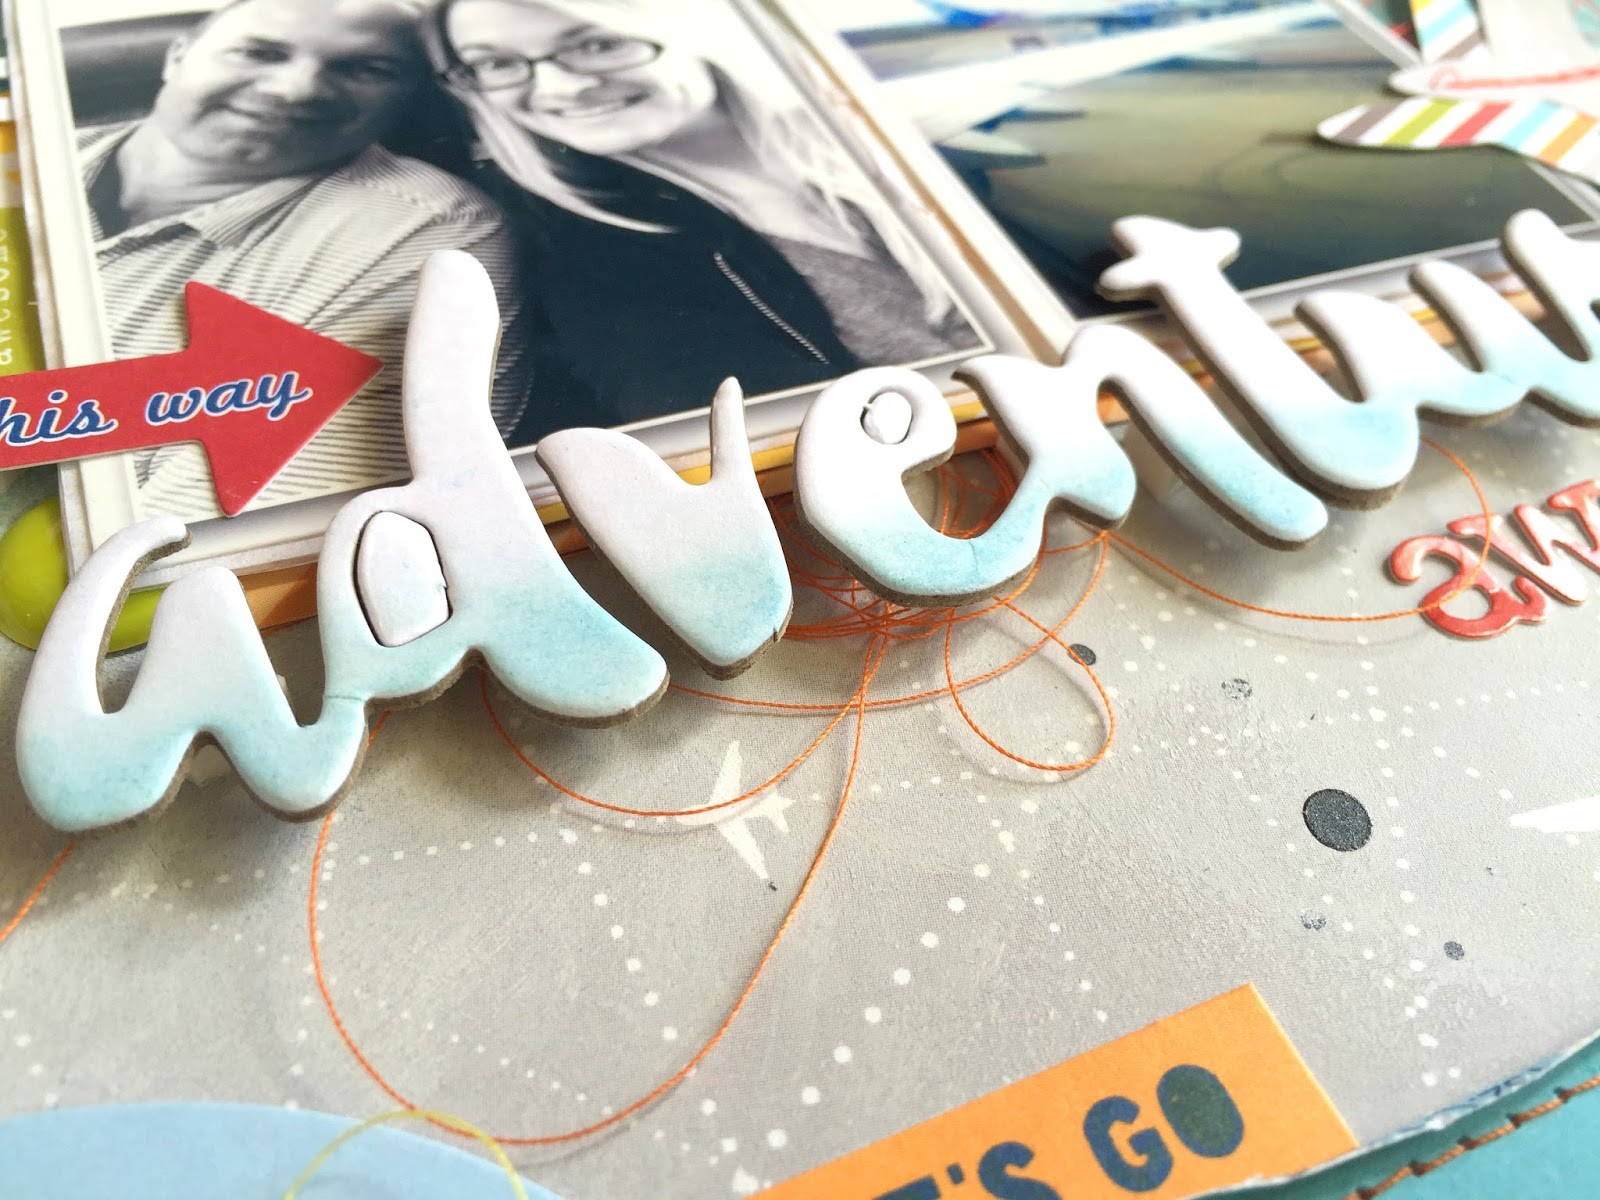
Happy Monday, friends!  Today I'm sharing my newest layout for Bella Blvd.  I was up on the blog Friday, and I used the Let's Go collection to create this fun travel-themed layout.  I pulled a few bits and pieces from a few other lines as well.  My focus on this layout was creating themed die cuts to go along with your design.  Since these photos are of me and my husband waiting for our plane to take off, I wanted to use my Cameo to cut out some small airplanes.  I used various patterned papers to cut them, and then I layered them together and stitched through them.  I love the little clusters they created.

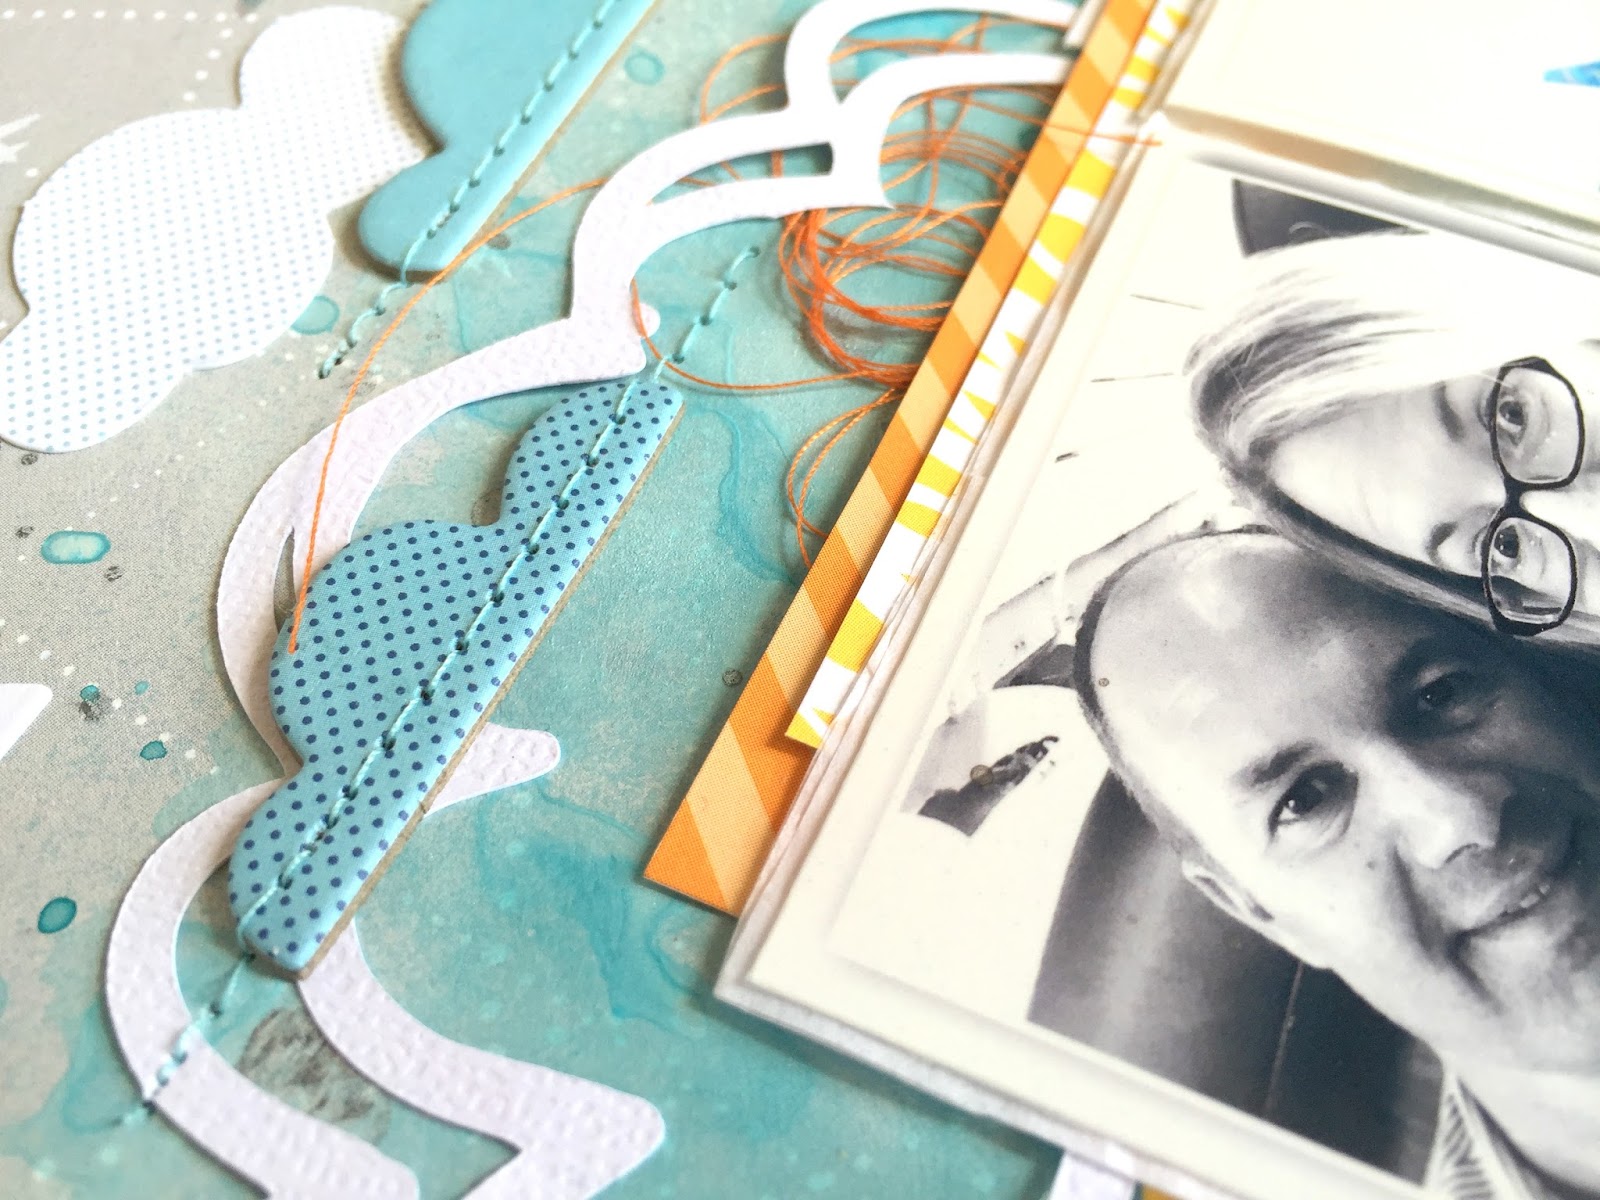
I did a bit of mixed media on my background with white gesso and blue Shimmerz.  I wanted to create a sky effect with the clouds.  Since we were about to be high in the sky, I figured it was appropriate :)


I love how this area turned out.  I used a blue gelato to add some light blue smudges to the bottom of this chipboard piece.  I love how it breaks up the solid white and gives it a bit of detail.  I used pop dots to raise it up, and that makes such a difference.  I added a bit of orange thread and a few stickers as well.


Here's a look at the die cut airplanes.  This is a great idea to do if your collection doesn't have the exact embellishment you're looking for.  I ran them through my sewing machine with some extra tangled thread.  I angled the planes so it looks like they're taking off.


These clouds!  I wish had a thousand of them.  I love how they look layered like this and the stitching added some fun detail.  The big white die cut cloud is from The Cut Shoppe.  I added in some orange and yellow papers here from another collection just to add a pop of a different color.


Lots of fun stickers and enamel dots here...I had to add in a little sun sticker since I created a sky.


Here's one more look at the title area.  I added in some Tiny Text red alphas to complete my title.  I'm usually not a huge fan of red on my pages, but this one just called for it.  I like it in small doses, I guess :)


Thank you so much for stopping by today!  I will see you again soon!

Saturday, June 11, 2016

Gettin' Frisky / Citrus Twist Kits

Happy Weekend!  I have a layout for Citrus Twist Kits to share today using the 2016 June Main "Capri" Kit.  I created this layout with only one of the exclusive patterned papers and a few embellishments.  I love both sides of this beautiful patterned paper, and so I cut a bunch of different-sized hearts on my Cameo.  I placed them all around my photos and left room in between them for my title.  I love this fun color scheme!

I did a bit of mixed media work on the background.  I used clear gesso first and then came in with a few different colors of watercolor.  I also added in some background stamping using the exclusive stamp set.


I glued all these hearts together while I was putting everything together so they wouldn't get scattered.  I liked how I placed them the first time, so attaching them as a big unit helped them to stay put until I glued them to the paper.  I also added in some tangled thread from my stash and some of those cute Freckled Fawn silver puffy heart stickers.  I cut the word "frisky" on white cardstock on my Cameo and used watercolors to make it pink.


I added in some of the Cocoa Vanilla alpha stickers to complete my title, and I used four of the exclusive cut apart labels as layering pieces.  I love how the watercolor turned out on the background...very subtle.


I added one of the Cocoa Vanilla frames to this photo and added pop dots under it.  I love how it creates depth and gives a nice shadow effect.  This was the perfect spot for my  journaling.


Here's my process video of how this layout came together.  I hope you enjoy and get some fun ideas for your next layout!


Thanks so much for stopping by!

Friday, June 10, 2016

Fave Photo / Shimmerz Education Team

Hey, friends!  Happy Friday...yay!  Today I'm sharing a new layout I created for the Shimmerz Education Team.  I create weekly Shimmez Shortz videos on YouTube every Thursday sharing tips, techniques and ideas for using Shimmerz products.  I also do a lot of Product Spotlights which show what the products look like.  This week's video shows you how you can use a brayer to create a fun background.

I used Coloringz Heidi Ho Blue, Don't Citron Me & Oh Say Can You Sea and Vibez Jeni B Bleu to create the first layers and then came back in with Dazzlerz Jelly Bean Green and Shimmerz Anchors Away to add even more color and sparkle.  I threw a bunch of embellishments I had lying on my desk and created this layout.  I used a few Me & My Big Ideas Project Life cards & stickers, some Thickers, a flair button, a puffy cloud sticker, some enamel hearts and some stamping.  All random goodies from different manufacturers :)


Here you can see how the brayer spread the paint on the cardstock.  You really don't need much ink to do this, either.  I didn't use any gesso or anything to prime my cardstock, and it did not warp at all.  It looks like a lot of ink, but it's not.  I also added some splatters.


I combined some Thickers with some Bella Blvd black alphas here, and I used a fun Michael's $1 stamp to create that fun checklist.  I added some tangled thread and some machine stitching.  That transparent word is from Pinkfresh Studio.  I also added in some washi tape there on the left of the title area.


More washi tape down here, more thread and a MAMBI sticker.  I just love all the green and blue in the background!  I'll definitely be using the brayer again soon.


Here are a few more MAMBI stickers and some stamping.  That big scribble circle die cut has been sitting on my desk for forever...it makes the perfect messy layer.


Here's the Shimmerz Shortz if you'd like to see the brayer in action and how it created this background.


This is the 43rd Shimmerz Shortz video, so make sure you check out all the others to get even more ideas and learn more about all the Shimmerz products!  You can view them on my channel or the Shimmerz TV Channel.

Thanks for stopping by!

Thursday, June 9, 2016

Laugh Happy / Hip Kit Club

Happy Thursday, friends!  I'm back today to share my latest layout for Hip Kit Club.  I'm still using the 2016 May Hip Kits.  I mixed in a lot of Jillibean Soup paper and embellishments with the exclusive pieces designed by Kim Watson.

I cut one of Kim's cut files on this really busy and colorful Jillibean Soup patterned paper.  I added a lot of white gesso around the area to fade away a lot of the busy pattern.  I came in with some pink Shimmerz Vibez to create a solid color around the cut file.  I backed it with another exclusive paper and added a bit of yellow to make it pop a bit more.  I also used a black pen to trace around the edges.  I added lots of exclusive die cuts, and that adorable camera is a Jillibean Soup placemat that I added yellow color to.


I added pop dots to the camera to give it some depth.  I love how these pretty feathers curve around the camera's edge.  I added a few Simple Stories wood veneer feathers as well a few other things...an exclusive flair button, some Bella Blvd chipboard and enamel hearts, exclusive puffy stickers and cut apart phrases and some tangled thread from my stash.


Three cheers for color!  Love all this together...I fussy cut that little "life" piece from the cut apart sheet that Kim designed, and that floral cluster is from the Illustrated Faith Bella Blvd chipboard sheet.


Here's a closer look at the background.  I love how you can still see the pattern through the gesso and ink yet it's still pretty faded and toned down.  I cut this little circle from the cut apart sheet and added a few of the exclusive acrylic triangles.


Here's one more close-up of the bottom area.  I love the shadow created from the pop dots!   This was also the perfect spot for my journaling.


Here's my process video if you'd like to check it out...


Thanks so much for stopping by, and have a great day!