Tuesday, November 17, 2015

Hi Hey Hello / The Cut Shoppe

Hey there, friends!  I hope you're week is going well.  Today I am sharing my latest layout for The Cut Shoppe using three different cut files.  I used two older sets mixed with a newer one.  I used that fun brush stroke with the heart from the Doodle Dandy set and a few flowers from the Funky Florals set.  I used the Hi Hey Hello cut file for my title.  It's so fun to mix and match different cut files together!


I used the Pink Paislee Memorandum collection for this layout.  I was inspired to use it because of the purple color in my daughter's shirt.  The purple in this collection matched perfectly!  I used the purple patterned paper to cut a large brush stroke and used that as a big base for my photos.  I added a bit of floral paper to the bottom and top of the page and then made sure those colors were mixed in to the middle of the design.  I went through several layers of gelatos, spray mist and paint to get my title just the right color.  I used gelatos to color the die cut flowers and then added some buttons to the centers.


I started out coloring this die cut with different colored gelatos.  I didn't like how it looked, so I added a few different colors of spray mist.  I didn't like that, either, so I finally painted over it all with some blue acrylic paint.  I added pop dots under it since I raised my photos up as well.  I love this cut file because it can be used on any type of layout.


I fussy cut a few flowers from the floral paper and added a washi tape heart.  I also added splatters in a few different colors and some silver machine stitching.
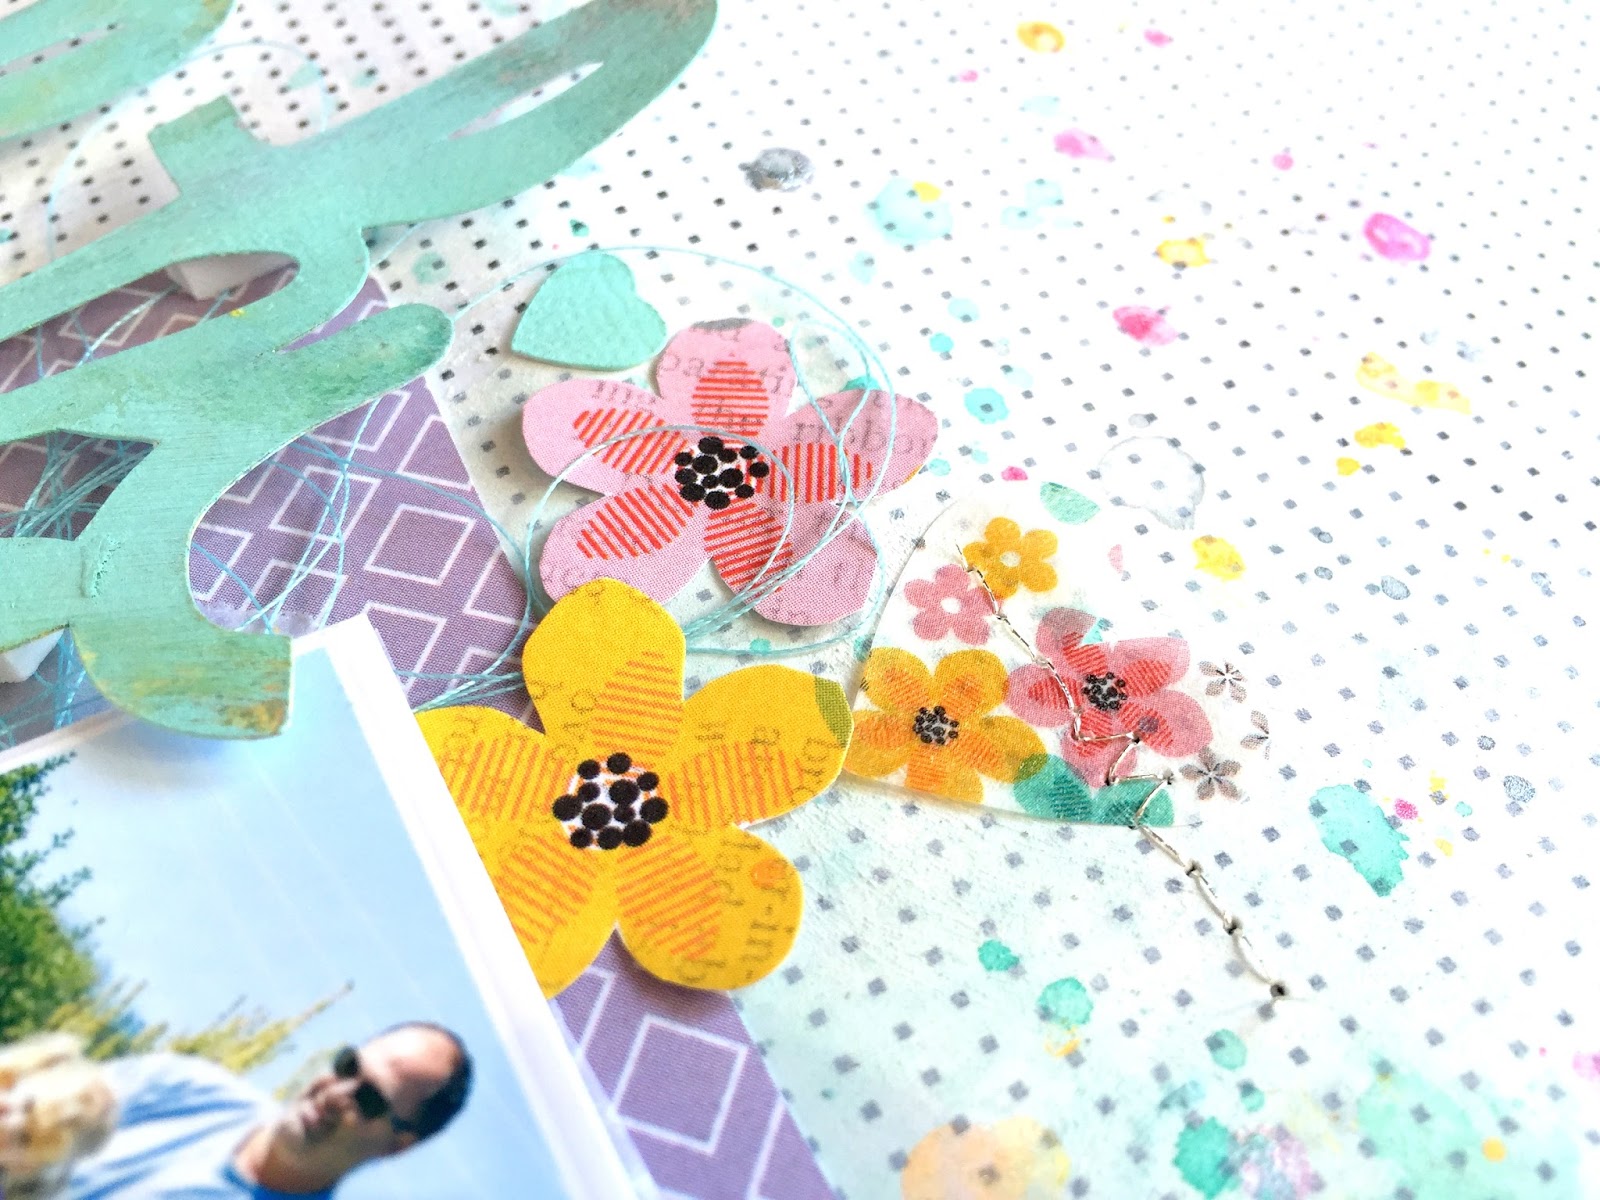

These flowers turned out so cute, I think.  I haven't used buttons in forever!  I added some silver thread to the centers for a bit more detail.  I love these pretty colors together!


Here's a shot of the bottom of the layout.  I added in a few paper layers, a flair button, a washi tape heart and some machine stitching.  I like making sure all the colors from the center are represented in the lower and upper parts of the page.  Does that make me OCD?  :D


You can check out how I put this page together from start to finish if you'd like.... I hope it inspires you in some way!


Thanks so much for stopping by, and have a great day!

Saturday, November 14, 2015

Love This Day / My Mind's Eye

It's the weekend....yay!  I hope you all are able to relax and get in some crafty time this weekend.  Today I'm sharing my latest layout for My Mind's Eye.  I'm still in love with the On Trend collection, and I decided to use it with a few bits and pieces from the My Story collection.  A lot of this page contains cut outs from the large frameables booklet.

I wanted this to be bright, airy and light.  The colors in the On Trend line just scream those things to me, so I didn't want to go too bold with my mixed media or my background.  I started with some My Colors Cardstock in Snowbound and the "Sweet" Scroll paper with all those pretty flowers.  I added a bit of white gesso so I could add just a little bit of color to the background.  I used the packaging technique and used some Shimmerz Spritz in Caribbean Sunset to add that light coral color.  Then I used Heidi Swapp Gold Color Shine to add some gold splatters.  The big "love" and those flowers near it were all fussy cut from one of the frameables.


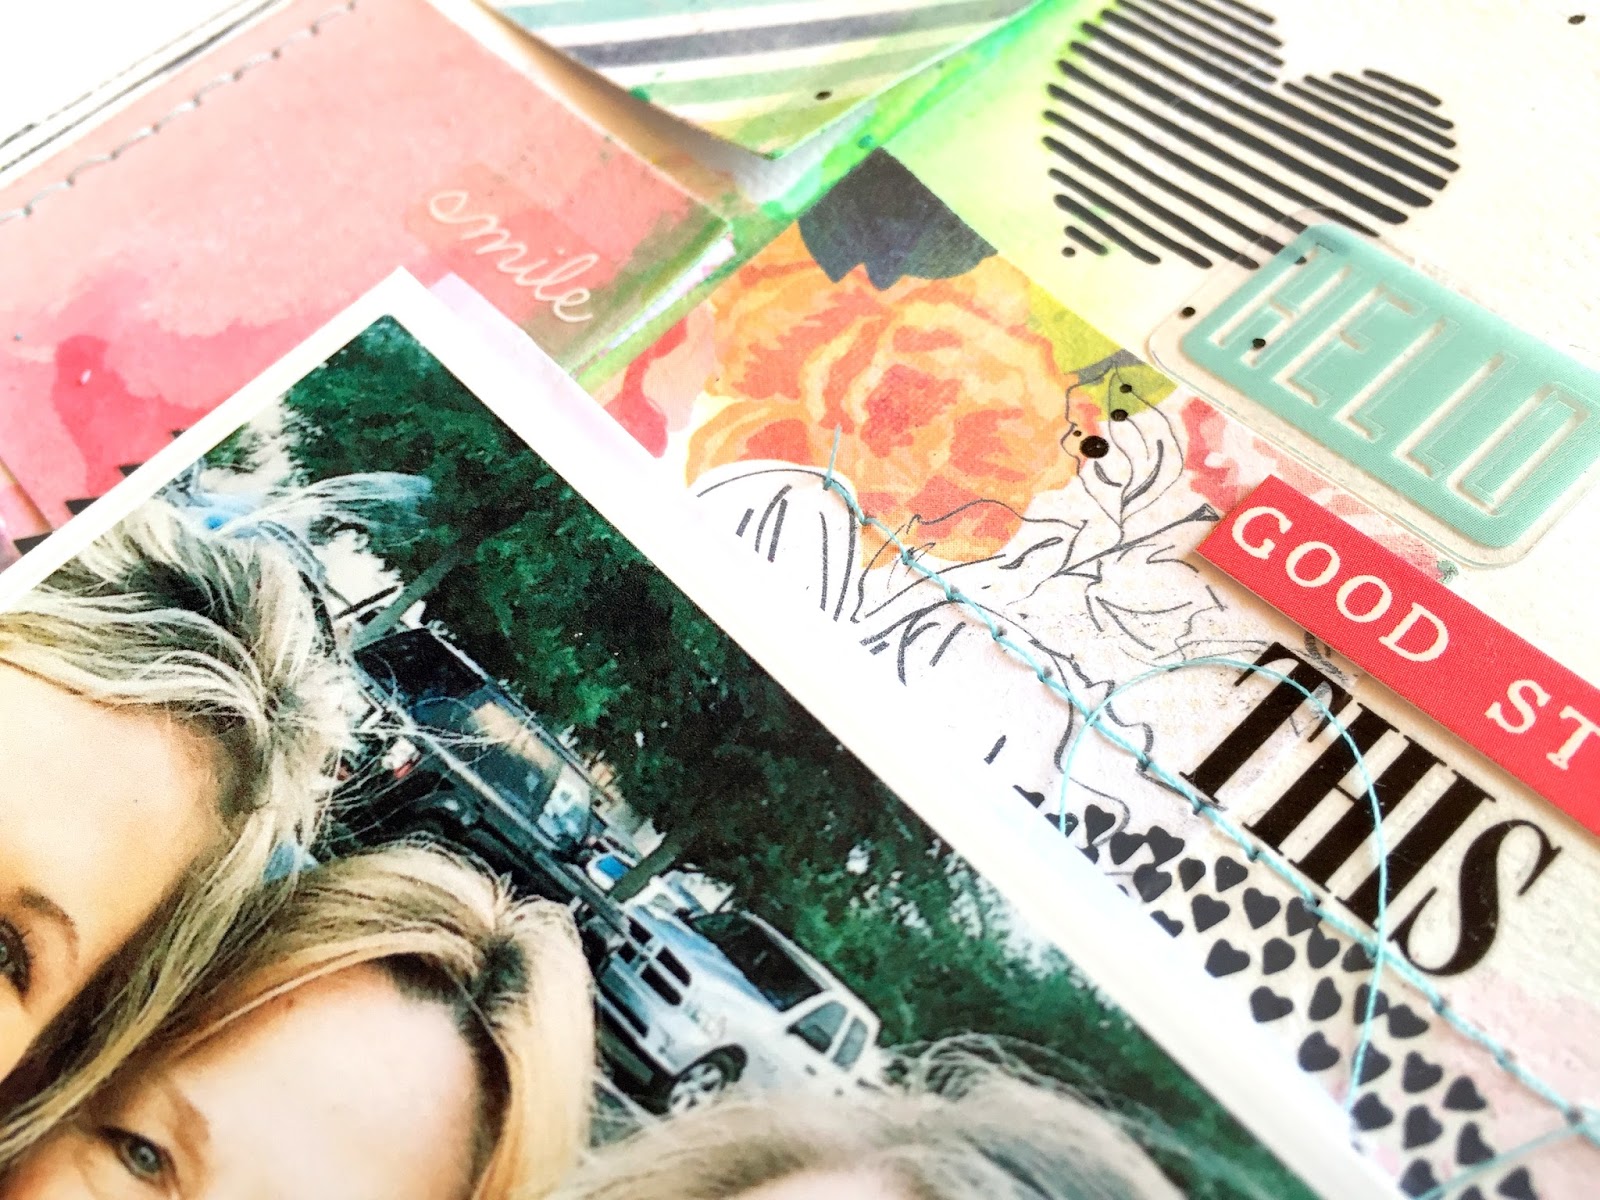
This cute little banner sticker is from My Story, and it matches perfectly.  I used another piece of a frameable to layer here (the green piece) and a piece of one of the 3x4 cards with shiny gold and white stripes.  Gold stitching was a must on this page :)  I think using black and white photos really makes everything really stand out without being overwhelming.


I love the texture of the My Colors Cardstock...it takes mixed media well, and I love how it looks and feels.  I added a few On Trend brads to the centers of these flowers.  MME always does such a beautiful job with brads!


Finally, I combined some of the round My Story alpha stickers with some Thickers from my stash for the title.  My journaling fit perfectly right under it.  I love the mix of these beautiful colors!


I hope this inspires you to create something light and airy...and thanks for stopping by!

Thursday, November 12, 2015

Merry Chrithmuth / Hip Kit Club

Hey, friends! I'm SO excited to share my first layout using the 2015 November Hip Kits! They truly are one-of-a-kind and so gorgeous! There are so many exclusive pieces this month that you can only get in these kits. I decided to scrap this cute picture of my daughter from a few years ago at Christmas time. She was missing her two front teeth, and so my title reflects that...haha!

I started with a sheet of white cardstock from the Cardstock Kit and the striped Pinkfresh Studio paper from the Main Kit. I added some white gesso first and then used the exclusive stencil and Silver Metallic Paint Dabber from the Color Kit to create those little silver circles. Then I used a few gelatos from my stash to give a little bit of teal watercolor to the background. I used a few of the 3x4 cards from the Embellishment Kit as layers and several of the Pinkfresh die cuts. 


I absolutely love the mix of alphas this month! These awesome red October Afternoon letters look awesome mixed with the Pinkfresh Studio puffy alphas. Aren't the reds and teals so pretty together?


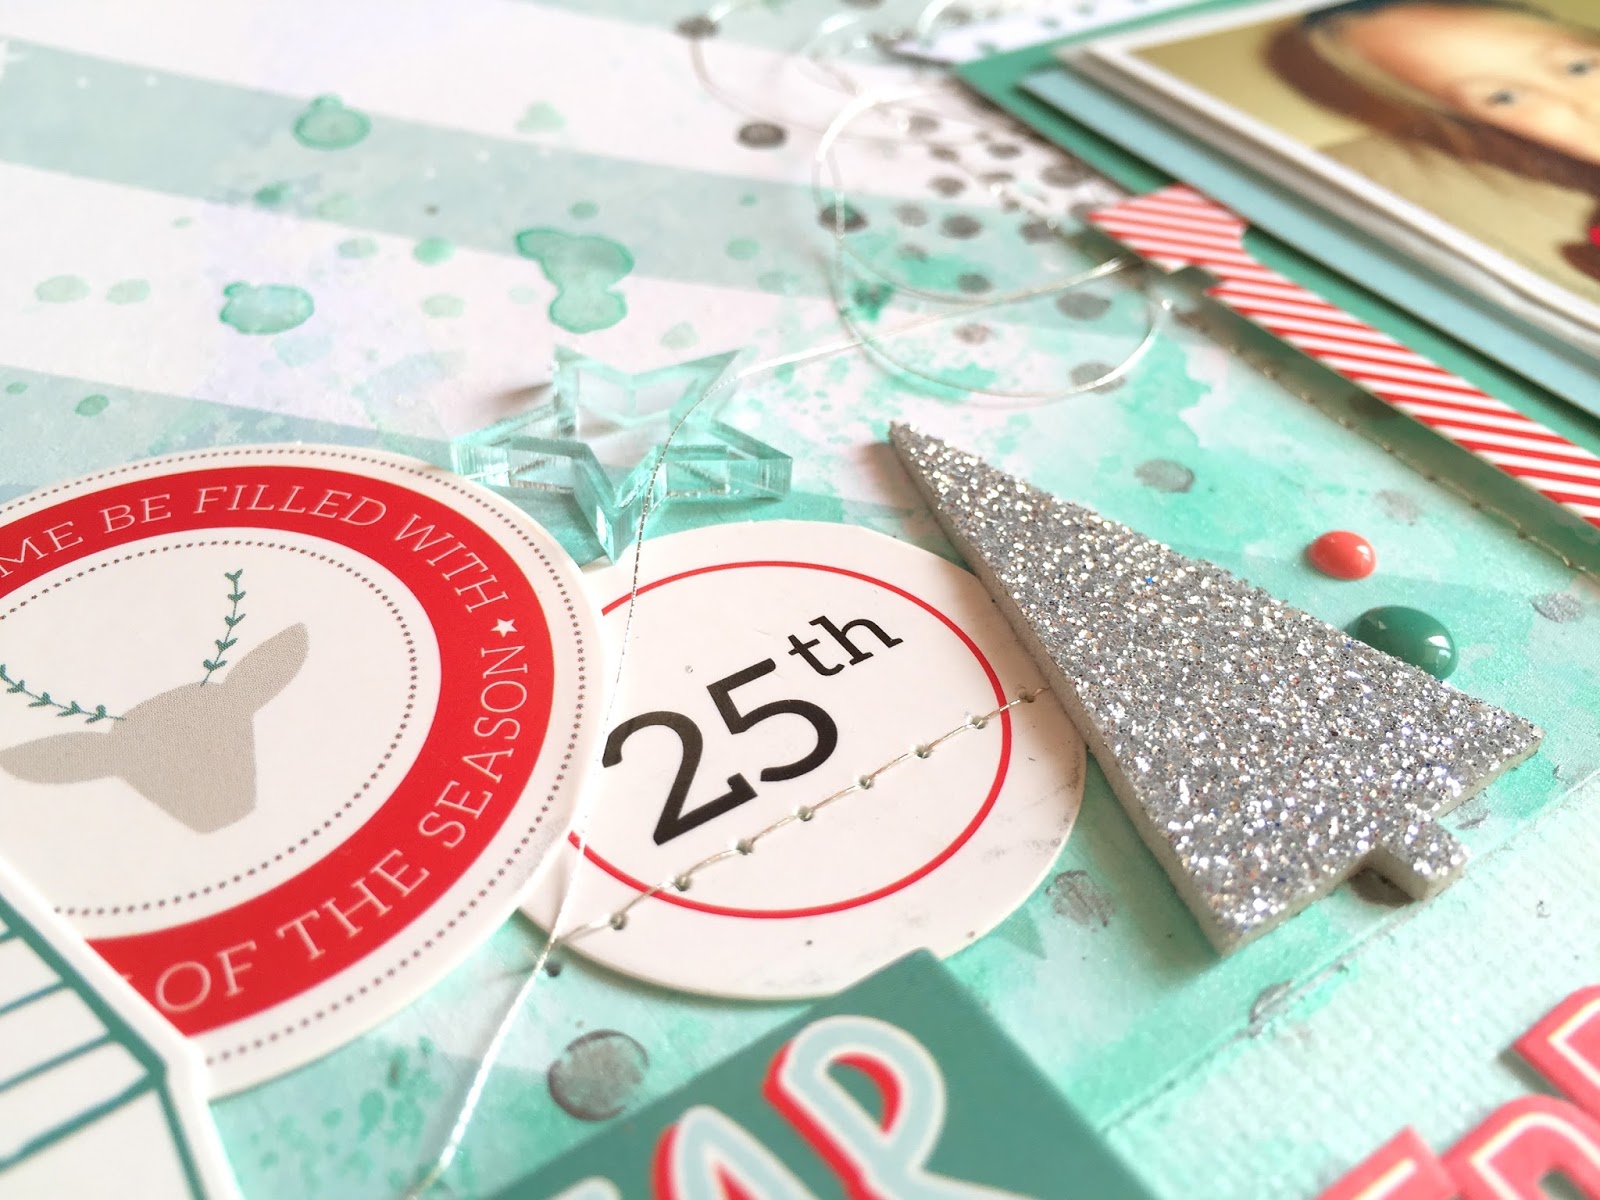
Here are some of the exclusive pieces from the kits. These silver glitter puffy stickers are just perfect for a Christmas layout. These acrylic die cut stars also add the perfect touch. 

 
I just had to use this cute little squirrel...something about him reminded me of teeth...haha! I thought of him using his teeth to eat an acorn, and it reminded me of Reese not having any teeth at the moment. Does that even make sense? :D I also loved the color of the squirrel.


Here you can also see those pretty silver circles from the stencil. I also used some of the My Mind's Eye Enamel Dots.  Finally, here's a look at the bottom cluster. I brought in each of the colors used in the top portion of the layout here. I just love these acrylic die cut pieces...they're so different than any other embellishment we've ever had! So unique and pretty.
 

Here's my process video if you'd like to see how I put this layout together from start to finish. I hope it inspires you in some way!

Thanks so much for stopping by, and have a great day! 

Tuesday, November 10, 2015

Mama in the Middle / My Scraps & More

Happy Tuesday, friends!  Today I'm sharing a layout I created for a Throwback Thursday Challenge over on the My Scraps & More boards last week.  The challenge was to use up some of your rub-ons stash.  I have been hoarding a few sheets of Crate Paper rub-ons, so I decided to use them.  Most of these are from the Kiss Kiss collection.

I used papers and embellishments from the Heidi Swapp September Skies collection, and I did a bit of mixed media work on the background.  I love that the rub-ons resist all the inks, sprays, gelatos and paints, so you really can't cover them up.


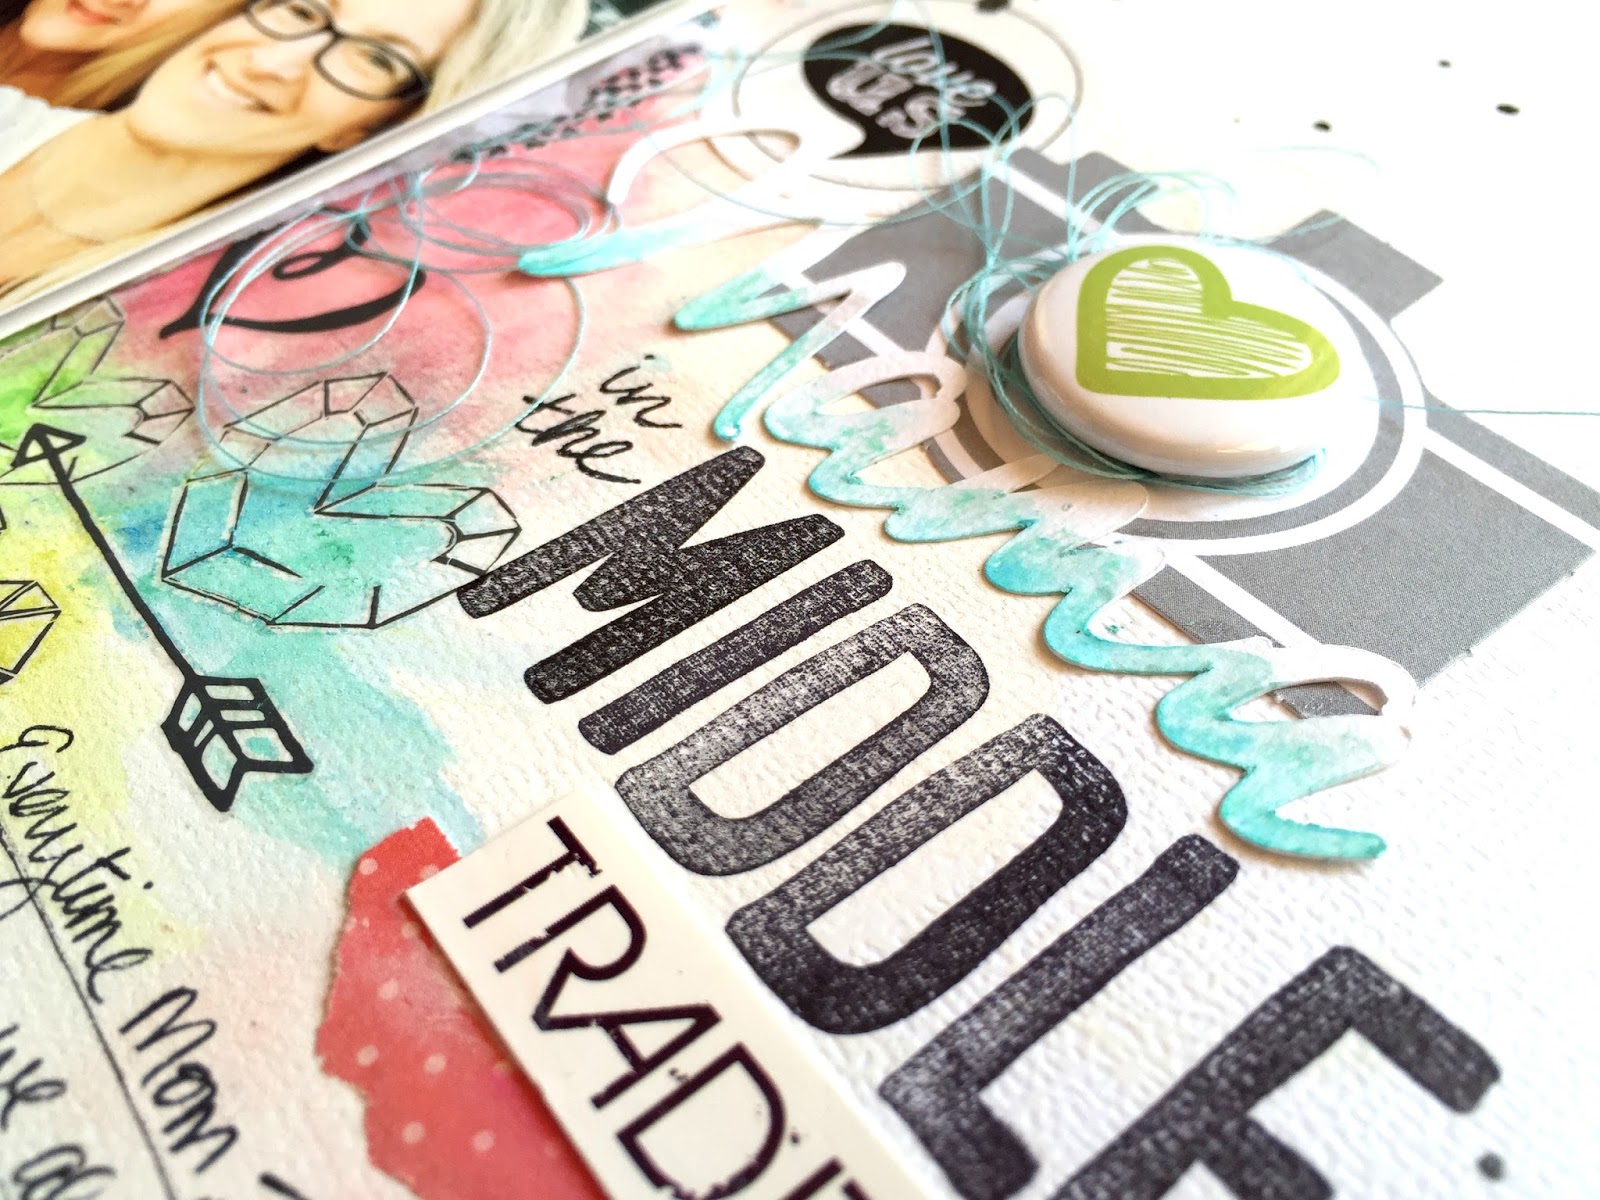
I did add white gesso to my background after adhering the patterned paper squares.  I then added the rub-ons and then came over everything with gelatos.  I used my water brush to smoosh all the color around instead of a paint brush.  I decided to name this "Mama in the Middle" since my mom is always in between my sister and me when we take selfies...haha :D  I combined a Cameo die cut with some Elle's Studio alpha stamps and my own handwriting.  The flair button is from A Flair for Buttons, and the "love us" speech bubble is from Evalicious.


I love these cute geometric heart rub-ons!  Although they are all from a Valentine's collection, they work perfectly for anything, I think.  I also added in some machine stitching.


It took me a while to figure out how I wanted to arrange my punched squares.  I finally decided on a vertical design.  I worked around that area once I stitched everything down.  These embellishments are from Heidi Swapp.


Here's one more look at the gelato work and layers.  I love using tissue paper under my photos :)


Here's a look at my process video for this layout if you're interested in seeing how this came together.  I hope you enjoy it!


Thanks so much for stopping by, and have a great day!

Sunday, November 8, 2015

The Best / Hip Kit Club

Happy Sunday, friends!  I have another layout so share today for the Hip Kit Club :)  This is my fifth layout using the 2015 October Hip Kits, and I still have lots of product left over.  I used one of Nicole Nowosad's cut files for my background design.  I chose four patterned papers from the kit and cut a bunch of these cute little flower shapes.  I scattered them around the page, adhered them down and then went over a lot of it with white gesso.  I used the Prima Watercolor Pencils to add that darker teal color in.

The embellishments are a mix of Pink Paislee and Pebbles.  I really love the mix of colors here...definitely something I probably wouldn't have done if not for the kit!


I used the excess paper that I had on my Cameo cutting mat as a stencil and I traced a few more flower shapes using the pencils.  I love how they turned out!  I used some of the Heidi Swapp enamel dots here and some of the cute Pink Paislee sentiment stickers.


I used some of the Pink Paislee clear stickers from the Memorandum collection here and some of the Pebbles washi tape.  My title is a combo of Evalicious puffy alphas and the Dear Lizzy Thickers.


I love the layering of these pieces here...they were all perfect for this layout!  I especially love the bits of gold here.  I did ad some gold machine stitching for an extra pop of shine.


Here's one more close up of the die cut background...it was really fun cutting these shapes in different sizes and overlapping them around my photos.  I also traced around a few of them with a black pen.


Here's my process video for this page if you'd like to see how it came together.  I hope you enjoy!


Thanks for stopping by, and have a great day!

Friday, November 6, 2015

My Scraps Pinspirational Crop + a layout

Happy Friday...yay!  Today begins the annual My Scraps & More Pinspriational Online Crop!  Join us over on our boards for 18 awesome challenges inspired by Pins on Pinterest!  You DO NOT have to actually have a Pinterest account to participate.  The Design Team has chosen specific pins for you and the challenges are based on those.  So go check it out and have loads of fun!


I'd also like to share a layout with you since I'm here :)  I created this layout for a Mix it Up Monday challenge recently.  The challenge was to use an ampersand, some gold and a butterfly.  I used up lots of my Crate Paper goodies on this...pieces I've been hoarding for quite a while.  I used Notes & Things and Open Book mostly.  The ampersand cut file is from The Cut Shoppe.

This layout does have some mixed media work on the background.  I wanted it to be subtle and show through the background cut file.  I did lots of layering on top if it using patterned paper and lots of die cuts.


I just had to use these gold glitter Thickers...I don't use them enough, and they're gorgeous!  I love how they look mixed in with all the Crate Paper pieces.


I love these pinks, light browns, teals and golds together...such a soft and pretty color palette.  It's fun to go through all of the die cuts and piece them all together.


I added some white and gold tangled thread under my photos and layers.  I love how the die cut background looks with the patterned paper....it creates such a fun design element.


Here's one more close up of the bottom.  I did my journaling with a gold pen....it just seemed like the right thing to do :D  And don't forget the gold Color Shine...my favorite!


Thanks so much for stopping by today...I hope to see you over on the boards!

Have a great weekend!

Thursday, November 5, 2015

Leaf Hunt / Freckled Fawn Guest Designer

Happy Thursday, friends!  Today I'm sharing my second layout I created for my Guest Design spot over at Freckled Fawn last month.  I worked with the October Woodland Kit, and it is perfect for a layout about leaves.  I used the Funky Florals cut file from The Cut Shoppe to create these beautiful leaves that coordinate with the adhesive felt leaves in the kit.

I added just a bit of aqua acrylic paint to the background, and I used it and some gelatos to paint my leaves.  I used a bit of spray inks to create splatters and I went minimal on everything to really make the Freckled Fawn embellishments shine.


I added some gold machine stitching to my big die cut leaves.  This fun "bloom & grow" piece is from the Pink Paislee Citrus Bliss collection.  The colors match perfectly!  Isn't this arrow "today" paper clip adorable?  It's in the FF kit.


I love these cute foam words...there's a whole sheet of them in the kit.  I added a bit of tissue paper under my photo and then layered my die cut leaves under and around it.  I added a bit of gold and aqua thread under the photo as well.


I drew the word "hunt" by hand and then fussy cut it out.  I used gelatos to color it and paired it with some very old alpha stickers from my stash.  They were the perfect color!  I love how these die cut leaves turned out...such a fun design element!


I love these bits from the kit!  The gold puffy hearts....swoon!  Those felt leaves...so gorgeous!  And the big transparent circle....yes, please!  I stapled it to white cardstock so the color wouldn't be compromised by the background.  There are a few different colors of these in the kit.


I hope you'll give this awesome kit a try....it has so many fun bits and pieces in it!  And the colors are just gorgeous.

Thanks so much for stopping by, and have a great day!