Tuesday, July 21, 2015

Yay for Books! / Tutorial for Citrus Twist Kits

Happy Tuesday, friends!  I have another layout to share today as part of my Guest Design spot over at Citrus Twist Kits this month.  I was asked to create a tutorial for one of my pages, and so I decided to show you how I incorporated some of the sticker packaging into my layout.  I used the beautiful 2015 July Main Kit for this layout, and the sticker packaging came from the Webster's Pages sticker sheet.  I used minimal patterned papers for this, and I did add in a piece of vellum from my stash.

Here's the layout and some close-ups...the tutorial follows.


I decided to bring some bright blue into the mix to accent those cute Freckled Fawn glitter stars.  I used some Distress Ink and a brush to create the watercolor effect in the background.  I added a few pop dots to the YAY! sticker to make it stand out a little more.


I love making banners!  I used my triangle punch to create these pieces and then stitched them down.  I also love journaling right on the background.  I added in a date stamp and a sentiment stamp from my stash.


Here's a look at the layers behind the photo.  I added in one of the exclusive wood veneer pieces and another glitter star.
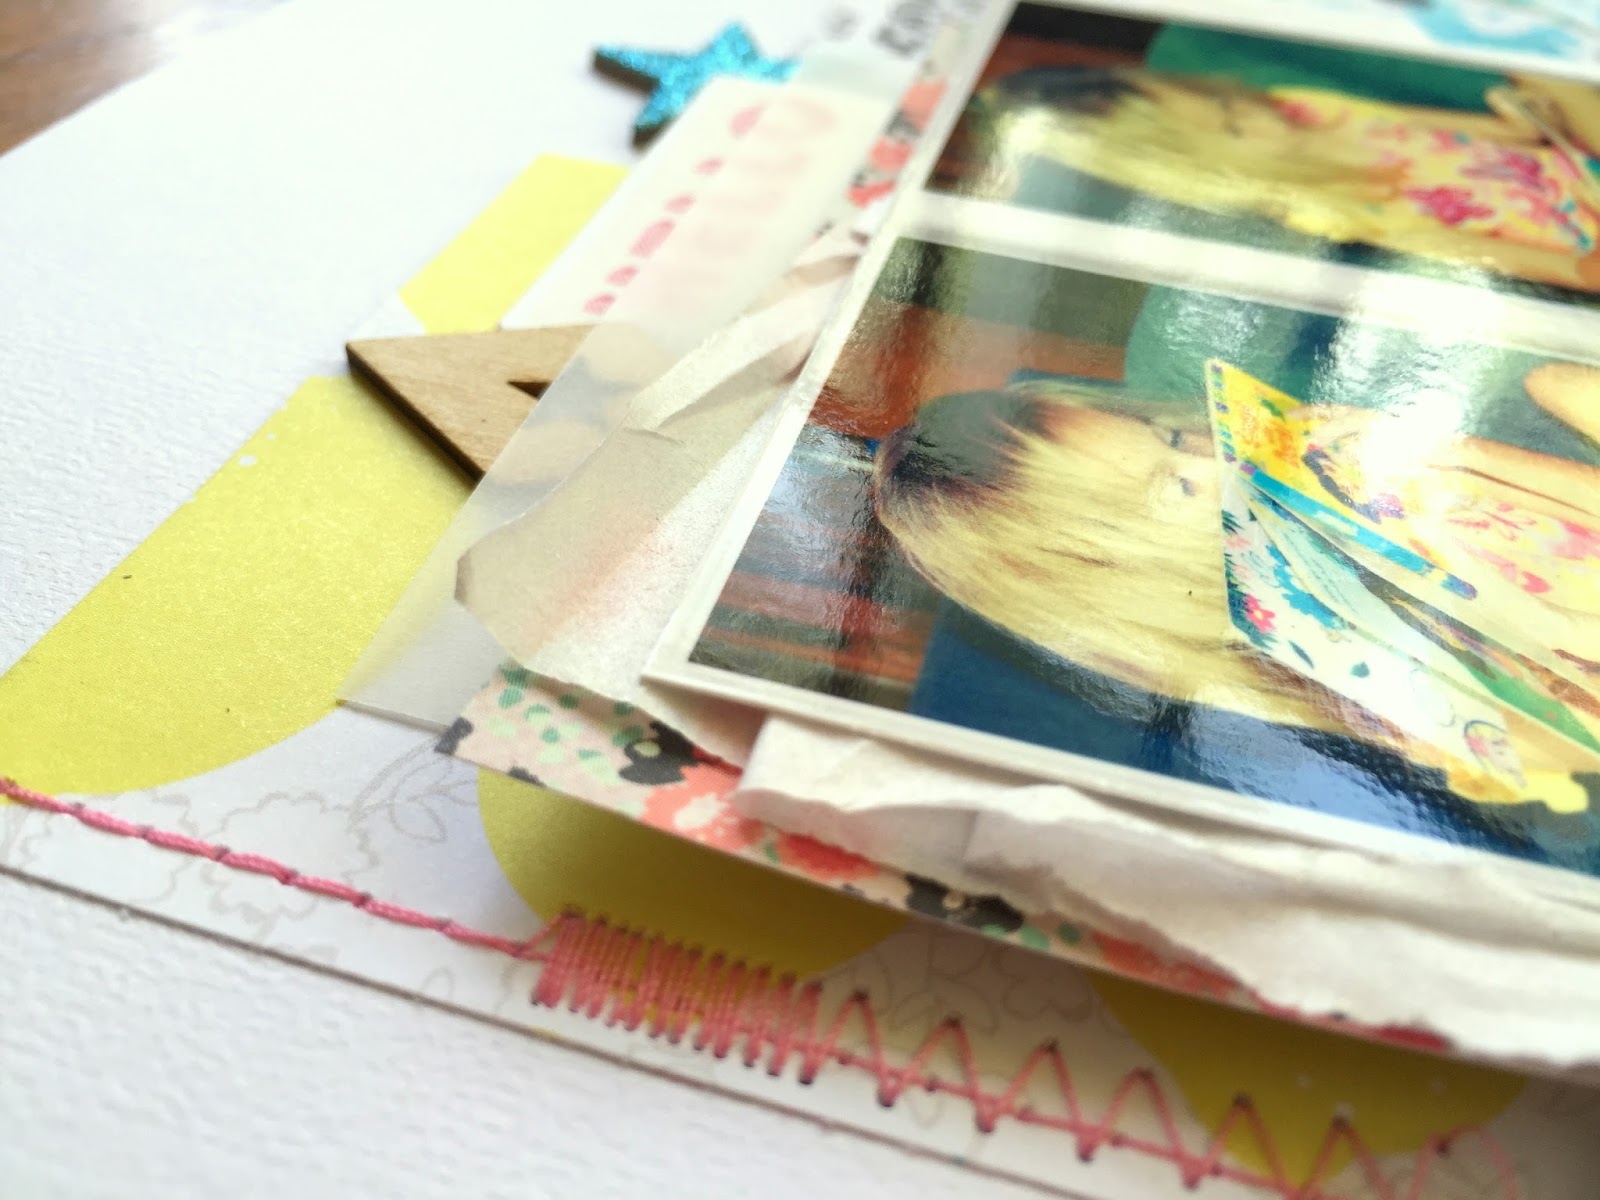

And one more close-up of the bottom area.  I love the exclusive pieces in these kits...especially the light blue resin pieces!


This was really easy to do.  I just picked the part of the sticker sheet I wanted to use.  


 I cut it and tested it around my cardstock to see where I might want to p]ace it. 


I peeled the piece off, leaving the actual stickers on the sheet.


Next, I placed it where I wanted it, which was peeking out from behind the patterned paper and the photos.
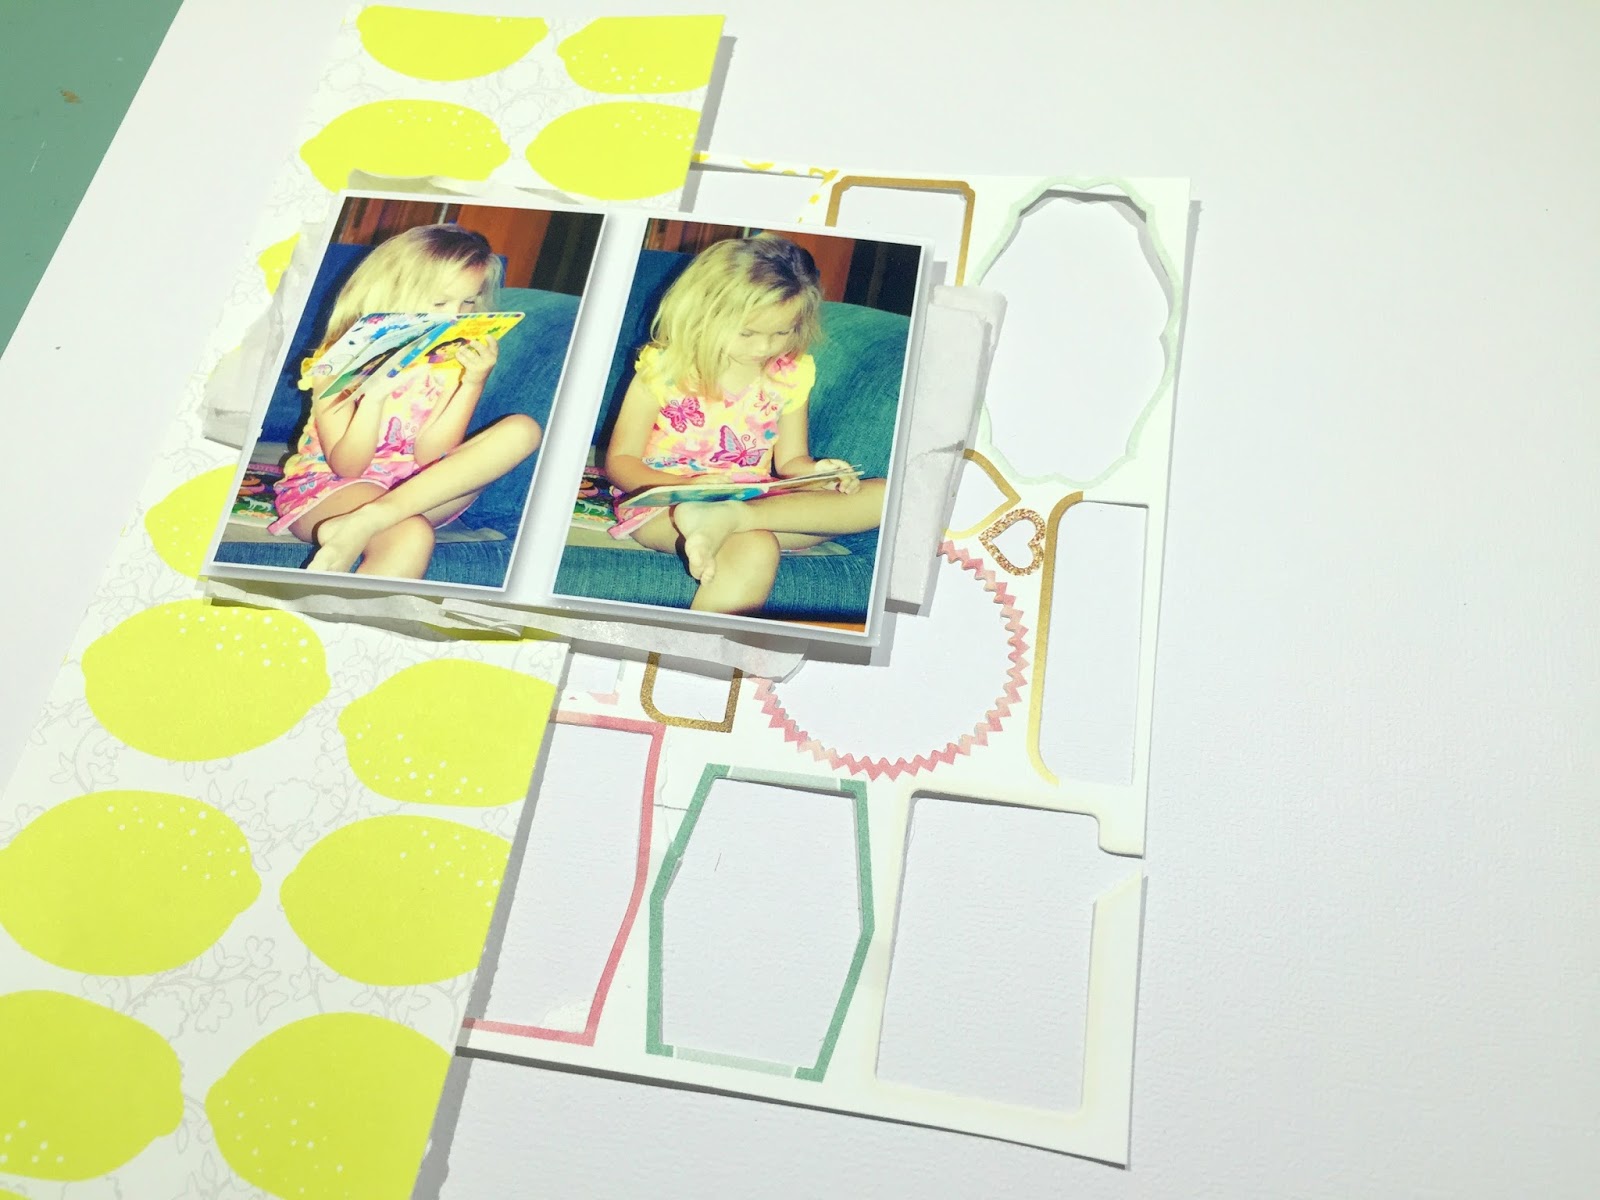

Lastly, I came in with some Mermaid Lagoon Distress Ink.  I just dabbed the ink pad onto my mat, spritzed it with water and used a brush to "watercolor" it onto the page.


I hope this inspires you to think outside the box and use something you wouldn't normally use on a layout.  You can see how using the sticker packaging just gives a little extra detail to the background here.  And I love those little details on a layout!

Thanks for stopping by, and have a great day!  Be sure to check out Citrus Twist Kits....there is a TON of awesome inspiration over there!

Monday, July 20, 2015

You Make Me Happy / GDT @ The Rubber Cafe

Happy Monday, everyone!  I have another bright and fun card to share using the July Kit of the Month from The Rubber Cafe.  I'm guest designing there this month, and I've been having so much fun making cards!  This kit is so full of bright Summer colors and images!  I couldn't resist using this adorable pinwheel stamp on some of the gorgeous Doodlebug patterned papers.  I decided to create a simple landscape using some Distress Inks, patterned paper and ribbon.  The result made me smile because it's just so happy :)


Here's a close-up...those pinwheels are so cute.  I just stamped them and then cut them out.  Super easy!  And you can get different effects by using different papers.


I combined these three colors of Distress Ink to create the sky.  I just lightly moved the foam applicator in a light circular motion until I got the effect I wanted.  Then I splattered some water droplets to create the look of bits of cloud.


Next, I added some of the green patterned paper from the 6x6 paper pad.  To add some fun texture, I added a strip of adhesive and then stuck the green ribbon down, pleating it as I went.  The pleats stuck straight up like this at first.


I ran it through my sewing machine using green thread and a few different stitches. I love how it turned out!  A little uneven and bumpy...it is grass, after all!  :D


I hope this gives you some inspiration for another idea on how to use your July Kits!  Thanks so much for stopping by, and have a great day!

Supplies:
Stamps:  The Rubber Cafe' -Creative Cafe' kit- Too Much Sun-
Paper: The Rubber Cafe' - Creative Cafe' kit- Too Much Sun - Doodlebug 6x6 pad
Ink:  Tim Holtz Distress Ink, Ranger Archival Ink
Embellishments: Ribbon & Stickers from the kit
Tools:  Ranger foam ink applicator


Sunday, July 19, 2015

My Little Mermaid / Hip Kit Club + AUGUST KIT REVEAL!

Hey there, everyone!  It's Sunday, and I have my very first layout for Hip Kit Club using the awesome 2015 July Kits!  Seriously...the colors...I mean seriously!  Could the be any more beautiful and bright?  I have to say the colors are what inspired me this time right off the bat.  I wanted to incorporate the October Afternoon chevron paper in the mix, so I cut several pieces into chevron arrows. 

I began with a piece of the light kraft cardstock from the Cardstock Kit and the fun Heidi Swapp Stencil from the Color Kit.  I used modeling paste first over the stencil to create some bumpy texture.  Then I came over that with white gesso.  Next I added that watercolor effect to the background by using some teal ink spray from my stash mixed with the Citron Distress Ink from the Color Kit.  It's a gorgeous bright green, and it mixed beautifully with the teal.  I also added in some drops of yellow by combining the Lemon Zest Dylusions (March Color Kit) with some of the yellow Daisy Avery Elle ink from June's Color Kit.


I used some strips of the Simple Stories Paper Tape pack and stitched through them along side the chevron arrow pieces.  I also used a few pieces of chipboard from Crate Paper.


I just love the exclusive Project Life cards in these kits...this one is my favorite!  I tore it just because I love to tear things (haha) and created a little cluster down below the title.  I used one of the small chipboard frames from Simple Stories and one of the Heidi Swapp wood veneer arrows.  I added tangled thread and stitched it all down.  Those cute puffy stickers are from October Afternoon.  So is that stamp down at the bottom....it's a roller stamp!


More chipboard here!  A cute CP umbrella and another of the SS frames.  I adhered this cute flair button from OA and again added more tangled thread.


Here's a close-up of the background watercolor and texture.  I seriously can't get enough of doing this technique...it's just so fun and the result is always so pretty to me.  And sometimes you get the prettiest shades by mixing colors.


One last close up of the title.  I combined that cute chipboard HELLO banner with some of the OA teal alphas and the kraft Thickers.  I really love how the kraft letters look on the kraft paper.  I also used a bit of the Abandoned Coral Distress Paint from the Color Kit to give some color to that wood veneer arrow.


Here's how I created this layout from start to finish if you'd like to watch...hope you enjoy!


And now....let's take a look at the gorgeous AUGUST HIP KITS!!


Please visit the Hip Kit Club for more information on how to join or purchase any of these kits!  There are also lots of past kits still available.  Please visit our blog and also you can join in on our Hip Kit Member Forum on Facebook!

Thanks for stopping by, and have a GREAT day!

Saturday, July 18, 2015

Fun on the 4th / The Cut Shoppe

Hey there, everyone!  I have a layout for The Cut Shoppe to share with you today.  I haven't scrapped any 4th of July photos yet this year, and as soon as I saw this awesome Star Spangled cut file, I knew it was perfect for some awesome red, white and blue photos!


I first took a piece of white cardstock and covered most of it with lots of different washi tapes.  I went through my stash and pulled out lots of different reds, blues, greys and silvers.  I wanted varying patterns and hues, and I just layered them across the page.  Then I adhered the cardstock to my Silhouette cutting mat and simply cut the the shape.  I did turn my blade up to a 5 since it was thicker, and it cut pretty well.  I had a few spots where the tape wanted to pull, but for the most part, this worked like a charm.  You can see how I did this in my process video down below.


When I first pulled the shape off the mat, I really loved how it looked!  Although it was busy and bright, I knew that if I added some reds and blues behind it, the stars would really stand out.  So I traced the cut file and used watercolors and gelatos to color the open spots in.  Then I used a pencil to traced around all the edges so the stars would pop a little more.  Finally, I machine stitched with shiny silver thread.


I kept the embellishing to a minimum.  That background does all the work, and it didn't need much more.  I only added the title, a little bit of tangled thread, a flair button and the layers of paper behind the photos.


At the end, I added in a few sentiment stickers and some awesome silver glitter stars.  And that's it!


Here's the process video if you're interested in seeing how this page came together.  Thanks for watching!


Thanks for stopping by, and have a great day!

Friday, July 17, 2015

Florida Sunshine / A Flair For Buttons

It's Friday....yeah!  I hope you all are doing well today.  I'm back with another layout to share.  I created this layout for the A Flair For Buttons & Simple Stories Product Swap.  It was up on the AFFB Blog last week.  I hope you were able to leave comments on those blogs and hopefully you won a prize!

Here are the flair buttons that Shelley created just for this Summer Vibes line!  Aren't they gorgeous?


The team received the gorgeous Summer Vibes collection, and I created two layouts incorporating the exclusive Flair Buttons made to match the collection.  I started with some of the yellow patterned paper (it's woodgrain on the other side).  I have so many pool pictures, and this one just screamed SUMMER!  I used spray inks, watercolors and gelatos to create that watercolor effect on the background.  I did give it a light coat of white gesso first so the wet elements wouldn't ruin the patterned paper.  I knew I'd be adding a lot of water, so the gesso helps to protect the paper.  It also give it a bit of a white space to color on.  After that dried, I used a sunburst stencil and some Mustard Seed Distress Ink to create some sun rays in the background.


I used this gorgeous flair button right here.  I layered some tangled thread behind it and added a cut sun sticker behind it as well. 


This ombre flair button is my favorite...I wish I had 10 more!  I layered it on top of this chipboard frame along with some thread.  I love adding thread...it gives a little more interest and adds a pop of color.


Here you can see the background a little more and a lot of stickers :)  I love that Simple Stories always includes these fun words and sentiments in their sticker sheets.  And this grid paper  made my journaling nice and straight.


Even if you didn't take part in the Product Swap Blog Hop each day last week, you can still visit the Simple Stories blog and the A Flair For Buttons blog and check out all the gorgeous inspiration!  It really was fun to see how everyone used the same collection and same flair buttons.

I'll be back in a few days to share my other layout.

Thanks so much for stopping by, and have a wonderful day!

Thursday, July 16, 2015

Always the Life of the Party / My Scraps & More

Happy Thursday!  I have a My Scraps & More Throwback Thursday layout to share with you today.  Last Thurday's challenge was to use papers and embellishments at least two years old and create a banner out of patterned paper.  I went a little banner crazy (haha) and made a lot of them.  I pulled out the Studio Calico Lemon Lush collection and my triangle punch and made some fun and colorful banners.  I stitched them down and that was it.  I went very light on the embellishing since the background had so much going on.

I used a few of the cards from this collection, a cute paperclip and the star die cut.  The title is a mix of Thickers and older alphas from my stash.  I love how it all turned out!


I did add a bit of tangled thread to add a pop of that bright blue and a bit of washi tape.  I didn't even do any mixed media on this page...shocker! :D


Here's a close-up of the layers and part of the title.  I decided to use a black & white photo because I'd never find a photo that coordinated with all those colors!  This way I could also use black as a prominent color in the title.


Here's one more look at the banners.  I flipped up the ends a bit to give them a more life-like look and then splattered some black Color Shine.


Thanks so much for stopping by today!  Have a great day, and be sure to check out the My Scraps Store...Audrey has so many new collections in!

And don't forget to check out our Facebook Member Group...tons of activity going on over there!

Wednesday, July 15, 2015

Love My Girls / My Mind's Eye

Hello again, friends!  Today I'm sharing my latest layout for My Mind's Eye.  I am still loving the Jubliee Wild Berry collection, and I pulled it out to create this bright page.  I love mixing black and white with bright colors, so I started with two different black and white patterned papers.  I added white gesso to fade out some of the pattern and then used some watercolors and gelatos to add some color to the background (mostly teals and pinks).  Then I used my foam blending tool and some Mustard Seed Distress Ink over a sunburst stencil to create some sun rays at the top.  I used yellow thread to machine stitch on the edge of each ray to make them stand out a bit more.

I also backed a few die cut pie charts with various patterned papers to add some more fun color.  Backing die cuts is a fun and easy way to scatter color everywhere in small bits.


Here you can see the stitching up close.  I love the detail that stitching gives!  I also added some black zig zags right above the layers.


I used a really pretty 4x6 transparent overlay from the Record It Follow Your Heart collection...I love the yellow and teal bokeh ombre effect. I also cut that scribbly circle on some patterned paper.  My blade gave me a bit of a fit there.


Here you can see the mixed media work on the background.  I added in some die cuts from the Mixed Bag, some Decorative Brads, a Flair Pin and some awesome alpha stickers from Just Sayin.'


You can never go wrong with flair...and I love layering tangled thread under them.  I love these flair because they're oversized, and this fun pie chart design is so fun and makes such a statement.  The "Love" piece is a Rub-On that I adhered to cardstock and then cut out.


I hope this gives you some ideas on using black and white with bright colors, and also how to use gesso to fade out some of a background pattern.  It helps break it up and also gives you some white space to add watercolor or paint.

And you can check out the new collections coming soon from My Mind's Eye...some beautiful goodies for Halloween, Christmas and an everyday collection as well.  Gorgeous stuff!!

Thanks so much for stopping by!  Have a great day!