Monday, August 4, 2014

Market Street 3x4 cards / My Mind's Eye

Happy Monday, friends!  I wanted to share my latest layout for My Mind's Eye.  It was up on the blog HERE on Friday.

I never know what to do with all of those 3x4 Project Life-type cards that have been coming in many collections these days.  I don't do PL or any type of pocket pages at all.  It's just not my thing.  I love seeing other designers' PL spreads...but I would just rather not get into a timely project like that.  I'd never be able to keep up.  Soooo....what to do with all of those cards?  I say pick your favorite ones and use them as little blocks of patterned paper!

I pulled out the 3x4 cards from the Market Street Nob Hill line and arranged them like I wanted.  I inked the edges and then adhered them down to black cardstock.  Once that was done, the rest was just embellishing, journaling and photo placement.  My embellishments are a mix of Ashbury Heights and Nob Hill.


I added lots of chipboard pieces around my photos as well as some black thread.  My journaling fit perfectly to the right of my photos.


I am still LOVING all of the shiny gold elements in these lines!  There is even some of it in the chipboard elements....yes!


I added a few tid bits from the Necessities Metallics line...like this gold arrow and the rose colored shiny tape at the bottom.  I just can't get enough of the shine.  It's so eye-catching!


This is the second layout I've created using these type of cards...it really helps use them up while creating fun and colorful pages!  Embellishing each card is like a little layout in itself.  HERE is the other layout I created that is similar to this one.  I used other MME products for that one.

Thanks for stopping by today!  I hope this gives you some ideas of how to use up those cards :)

Friday, August 1, 2014

Birthday Date Night / Chickaniddy Crafts

Hey there and Happy Friday, friends!  Today I'm sharing my latest project for Chickaniddy Crafts.  This layout went up on the blog a few days ago.  This layout was inspired by our July Pinspiration Board. I was inspired by this adorable outfit.  I love the color combo as well as the stripes.  I pulled out goodies from both Date Night and Twirly Girly to create my layout.


I scrapped a photo from my birthday dinner of my husband and me....so both collections were a perfect mix here.  I combined the cute silverware sticker from Date Night with the birthday cake sticker from Twirly Girly, as well as other stickers and brads from both lines.  I started with a mint background paper and added some black striped stamping, some distress inked lines and some washi tape stripes.  Behind my photo cluster I used soft pink watercolors and gelatos.  I just love the soft feel of it up against the mint.


I just love these die cut stickers!  Such a fun element to a birthday and/or date layout!


I added some silver cord onto my layers.  Here you can see the dimension created between the elements.  I love these fun label and sentiment stickers...they're so easy to add to any project.


I love that I was able to combine both collections for a birthday date night project!  I pulled my favorite elements from each line.  Here you can see the background stamping.  I tried to mimic the stripes in the photo by using this fun rubber stamp and washi tape from my stash.


Another angle of the stamping and inking.  I made the larger stripes using a Heidi Swapp mini stencil and some distress inks.  I used my Cameo to cut those large pink circles.  I really enjoy cutting shapes to add to my backgrounds.


Thanks so much for stopping by today!  Have a great weekend!

Supplies Used:  DN140S01 Awesome Blossom, DN140S07 Spiffy Tags, DN140S12 Plaid is Rad, DN14EB02 Sticker Sheet, DN14EB05 Mini Sticker Sentiments, DN14EB06 Brads, DN14EB04 Mini Sticker Tags, TG140S12 Piggy Tails, TG14EB01 Alpha Stickers, TG14EB02 Sticker Sheet, TG14EB05 Mini Sticker Sentiments, TG14EB04 Mini Sticker Tags, TG14EB06 Brads; Other--Stampendous Ink, Watercolors, Liquitex Gesso, Sharpie Black Pen, Heidi Swapp Color Shine, Heidi Swapp Stencil Minis, Silver Cord, Silver Thread, Hampton Art Stamp

Thursday, July 31, 2014

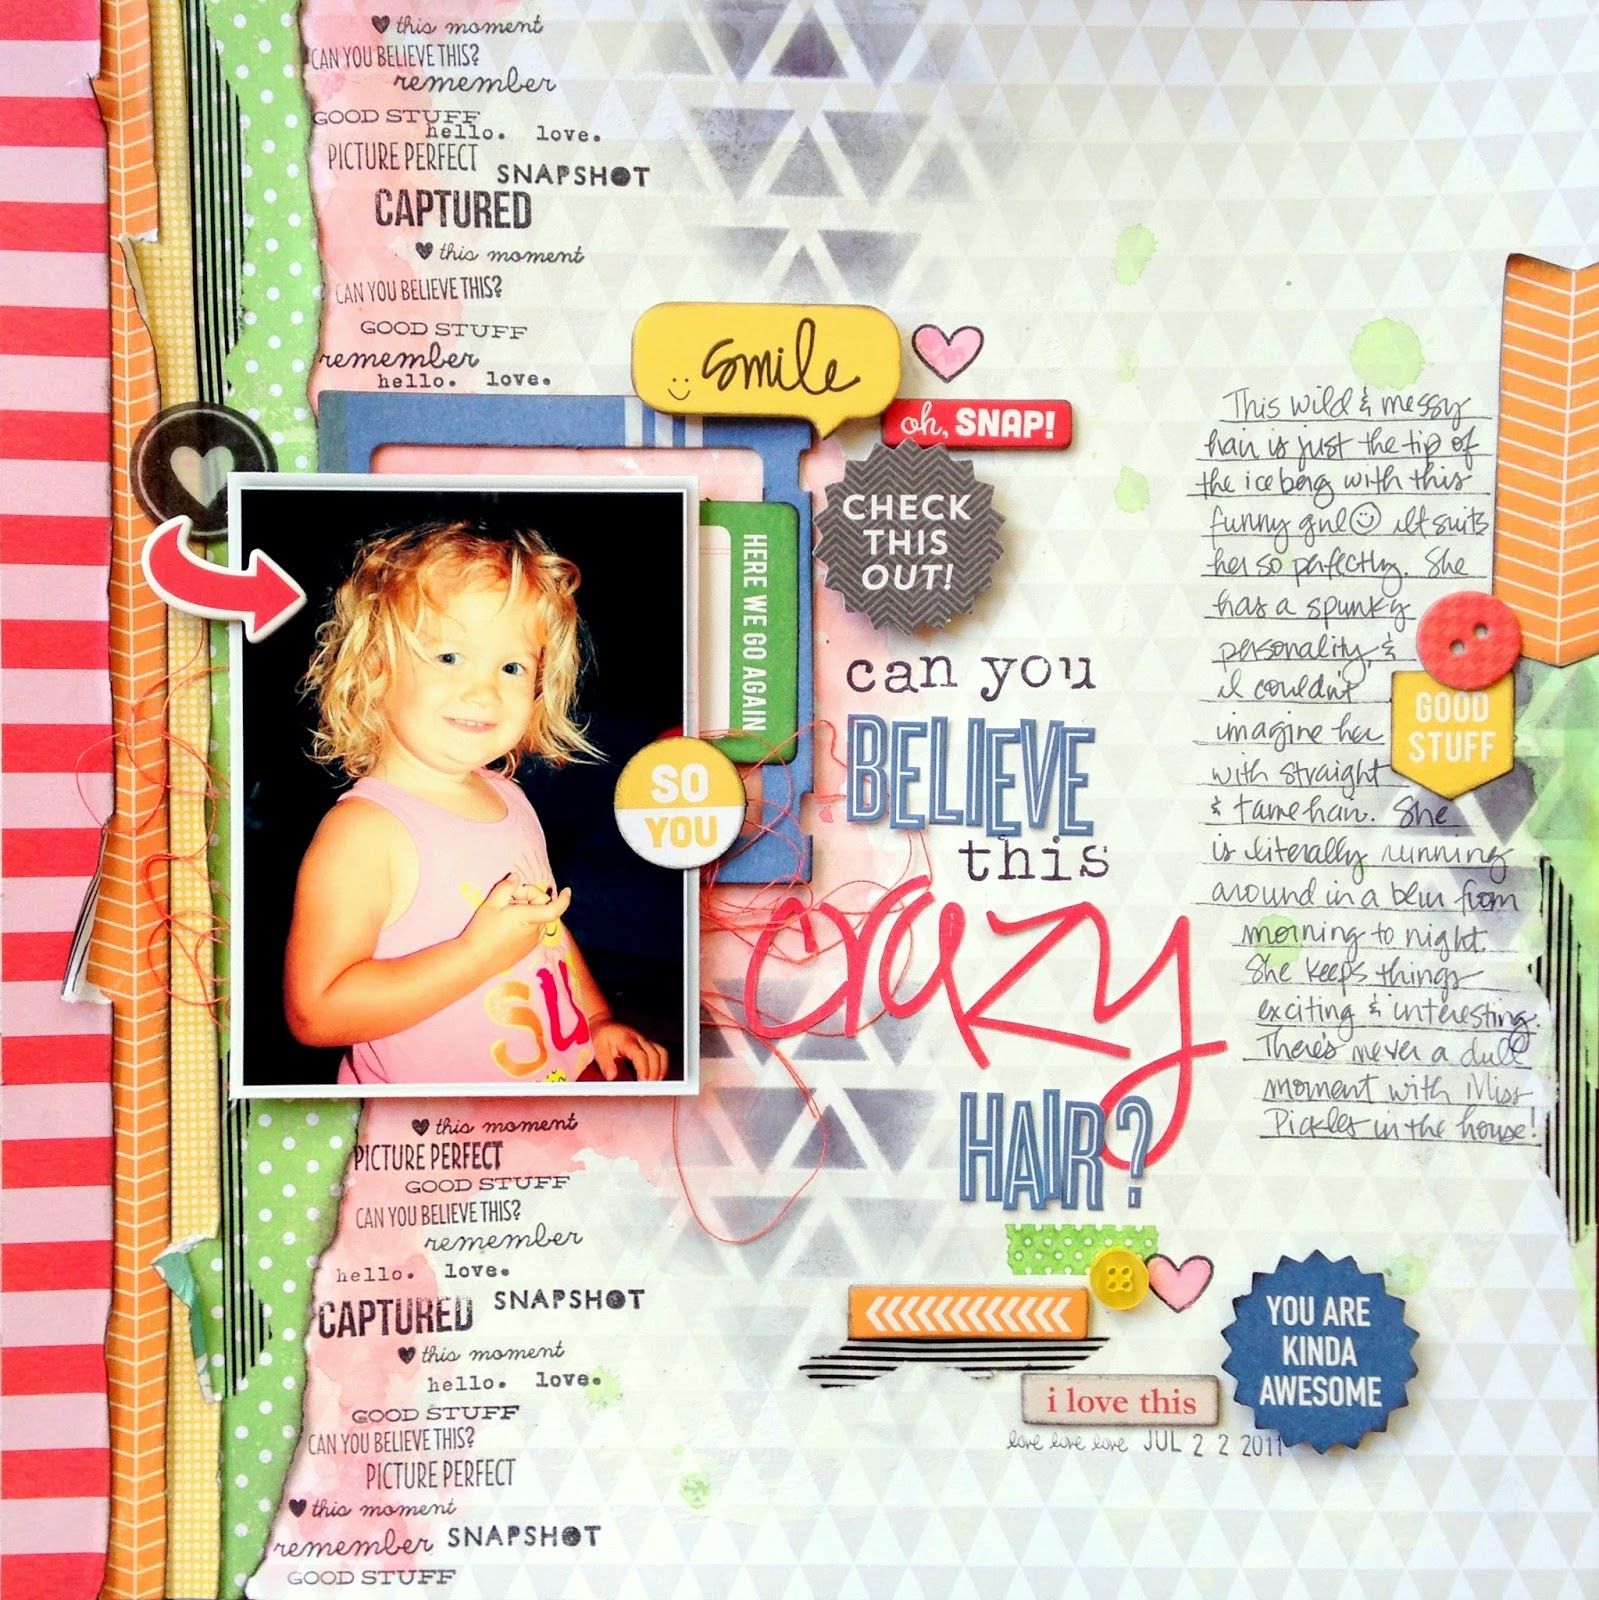
Can You Believe This Crazy Hair?

Haha!  Yep...another fun layout to share today about my craziest and wildest child :D  It all starts with her unruly curly hair.  This girl is so full of energy...she never stops!  This hair is perfect for her.

I have been wanting to try something different lately, so I ordered myself a July kit from the Hip Kit Club.  I've made four layouts with it so far!  I'm having lots of fun.  What I like about it is that it includes items I didn't already have in my stash.  This is the first layout I created using the Main Kit, the Color Add-on, and the Stamp Kit.

You can really go a lot of different directions with this kit, so for my first one, I decided to create a rainbow of sorts.  I used the Sweet Cherry Color Shine from Heidi Swapp as a watercolor paint.  It dries very light...pretty much a pink color, so my photo was a perfect match since she's wearing a pink shirt.  I incorporated blue into the mix using this blue frame, and then I added in embellishments using all of those primary colors.


I used a Crafter's Workshop template to create these triangles, and I mixed and matched my title.  I used the blue alphas from the kit, some alpha stamps from my stash, and a Cameo cut using the red paper from the kit.


There are a lot of fun die cuts in the kit from October Afternoon.  I used pop dots on a few of them.  The chipboard stickers are so much fun!


I went crazy with these adorable Simple Stories stamps...all of these mini sentiments are perfect for almost any layout or card.  I added in my own washi tape and thread here and there.


I'll be sharing my other Hip Kit pages throughout the month.  I really am enjoying this kit...if you're looking for a club that will give you variety and bright colors, this is the one!

Thanks for looking, and have a great day!

Tuesday, July 29, 2014

You / My Scraps and More

Hey, friends!  I hope you enjoyed your weekend :)  Today I'm sharing a page I made a few weeks ago for a challenge over on the My Scraps and More boards.  The challenge was to use only one collection (no mixing and matching) and to use several big embellishments from that collection...like big chipboard pieces, banners, dimensional stickers, etc.

I dug through my MME stash and pulled out the Cut & Paste "Adorbs" collection.  Everything on my layout is from that line, with the exception of the pink & white striped washi tape, the clear sentiment stickers, the thread and the background elements.  I started with this beautiful blue and green ombre paper and jazzed it up with some modeling paste and stamps.  I wanted to create a messy and scattered look.  I added some patterned paper layers behind my photos, as well as some pink acrylic paint.  Then I embellished.  I used a few chipboard pieces, several stickers, lots of brads & enamel dots and some washi tape.


Here you can see some of the paste texture and stamping up close.  I added pop dots to this chipboard bubble...I love that it's ombre!


Lots going on here...so much depth and layering.  Dimensional stickers do all the hard work for you...just stick'em and go :)  I love the chipboard frame...I decided to use it as an anchor for all the goodies on top of it instead of putting it on a photo.


I created messy cluster at the bottom of the layout for my title.  I brought the pink paint down there as well as the tape, brads, stickers and enamel dots.  I love clusters!


Thanks so much for stopping by today!  Enjoy your day!

Sunday, July 27, 2014

Creative Scrappers #274

Hey there, scrappy friends :)  It's Sunday, and that means it's time for another awesome sketch reveal over at Creative Scrappers!  I love this sketch...check it out:


As soon as I saw the sketch, I knew exactly which papers I wanted to use.  The Heidi Swapp Favorite Things line is perfect for this!  That rainbow circle paper fits this to a tee, and all the fun enamel arrows and hearts are just meant to go inside the circles.

Instead of using two photos, I only used one.  In the other spot, I created an embellishment using the Heidi Swapp mini stencils and some distress ink.  I LOVE how it turned out!  I added in lots of Jillibean Soup circle sentiment stamps to finish it off.

I did add some thread, washi tape, a HS glitter frame and some watercolors and gelatos on the background.


And for the first time, I just realized I somehow deleted my close ups!  I've been taking my layout photos with my phone, and I think I deleted them by accident before uploading them here.  I don't know what I was thinking....blonde moment!

Anyway, be sure to visit the Creative Scrappers blog to see what the rest of the team created.  You can also enter your layout there for your chance to win a prize from Pinkfresh Studio!

Thanks so much for stopping by today!

Friday, July 25, 2014

Smooching Cheeks / My Scraps & More

Yep, I said smooching cheeks!  Haha!  That's what my layout is all about.  I can't get enough of soft squishy baby cheeks.  This picture of my little Paige is almost three years old, and she's five now.  But she still has these cheeks, and I still have to pry myself away from them most days.  They're just so soft and sweet, and my favorite time to smooch her is first thing in the morning.  I'm a crazy mom, I know :D

Anyway....back on topic.  I created this layout for a Got Talent Challenge last week over at My Scraps and More.  The challenge was to use a busy background, create a complete sentence for the title, and to mix up the alphas.  I used the Capture Life collection from Echo Park.  I'm in love with this line....holy cow is it gorgeous!  I picked this very busy and loud patterned paper for my background, but I altered it up a bit.  I added gesso and then some watercolors and gelatos.  I added lots of separation from the background and my photo with lots of layers of solids.  Plus I added a bit of vellum in there, too.  I never want to the photo to be drowned out, so I always make sure that nothing overpowers it.


I added a fun die-cut to the background.  This one was made by Wilna over at Two Peas a while back, and I just LOVE it.  I cut it in white and then "messied" it up with a stamp.  I wanted it to show, but not too crazy since the background is busy enough.


A close up of the gesso and gelatos.  I also added some striped washi tape here and there....I LOVE this striped tape.  I use it A LOT.  It's from Michael's.


Messy thread is a great way to add texture and interest to your layouts.  I used a random wooden veneer heard here that I painted blue.  You can also see that I used four different fonts for my title.


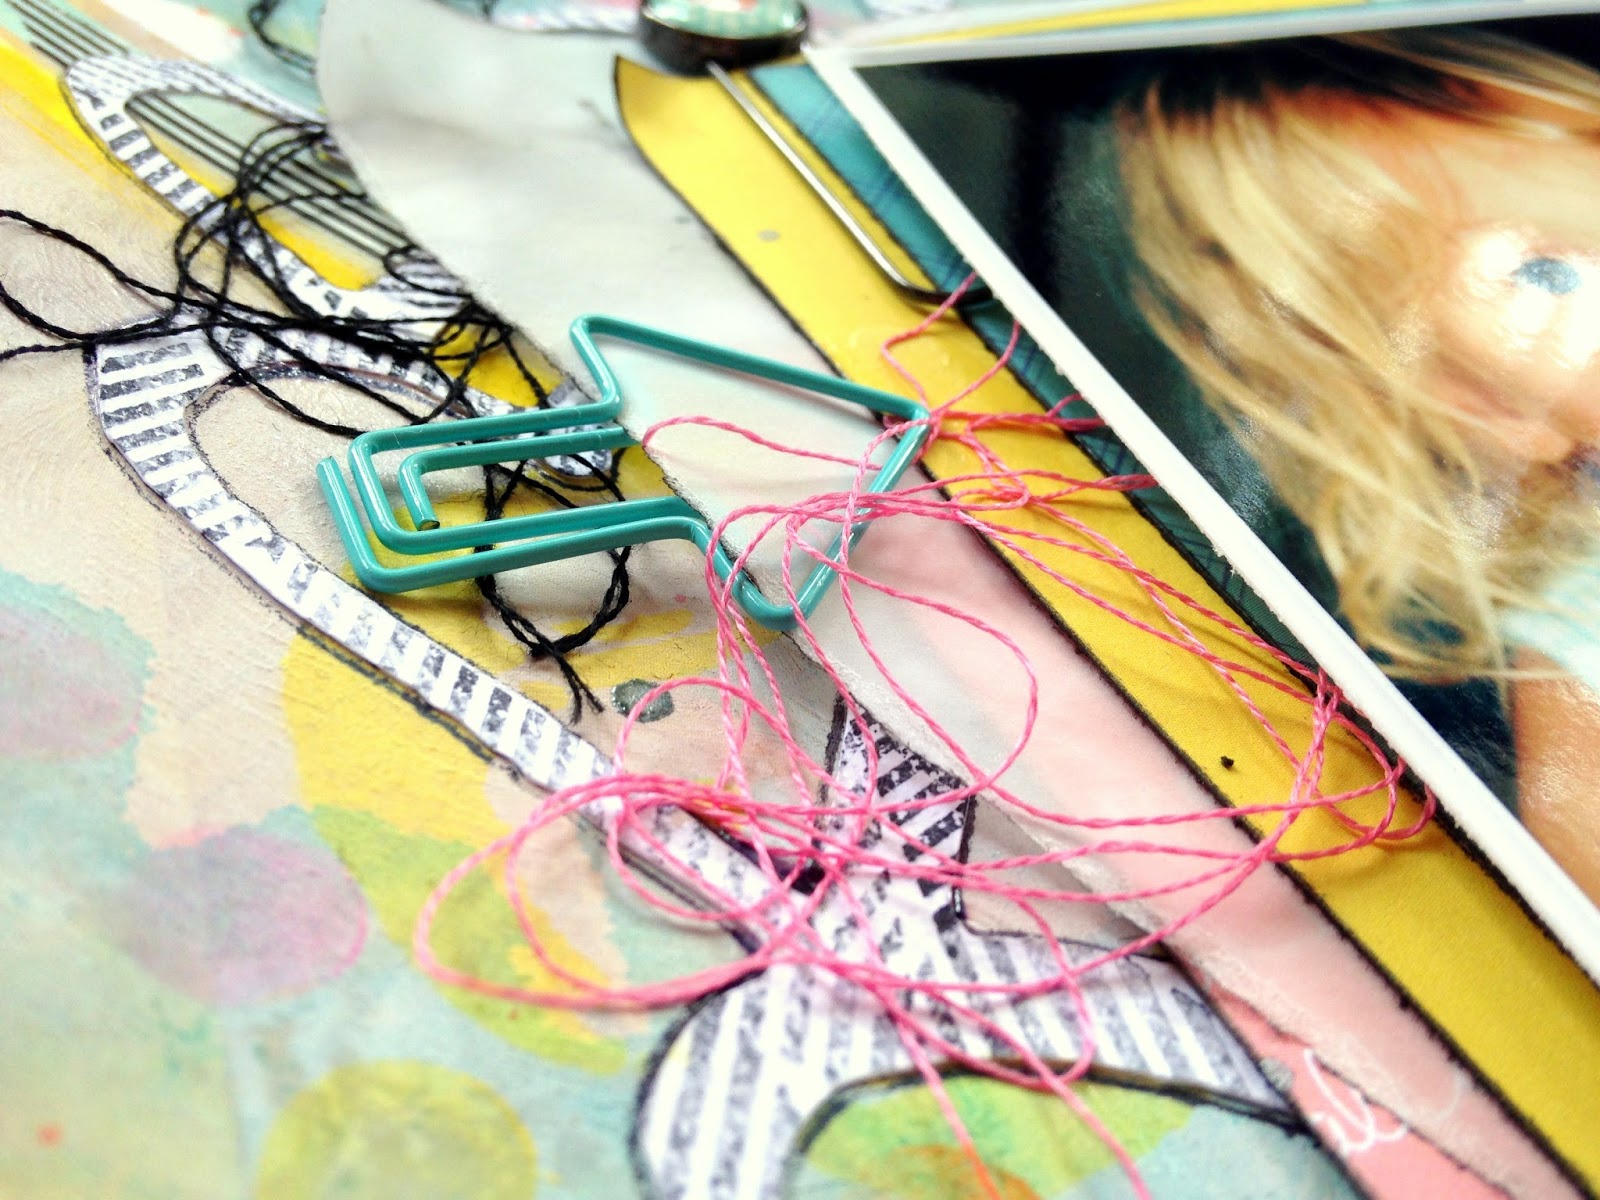
The other side of the photo...more thread and a fun arrow paper clip from Hobby Lobby clearance! Score!


I hope this inspires you to use a busy background...it's really fun to challenge yourself to do something you don't normally do.  I'm getting more comfortable with these busy backgrounds.  It's all about finding the balance and not letting it overshadow your photo.

Thanks for stopping by today!

Wednesday, July 23, 2014

Vegas! / Stuck?! Sketches & My Scraps

Hello again!  I hope your Wednesday is off to a great start.  Today, I'm sharing a layout I created using a sketch from Stuck?! Sketches.  As soon as I saw it, I was inspired.  I love all of the triangles and layering. 

I also created this page for today's challenge over on the My Scraps & More boards.  Since my layout is about one of my favorite places....VEGAS...the challenge is to use some glitter and something shiny on your project :)  I used a gold glitter frame (from Crate Paper), some MME gold glitter tape, some gold embossed chipboard stars and some shiny gold thread.

I used the absolutely gorgeous Capture Life collection from Echo Park...this bokeh background reminded me of all the lights in Vegas, so it was perfect for my background!  I usually like to use paste and paints on my backgrounds, but this one needed no extra help...it's gorgeous AS IS!


Here you can see lots of the gold shine and glitter!  I'm obsessed with all things glittery and shiny these days!


Even when I make a mess with embossing powder...it still looks great on a layout about Vegas...haha!  That's because it practically rains glitter there :D  I found a pack of these cute arrow paper clips on clearance at Hobby Lobby weeks ago...I love them!


These big bold alpha stickers just seemed perfect for my title...Vegas is bold and loud!


Thanks so much for stopping by today!